The Adler class 8 sewing machine - Putting the Adler to good use
When your pockets are too deep.
Click here to see all the Adler class 8 posts.
I picked up a couple of donuts at the bakery this week, and (as usual) dropped the change in the front left pocket of my blue jeans. Unusually, the change didn’t stay there. It slithered down my leg and clattered on the floor through a hole in the pocket.
My wife offered to fix the hole, but I figured since I have my own sewing machine I might as well do it myself.
Since I had the house to myself this afternoon while my wife went swimming, I got out my Adler 8, its user’s guide, and my collection of presser feet to see how best to fix the pocket.
I finally settled on using a rolled hem presser foot. A felled seam would be stronger, but would have required removing the pocket entirely from the pants.
Let’s have a look at a rolled hem presser foot.
| Rolled hem presser foot |
|---|
 |
You feed the cloth through the spiral shaped thing, and it rolls it over to form a closed tube. The foot presses the tube flat, and the needle sews the seam along the very edge of the flattened tube.
You’d think it’d be hard to use, but it isn’t. Still, it is always a good idea to practice new things on a scrap before tackling the real job.
If you’re using an old machine with parts scavenged from eBay (like I am,) then you would be well advised to always check to see that things really fit before using them.
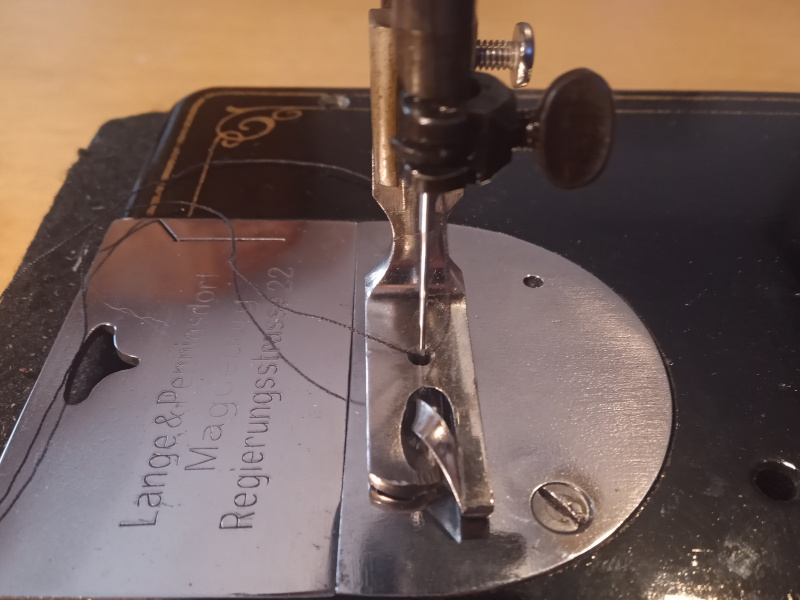
In my case, I found that while the presser foot fits the holder on the machine it isn’t quite really made for the Adler 8. The hole for the needle is off a couple of millimeters.
| Bummer |
|---|
 |
The foot may simply be bent wrong, or it might have been made for a slightly different machine.
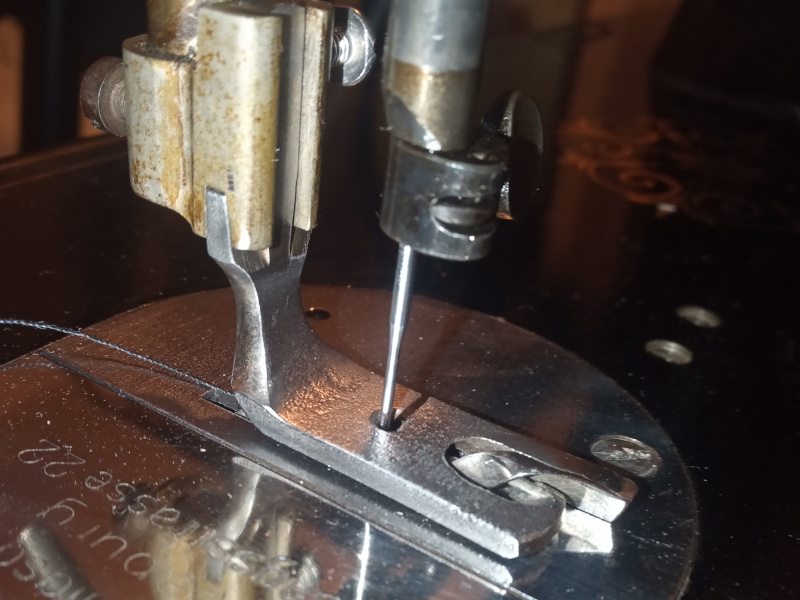
Regardless, I have spares that fit. A quick rummage through my box of unobtanium turned up two slightly different rolled hem presser feet. Besides the needle hole being in the correct spot, they also have a slit for the thread, making them slightly easier to use.
| Correct foot |
|---|
 |
With that straightened out, it was time to practice.
First a simple rolled hem with a single layer of cloth:
| Easy |
|---|
 |
That worked out pretty well, though the beginning looks a little rough.
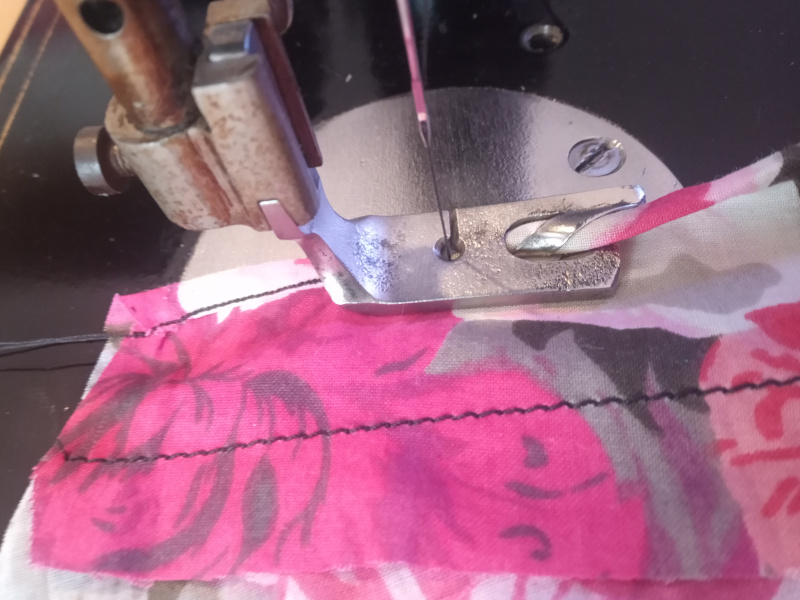
The pocket has two layers of cloth, so I sewed my test strip over to double the thickness then tried another rolled hem.
| Just as easy |
|---|
 |
 |
 |
I used a shorter stitch length for the rolled hem than I did to sew the cloth over doubled. That looked too short, though, so I made the stitch length a little longer when I sewed the pocket. I had it set to about 2mm for this test, then widened it to about 2.5mm.
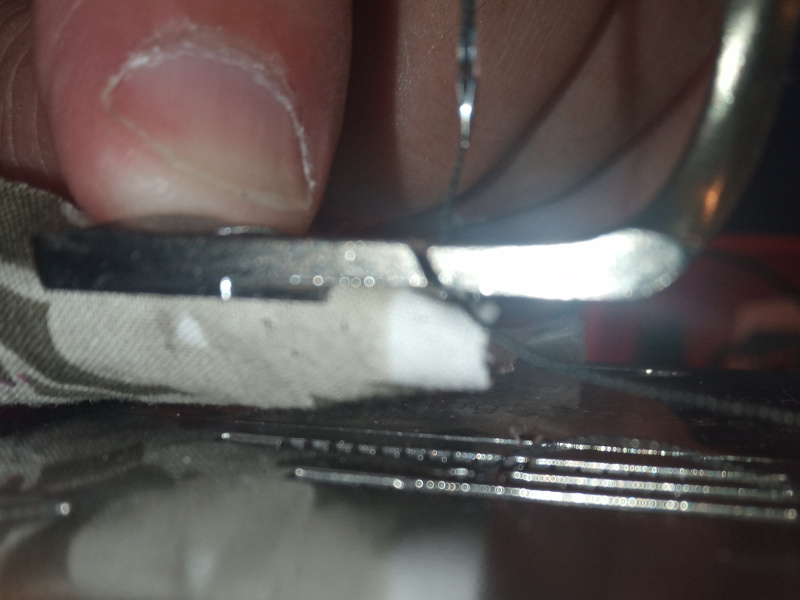
There were two tricks I found useful for getting the rolled hem foot to work for me.
The first was getting the cloth “threaded” through the spiral. I found it easiest to line up the cloth, push it into the spiral, then use the point of my knife blade (more conventional folks could use a seam ripper) to push it through the spiral to get the cloth to start a roll and come out under the needle.
| Insert the cloth |
|---|
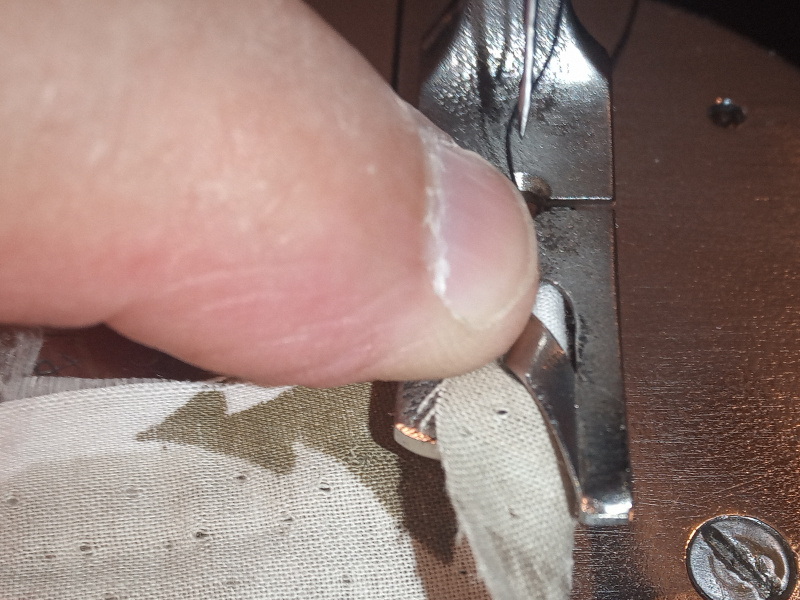 |
| Push the cloth through |
|---|
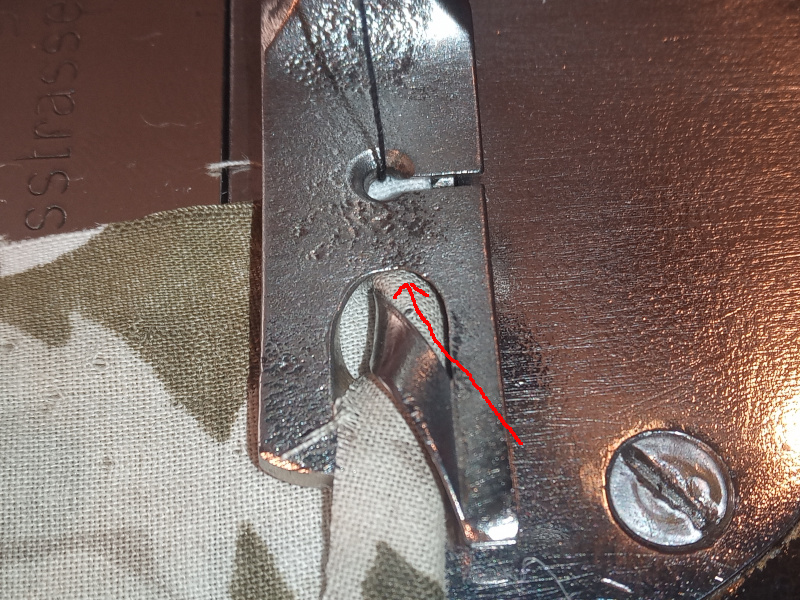 |
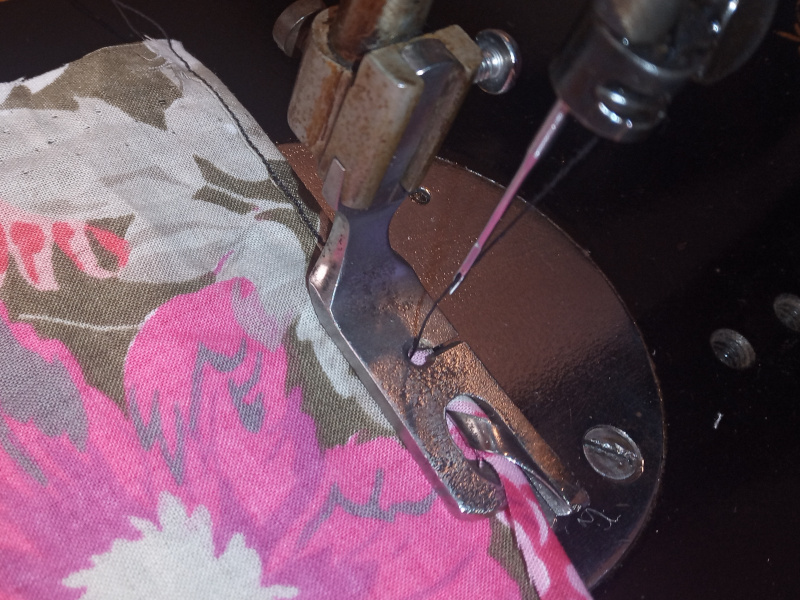
Use the point of the seam ripper to push the end of the cloth under the edge of the foot as shown by the arrow, then push the cloth further (while pushing it with your left hand) so that the end of the rolled cloth is under the needle.
| Rolled cloth hem under the needle |
|---|
 |
Once you’ve got it started, lower the foot to hold it in place.
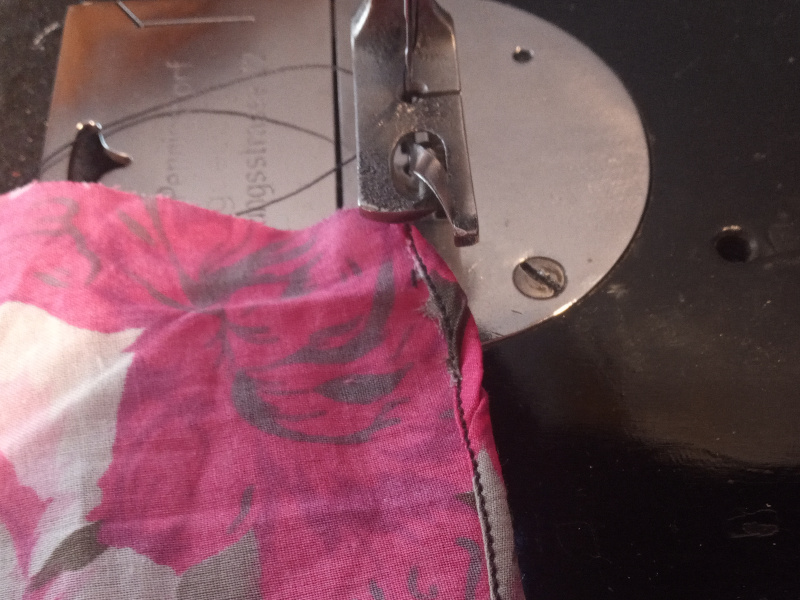
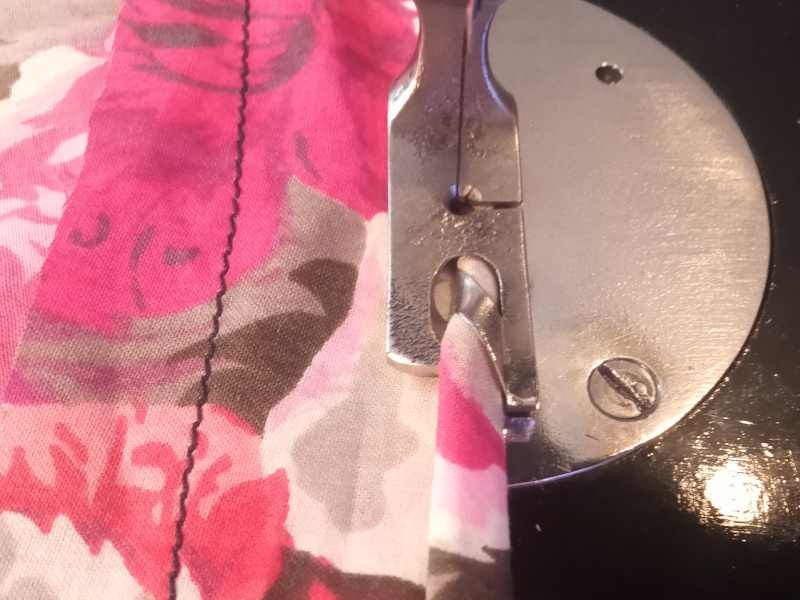
The next trick is figuring out how much cloth it takes to make the roll properly.
| Proper width of cloth for the roll |
|---|
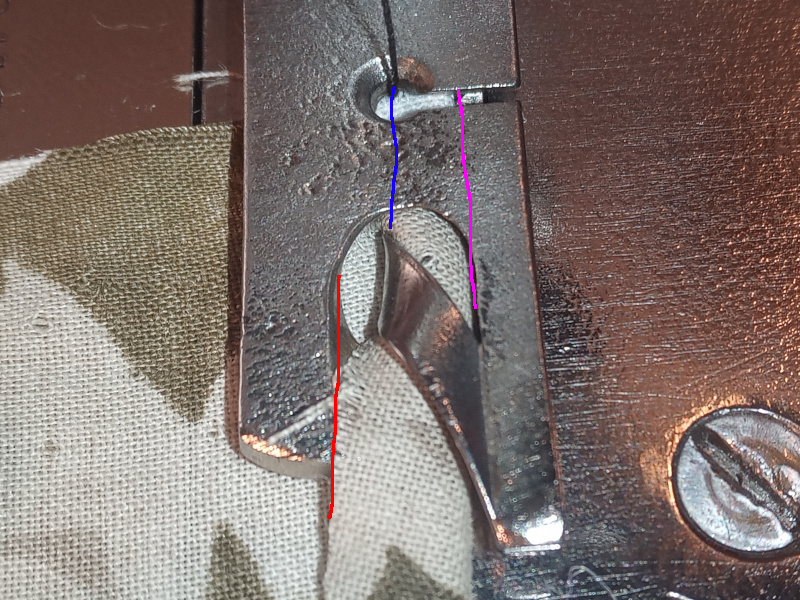 |
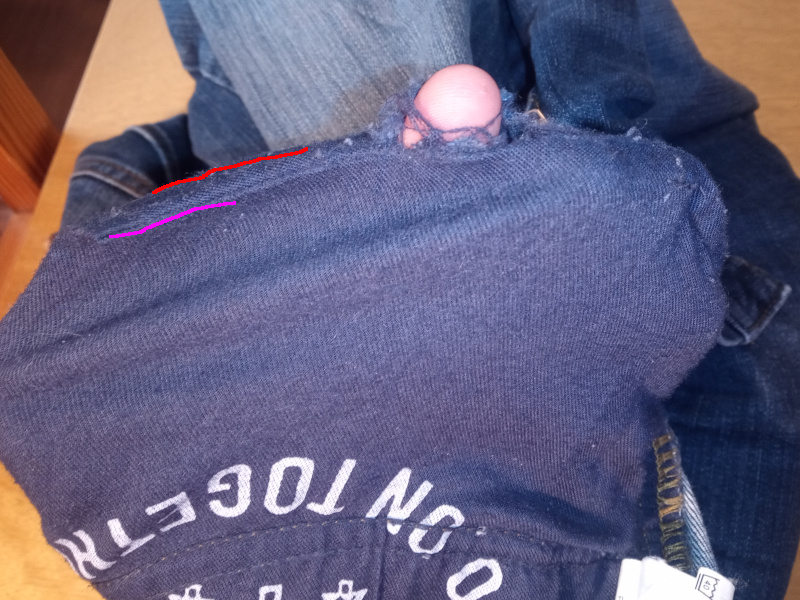
The blue line is where the stitches go. The purple line is the end of the hem - there’s a ridge under the foot the makes the cloth stay to the left of the purple line. You want as much cloth to the left of the blue line as there is to the right of the blue line. The hole in the foot is centered on the seam. All you have to do is keep the left edge of the cloth lined up with the left edge of the hole. That’s marked with a red line in the picture. More modern feet seem to have a guide for the left edge.
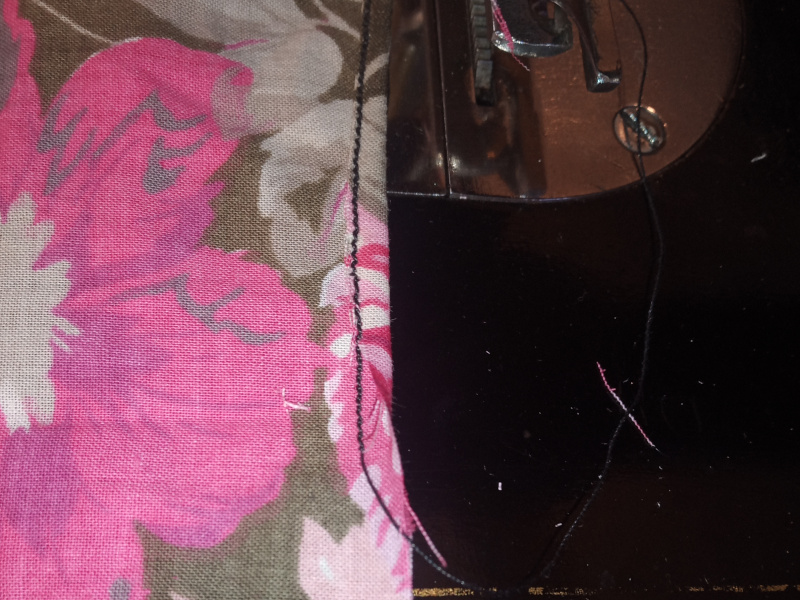
Done that way, it’s pretty simple to start and make the rolled hem.
| Making a rolled hem |
|---|
 |
One problem I had was that my Adler flies when run on the electric motor. The slowest speed it has when sewing cloth is “scary fast.” I tried it that way, and lost control of the hem in less than an inch.
| Slow down, take it easy |
|---|
 |
Work slowly until you get the hang of it. For me, that means cranking the Adler by finger until I get the new electronic motor control finished. Fortunately the Adler is easy to crank - it really does only take finger pressure to turn the handwheel.
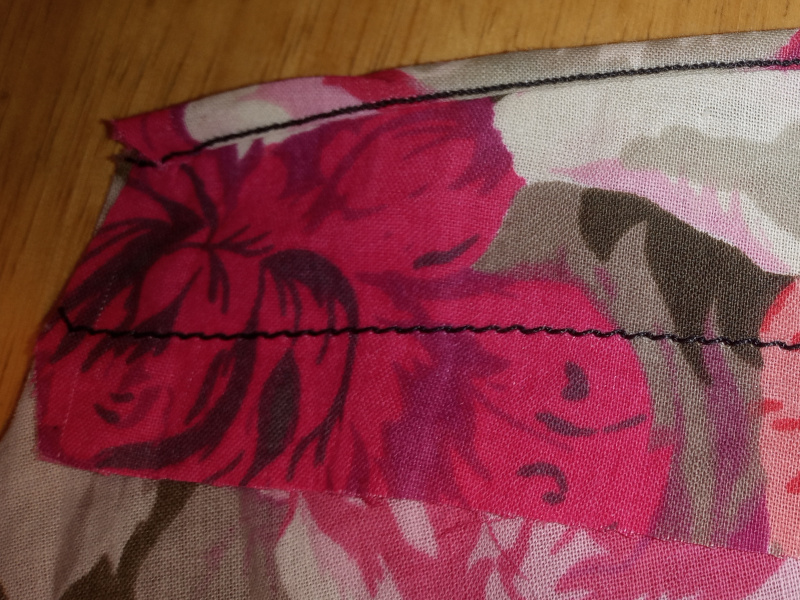
With practice and learning out of the way, I tackled the pants pocket.
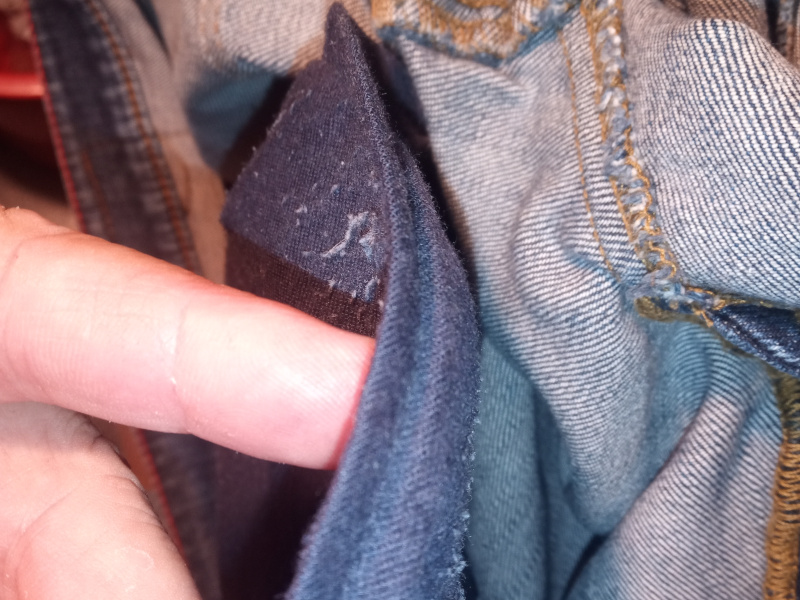
It looked like this:
| Holey pocket |
|---|
 |
The pocket was orignally sewn flat along the red line, then folded over and sewn again along the purple line. That makes a sort of felled seam.
I can’t do that without taking the pocket completely out of the pants - and I’m not that crazy.
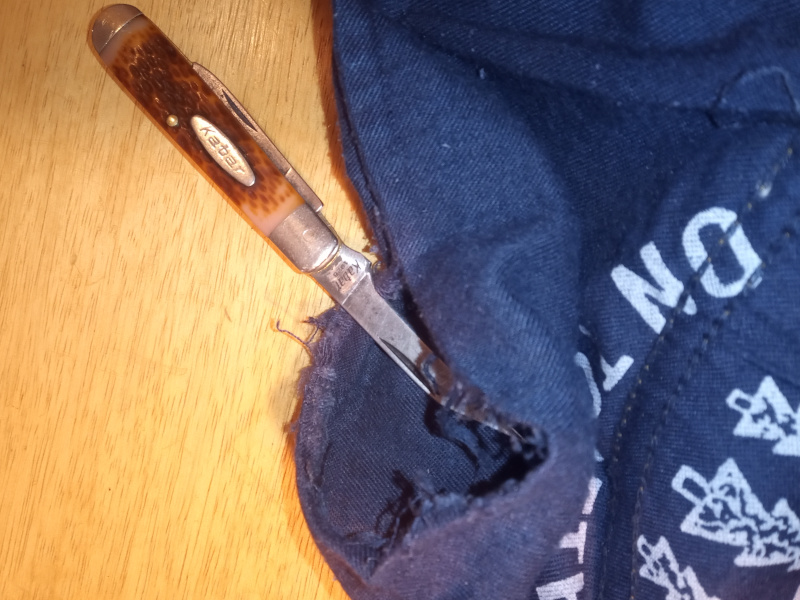
Instead, I just ripped out what was left of the two seams.
| Tear ‘em up |
|---|
 |
 |
Yes, I really used my pocket knife as a seam ripper. I always do. If I were working on fine cloth I’d probably go borrow my wife’s seam ripper, but for the rough stuff I generally do I just pull out the knife.
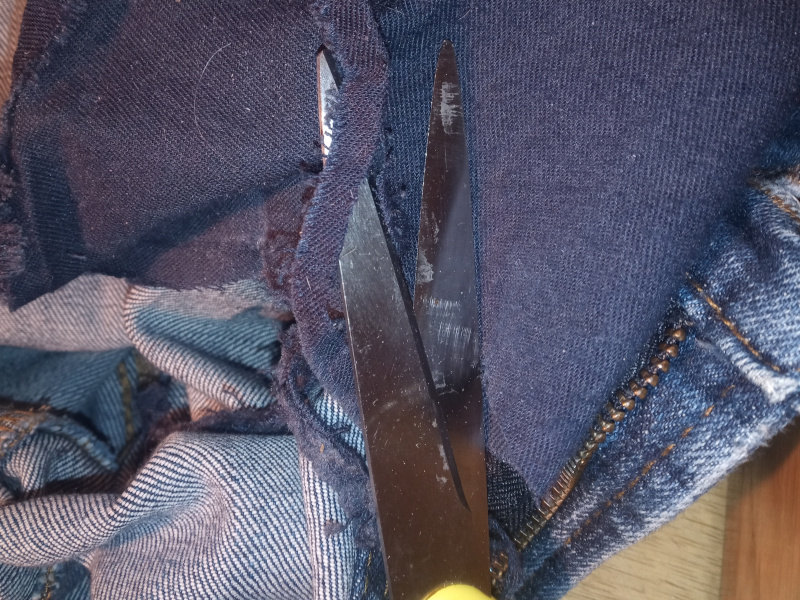
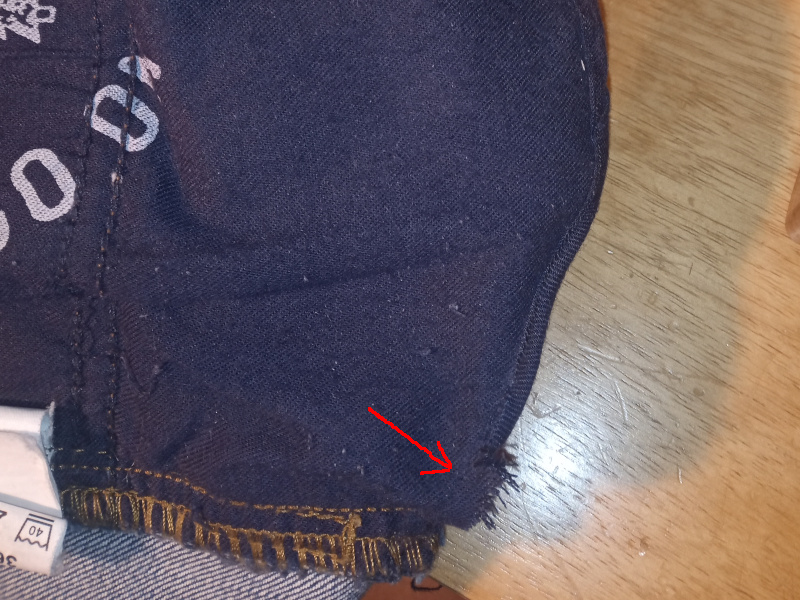
I trimmed away the worn out edges with a pair of scissors. A roll knife would have left a cleaner cut, but I wouldn’t have been able to get into the corners without cutting into the pants.
| Trim the edges |
|---|
 |
After that it was just a matter of sewing the pocket shut with a rolled hem.
| Fix the pocket |
|---|
 |
I used the thread I normally use for sewing leather - I hope it’ll last for a while.
| All done |
|---|
 |
 |
The rolled hem foot is longer than the regular foot so I couldn’t get the rolled hem all the way into the corners where the pocket attaches to the pants. I sewed a couple of lines of regular stitches to hold that last corner shut.
Pants: saved.
All told it took me nearly two hours to fix that pocket, but that includes learning to use a rolled hem presser foot. Not counting the time I spent learning about the presser foot it was closer to fifteen minutes.
There’s a lot of folks who would say that it is cheaper to toss the pants and replace them instead of fixing them because “your time is too valuable.” They say that like it’s work time that someone is paying me for. At the hourly rate I earn at work, it really would have been cheaper to buy new pants than to fix them - but nobody is paying me for what I do in my free time. It “cost” me some time I might have spent doing something else, or that I might have wasted watching some boring show on TV.
Don’t let ‘em fool you. Time spent doing and learning is never wasted.
It seems like the manufacturers treat pockets as decorations these days. They wear out awful fast, like they’re not really intended to be used.
I don’t know about other people, but I need my pockets. They are always full.
| Standard load |
|---|
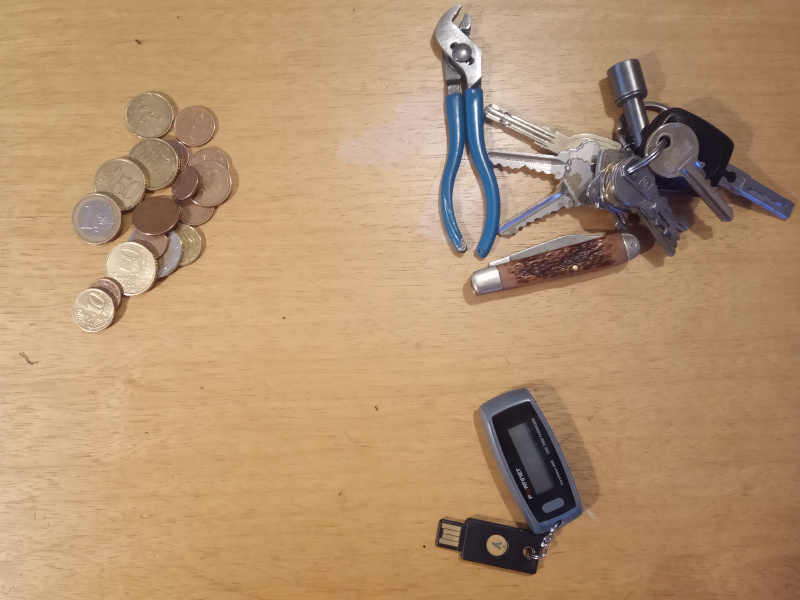 |
The change is always in the front left pocket. The knife, pliers, and keyring are always in the front right pocket. The two dongles live in the watch pocket. My wallet is alway in the back right pocket.
I have no idea how people get along without using their pockets.