The Adler class 8 sewing machine - Not doing what I had planned
Red crayons for better legibility.
Click here to see all the Adler class 8 posts.
I got some time to work on the base for the Adler again yesterday. I’ve been working on it on and off for the last couple of months, I just haven’t been writing about it. I’ve had too much going on to get things done and write about them.
The plan yesterday was to clamp the motor mount to the base and mark the screwholes. To do that, I had to put it all together in my work room.
| Ready for a trial fitting |
|---|
 |
Once I got it all together, I found that I’d built the motor mount wrong. The support arm was a couple of inches too short. I have no idea how I did that.
Rather than immediately start building a new motor mount, I took an hour or so to do something else - I was mad enough to chew nails, so I really needed to calm down a bit.
To calm down, I did something completely different.
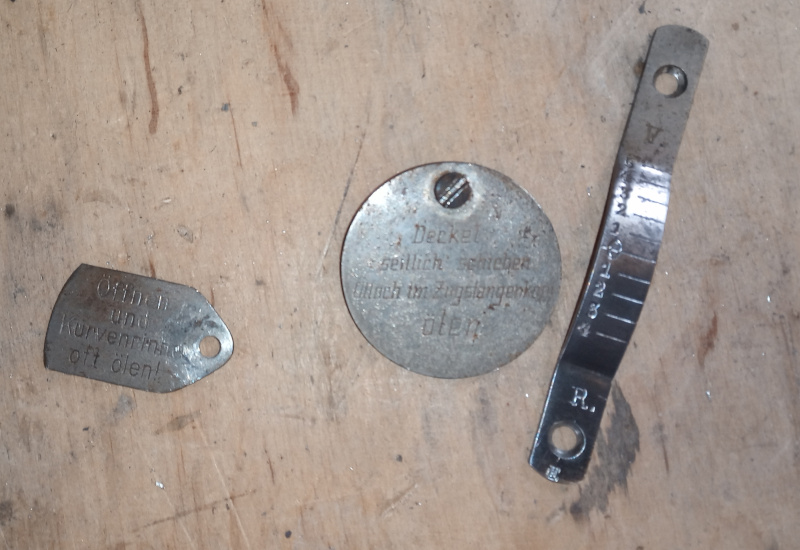
There are some markings (oiling directions and the stitch width scale) on the Adler that looked pretty ratty. The markings were originally engraved then filled. The original filling is long gone, and I removed (most) of the grunge filling the markings when I cleaned things up.
I checked into how such filled markings were made, and found that they were usually filled with colored wax. Some times they are paint filled, but often enough it is just wax.
I took the engraved pieces off the machine and took them in the garage for a thorough cleaning and polishing.
| Grungy engraved parts |
|---|
 |
As usual, I got started and then remembered to make photos. I had already started cleaning the stitch width scale when I stopped to make a picture.
I used a steel brush in a drill to get all the stuff out of the engraving and to make the surfaces smooth.
| Clean engraved parts |
|---|
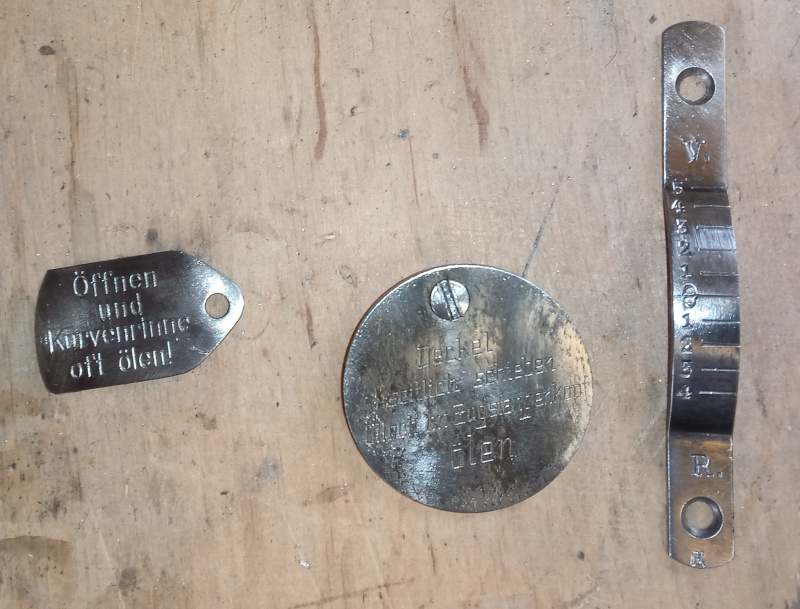 |
They are clean, but somewhat scratched up.
The next step was to polish the parts using a cloth wheel and some polishing compound.
| Polished engraved parts |
|---|
 |
Everything is all shiny there, but the polishing compound left grunge in the engravings. I washed all that out with paint thinner (some oil based stuff,) then used soap and water to wash off the solvent.
With the parts all shiny and clean, I took them back inside to my workbench.
At this point, I searched the whole house looking for a box of crayons. There are companies that sell wax for filling engraved markings, but it’s really just the same stuff that kids use on coloring books.
I was going to make the markings black, but I couldn’t find a black crayon. Blue, dark blue, dark violet. You name it, I found it. Just not black.
I finally settled on red.
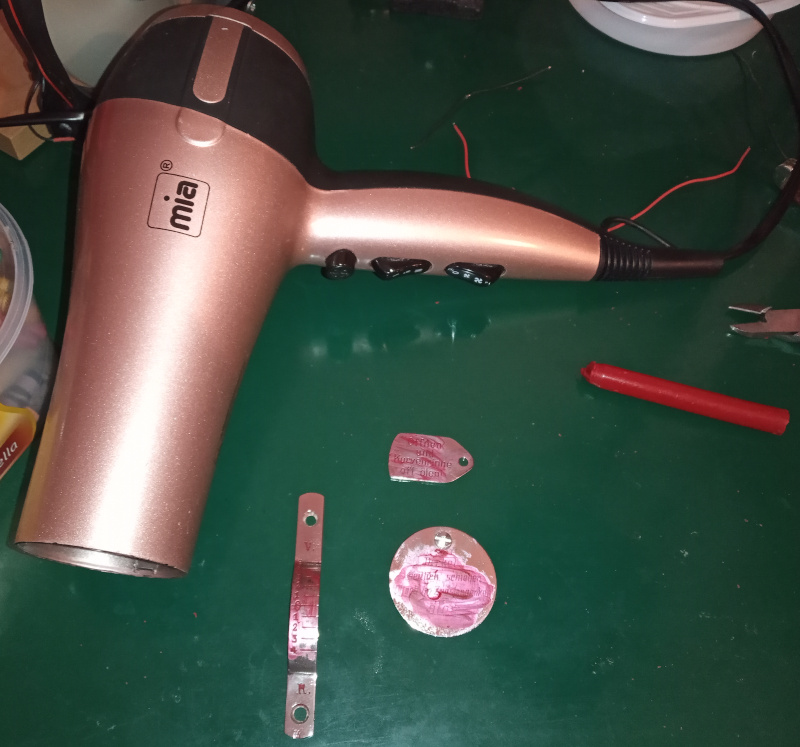
I used a hair dryer to heat the parts, then rubbed red wax into all the engraved markings. The heat helped the wax flow into the tiny nooks and crannies.
| Overfilled |
|---|
 |
I used my pocket knife to scrape off most of the excess, then rubbed the rest clean with a cloth.
| Filled |
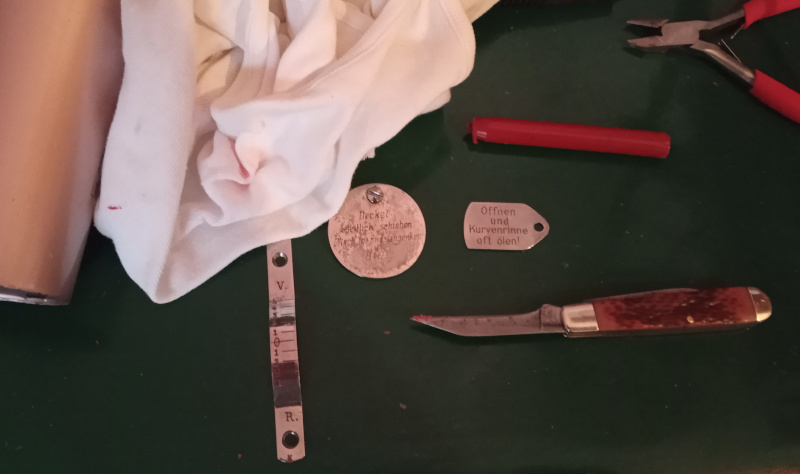 |
The round one still looks rough. It was originally nickel plated. The plating came off, but not all of it. I could have removed it all, but then the engraving wouldn’t have been as deep anymore and might not have held the wax.
I put the parts all back on and… you can’t really tell that the markings are filled. At least not in the photos. You can quite clearly see it in person. It just doesn’t show up that well when you photograph the whole thing together.
| Reassembled |
|---|
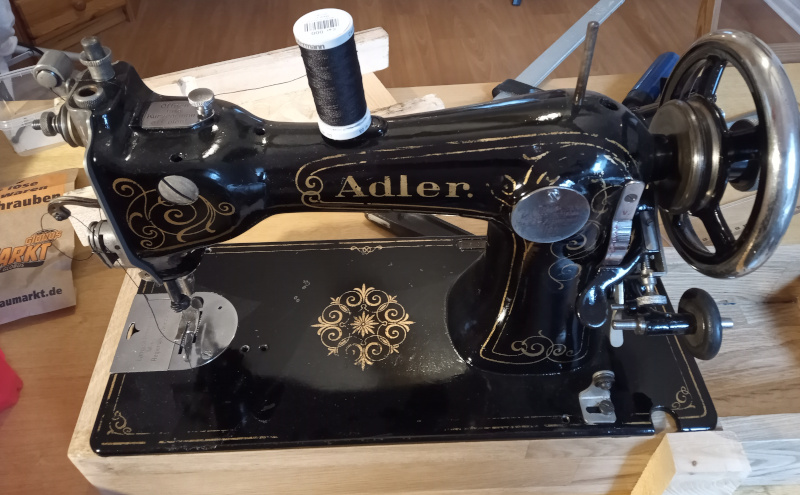 |
I’ll write a separate post with some details of the base and the motor mount. You can see it in the first photo way up there, and in the last photo.