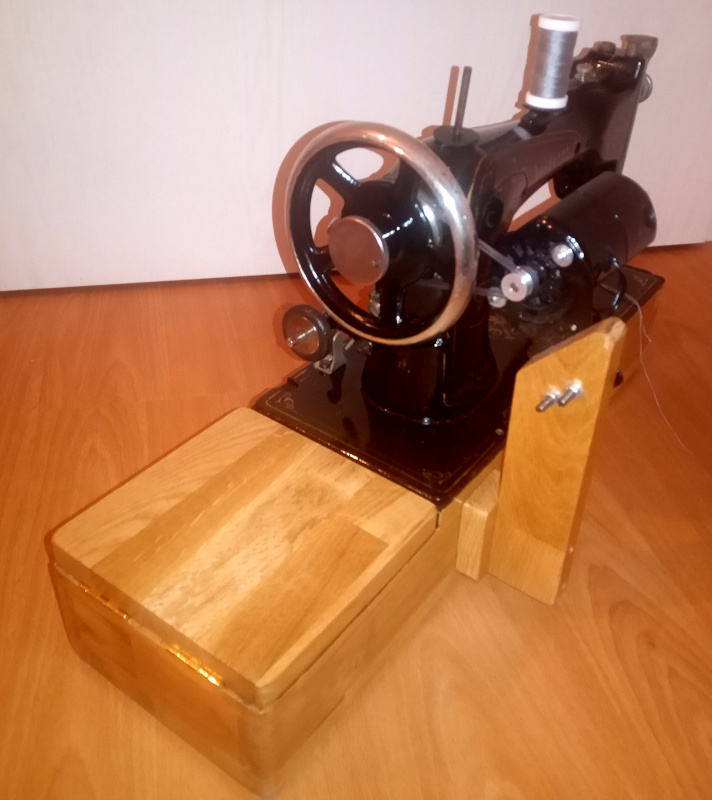
The Adler class 8 sewing machine - A new base for the Adler
Looking good.
Click here to see all the Adler class 8 posts.
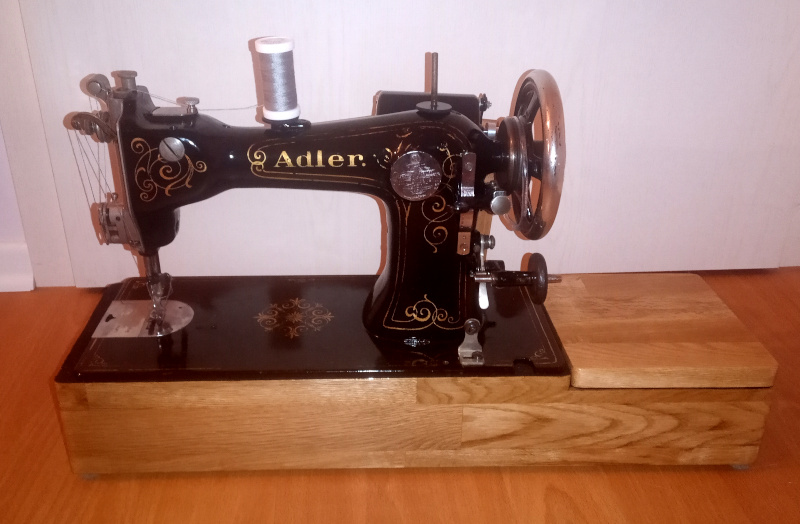
I have been working on the base for the Adler class 8 sewing machine over the last few months.
Bit by bit, piece at a time, I have finally managed to get it done.
Building it was something of an adventure - it took far longer than I expected it to. I mean, how hard can it be to make a box of the right size and shape?
If I’d have just slammed it together, it’d have been done in a couple of days. I wanted it to look nice, though, so it was rather time consuming given my abilities as a carpenter (poor to mediocre) and the rather bare bones nature of my workshop equipment.
I’m not going to bore you with how I built it. Not yet. You won’t escape that easily.
For now I just wanted to post some pictures of the finished project. I’ll make separate posts describing the woodworking, the finishing, and the motor setup.
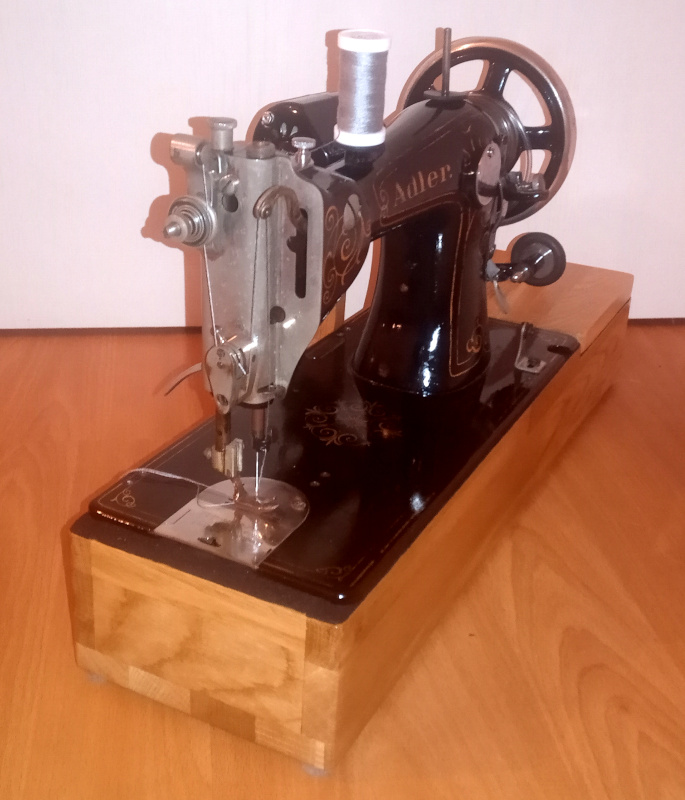
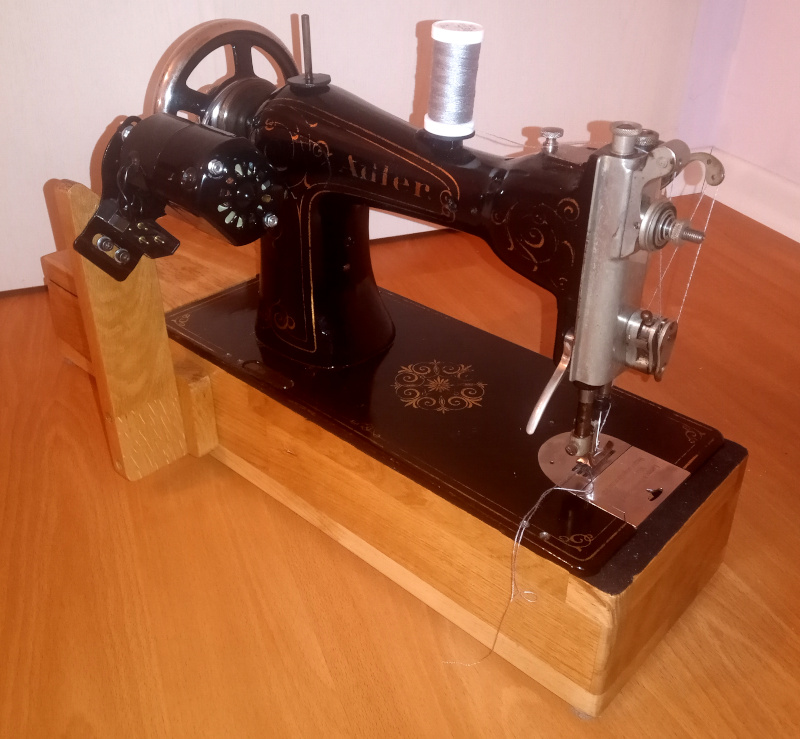
| Adler base |
|---|
 |
 |
 |
 |
 |
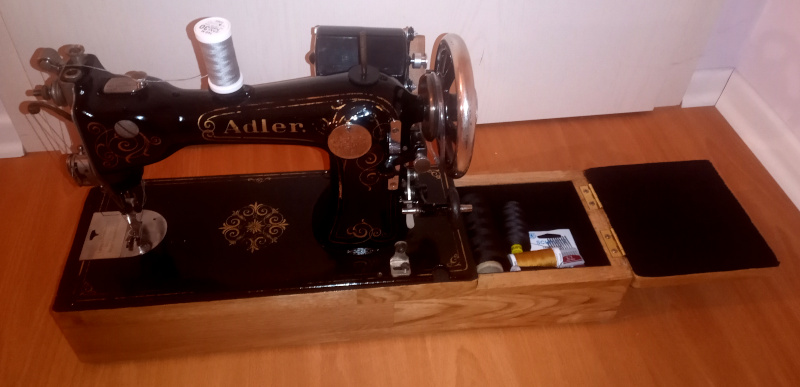
I used shellac to finish the wood. I originally chose it because I know (from the machine itself) that shellac will hold up well to sewing machine oil.
The shellac turns out to have been a good idea for another reason: It makes the grain of the wood really stand out. I may be prejudiced, but I find the shellaced oak grain beautiful.
I decided not to paint any kind of decorations on the wood. I had intended to do a kind of yin-yang thing with black curlicues on the golden oak as a contrast to the gold curlicues on the black finish of the machine.
With the grain as pretty as it is, I figured that anything I could add would just make it “busy” looking - overloaded with patterns. The grain itself is decoration enough.
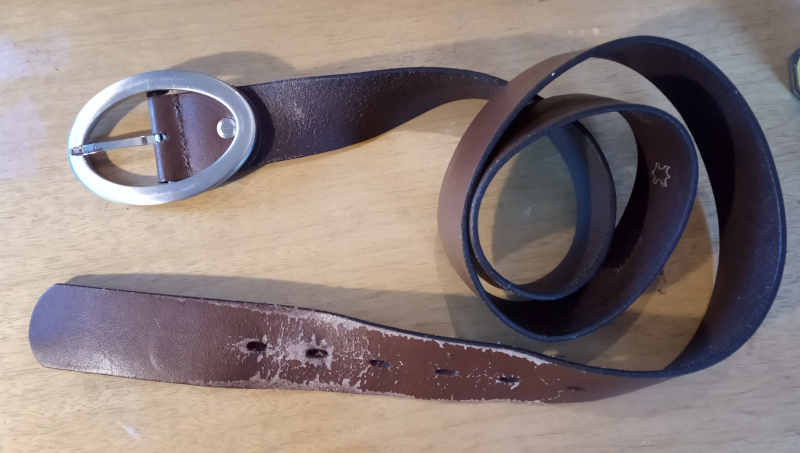
Besides making dozens of test seams (I have a scrap of leather that is now more thread than leather,) I have already used it on a couple of little things.
When I first mounted the motor with a friction drive, I used the Adler to sew a decorative seam on a belt I made for my wife.
“Made” is good. I bought a bare leather belt strap the right width and length, then made holes for the screw-on buckle and for the tongue to go through. I dyed the whole thing brown, then put the silver (colored) buckle from her favorite (but worn out) belt on it. I ran a seam around the outside in a silver/gray thread so that it wouldn’t look so bare.
| Belt |
|---|
 |
 |
 |
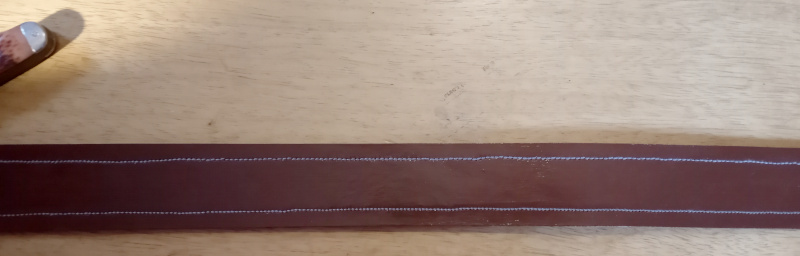 |
The stitching kind of wanders a bit. I need a lot more practice with that kind of thing.
Besides practice, though, I needed the motor when I did the belt.
The friction drive wore out about one third of the way through. I finished the job by hand cranking the machine. Strangely enough, it is easier to keep things straight when the motor is running. When going slowly by hand, my attention wanders and I try to adjust the seam too often. When the motor was running, the seam was much straighter.
I did the other little project the evening I changed the motor drive from friction to belt drive. I have sleep apnea and have to wear a mask at night to make sure I keep breathing. The straps on the mask have velcro fasteners. The current set of straps is getting old and the velcro doesn’t hold right any more. I sewed down a fastener that kept coming loose at night. Well, the machine had the silver/gray thread (matching the color of the straps) in it and I needed (wanted) to try the belt drive out. That worked well though it wasn’t much of a test - just a couple of inches.
I have things in mind to do with the Adler now that I’ve got it and got it running. It is amazing how you think of things to do when you have the tools to do them.
Before I start those other projects, though, I’ll describe what it took to get the Adler where it is. Another time. This is too long as it is.