The Adler class 8 sewing machine - Building the base for the Adler
Lots of woodworking.
Click here to see all the Adler class 8 posts.
Given that it has taken me from July to November to get the base for the Adler finished, I was surprised to see just how quickly I actually got the basic box built. Judging by the timestamps of the photos I made, it only took me a couple of weekends to make the box. It took a lot of time after that to make it look nice, but building it seems to have only taken about three afternoons on two weekends.
Rather than try to tell you a story, I’ll just show you the pictures and add comments.
| Cutting wood |
|---|
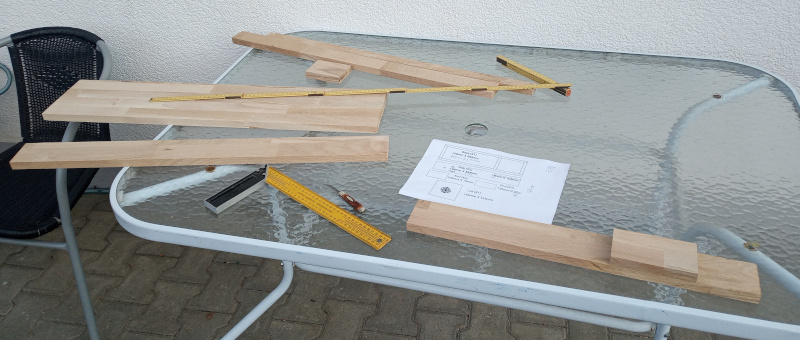 |
As usual, I got started and then made pictures. I’ve already cut the boards to width with the table saw, and started cutting them to length on the bandsaw.
| Broke a blade |
|---|
 |
I managed to snap the blade in my bandsaw again. The saw is no great shakes, and I tend to push it too hard. The blade breaks pretty much at least once any time I use it. I don’t buy new blades when one breaks. I fix them. I’ll write that up sometime.
| Cutting to size |
|---|
 |
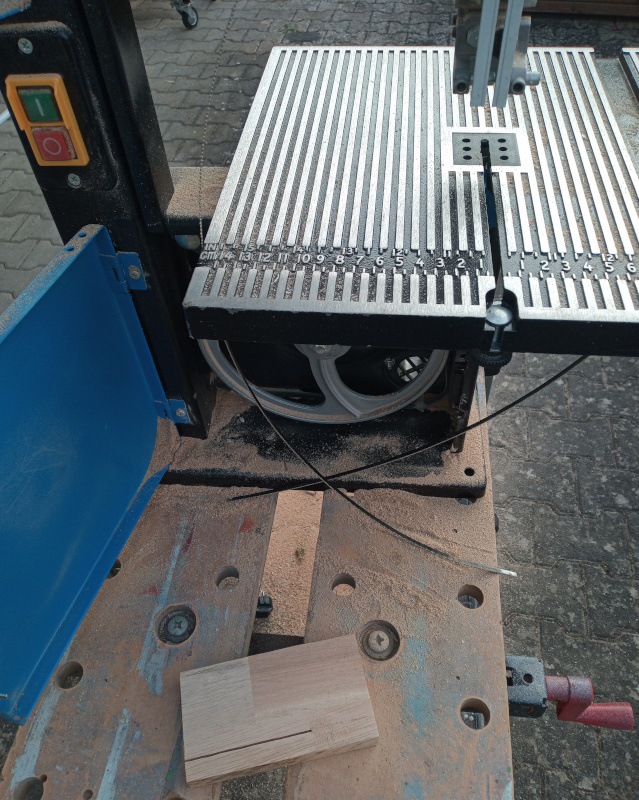
I use the bandsaw freehand for a lot of things other folks would use a table saw or at least a rip fence on the bandsaw for. The edges come out straighter and cleaner for me if I just eyeball things than if I try to use a fence.
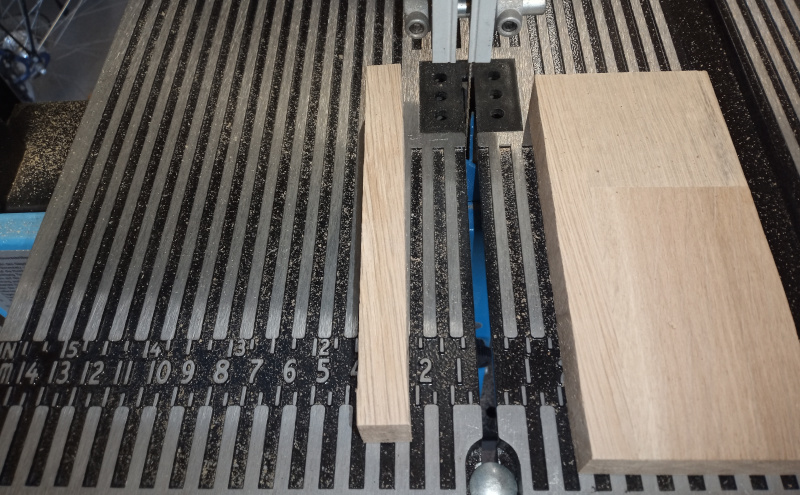
| Pieces all cut |
|---|
 |
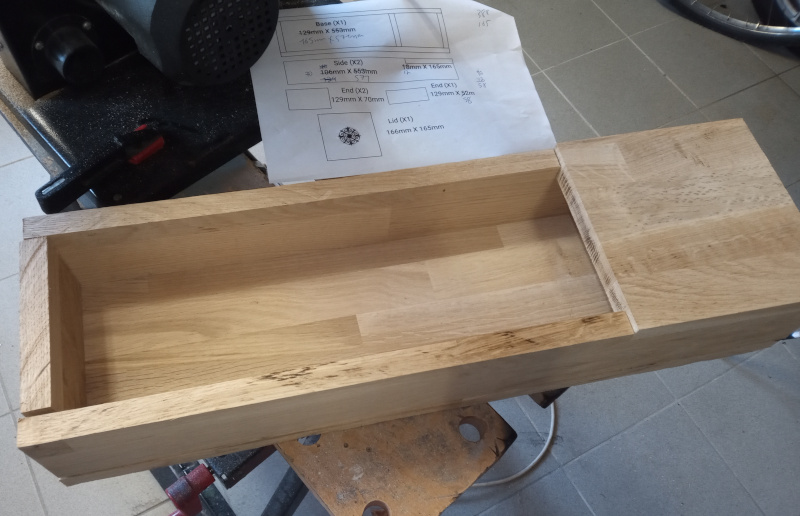 |
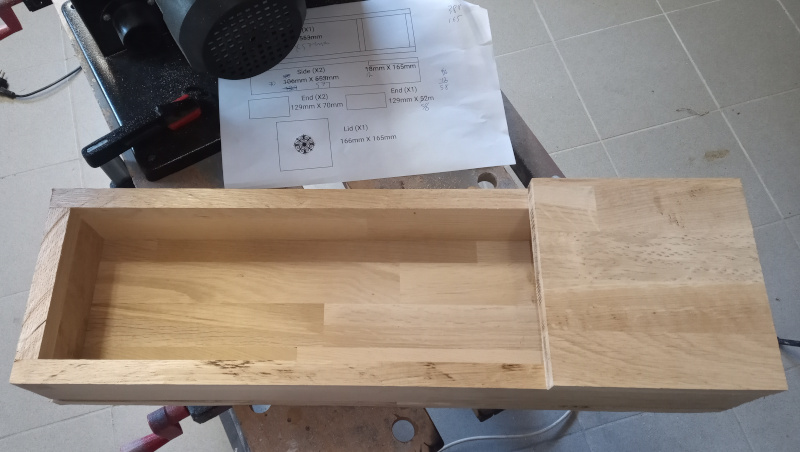
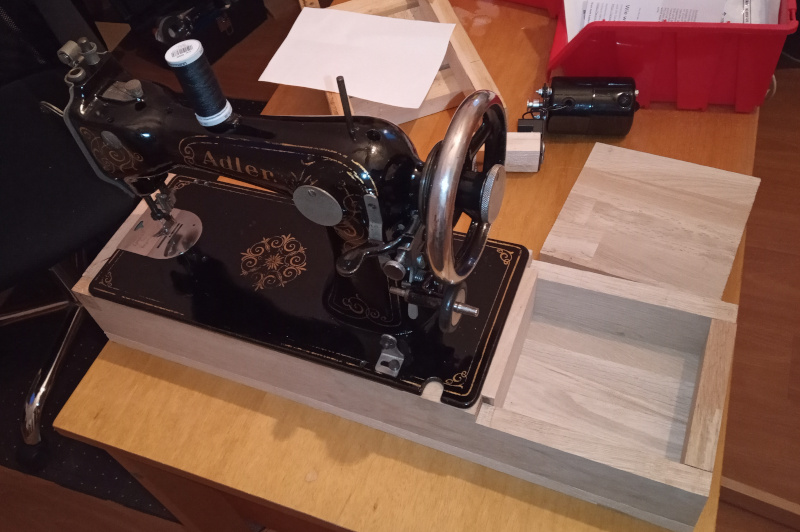
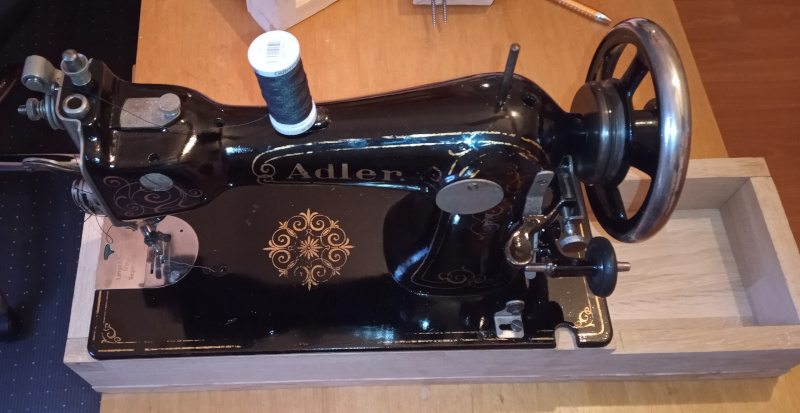
I changed my plans as I was working on the base. The original plan had the sides screwed to the sides of the bottom plate. I actually built it with the sides screwed to the top of the bottom plate. That meant the bottom plate had to be a little wider.
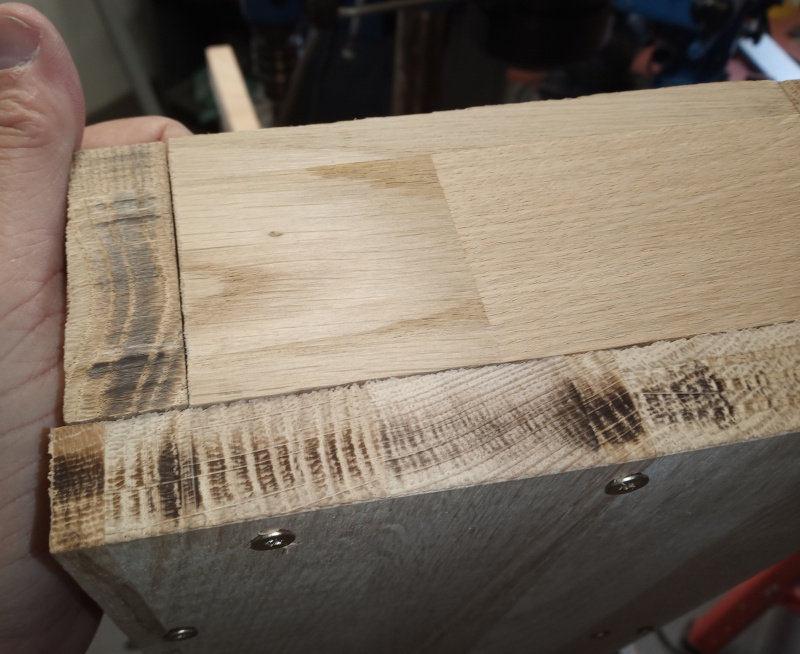
The lid sits a little higher than the top edge of the box. That’s so the lid will be flush with the top surface of the base of the machine.
| One of these things is not like the others |
|---|
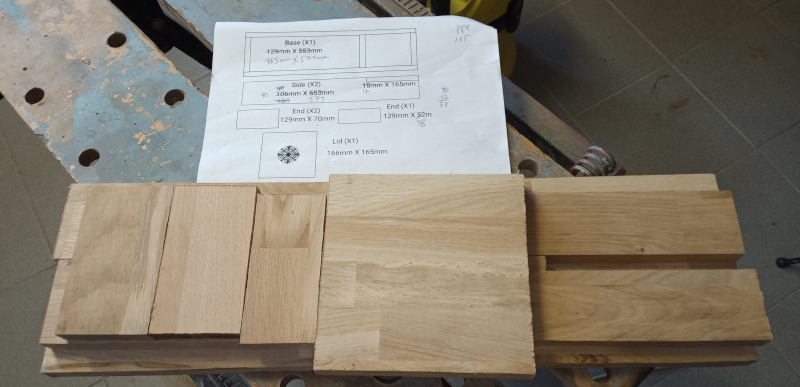 |
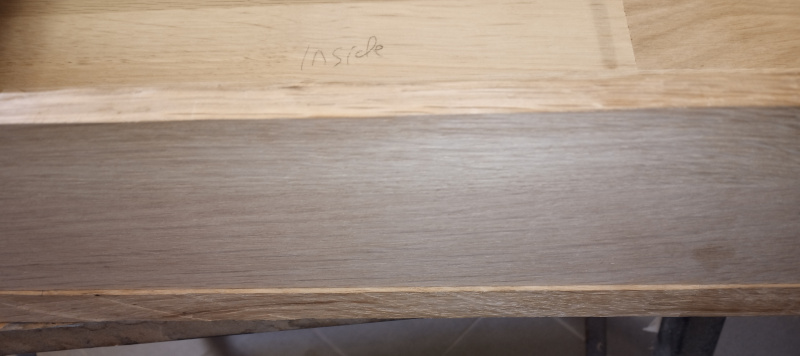
If you look closely, you’ll see that one of the pieces is made of beech. By changing the width of the bottom plate, I ended up not having enough wide parts. The piece made of beech is the side of the accessory box. It’s hidden under the machine on one side and covered in black felt on the top and the other side - no one can tell from the outside that I smuggled in different kind of wood.
With all the pieces cut, I started making the cutouts for the mechanical parts on the bottom of the machine.
| Making space |
|---|
 |
 |
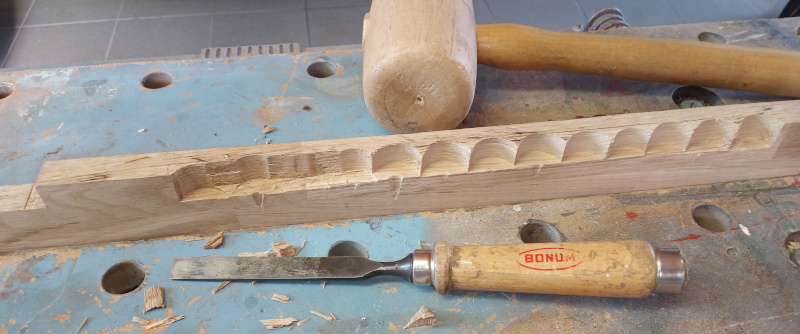
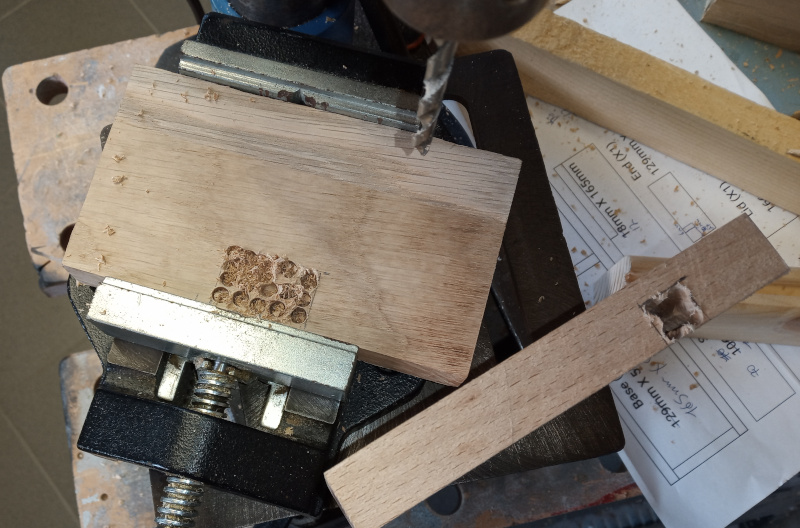
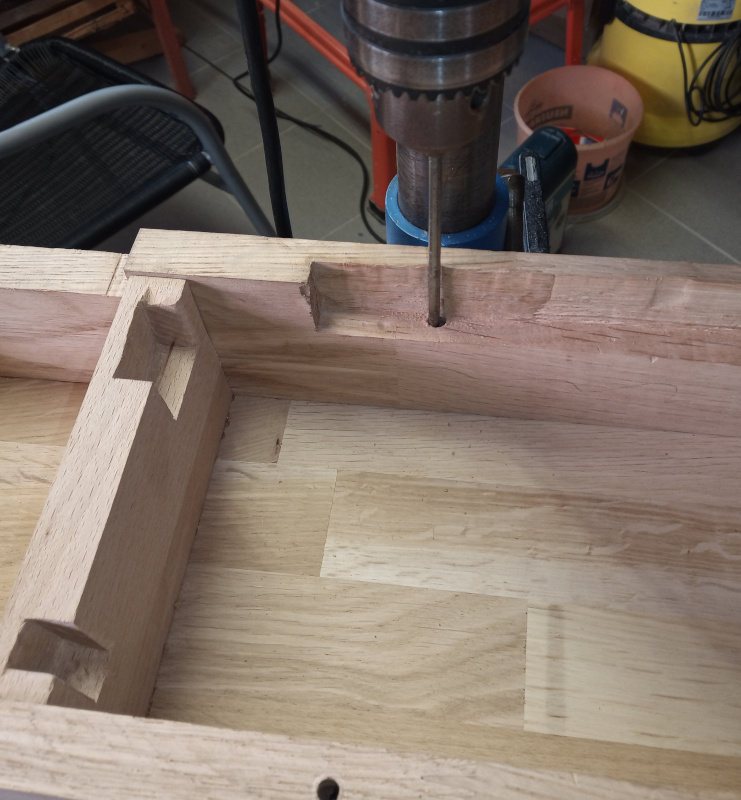
I used a one inch paddle bit to remove most of the material on that side, then used a hammer and chisel to remove the rest. I had clamped a piece of scrap wood on there, then drilled into both the oak and the scrap so that the paddle bit could remove a good chunk of the oak.
I’m not all that good with the chisel, so it’s a good thing the cutouts are all inside the box under the machine where no one will see them.
That was the first weekend. Two days, and I’ve got all the pieces cut.
| Marking and making more spaces |
|---|
 |
 |
 |
 |
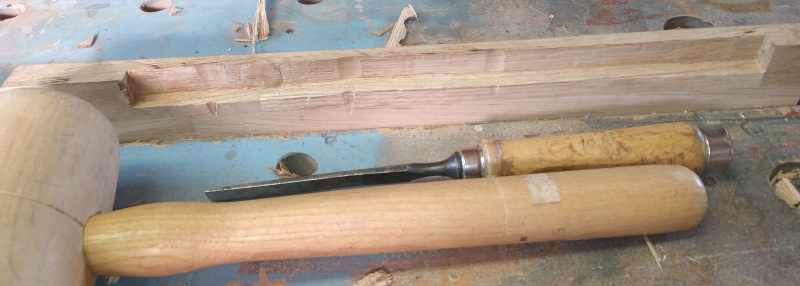
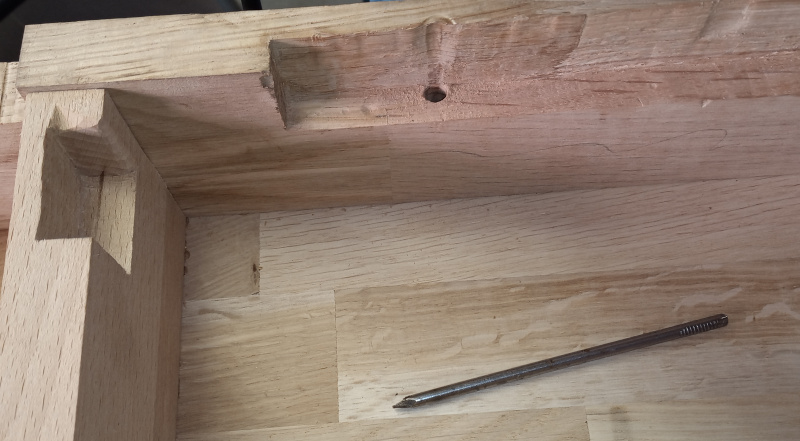
With the side cutout finished, I could mark the cutouts in the two ends.
Again, I drilled out large parts of the cutouts then used the hammer and chisel finish things up.
I keep the chisel touched up and sharp while working with a leather strop. That’s the long black thing there. It’s made from an old belt glued to a piece of beech. I rub polishing compound into the leather to give it some “bite.”
| Assembly |
|---|
 |
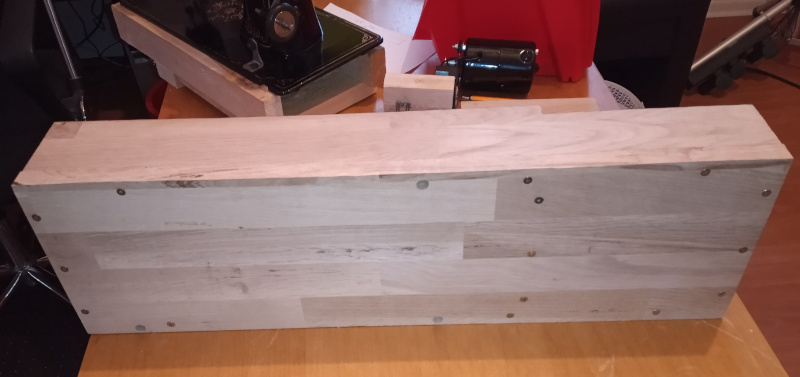
I’ve again forgotten to take pictures. I’ve already drilled screw holes and screwed and glued the box together. All you get to see is the screws from the bottom.
I used screws on the bottom instead of clamps to hold things together while gluing the upper pieces to the base. I couldn’t clamp things in two directions at once so I used screws to hold the bottom and clamps to hold the sides and ends while the glue set. The screws aren’t needed to hold it together now that the glue is set, but I put them back in. I’d have otherwise had to fill all the holes.
| Lots to do |
|---|
 |
 |
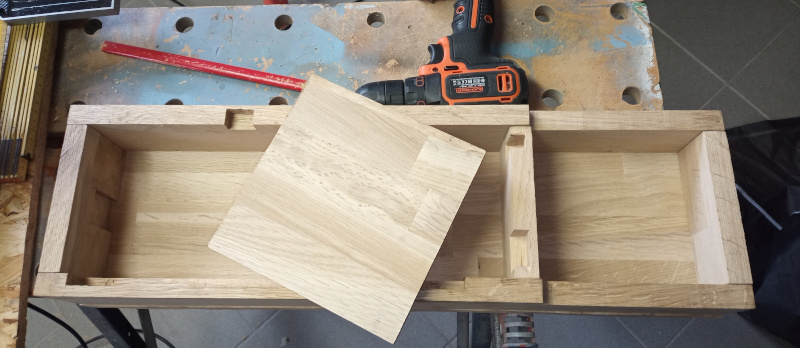
As you can see, things didn’t fit together perfectly. There’s oversized stuff to remove and cracks to fill.
| Making the mounting holes |
|---|
 |
 |
 |
 |
This was just about the trickiest part of the whole thing. I needed to drill some 5 millimeter holes the long way through the side walls of the base to hold the machine down. The problem is that I don’t have a 5 mm or narrower drill bit long enough to go through 90 millimeters of wood.
The solution was to cut the head off of a long nail and use it as a drill bit. That got me holes all the way through that were a little narrower than 5mm. I then drilled down from the top with the 5mm bit, then drilled up from the bottom with an 8mm bit to a carefully measured depth. The screw heads fit in the 8mm hole, but won’t pass through the 5mm part. The screw length and the depth of the 8mm hole makes it so that the tips of the screws are flush with the top surface of the base of the machine - they don’t stick out, but they are screwed in the holes as far as possible.
I used 5mm screws to screw into the existing holes in the machine base. They originally held the hinges that held the machine to the table. The holes in the cast iron base aren’t (quite) 5mm, but they are close enough. I’ve seen comments to the effect that the sewing machine manufacturers intentionally used non-standard sizes for their screws. A quick look at the history of screws says there weren’t really any universal standards at the time.
There were only three holes in the base of the machine so there are only three screws holding it to the wooden base. They only have to carry the weight of the wooden box, though, so that should be fine.
That was the second weekend. Now all it needs is a lot of scraping, filling, and sanding before finishing.
All of that took a lot of time, scattered out over a couple of months.
I’ll post pictures of all of that another time.