The Adler class 8 sewing machine - Refurbishing some unobtainium
Not like new, but at least functional.
Click here to see all the Adler class 8 posts.
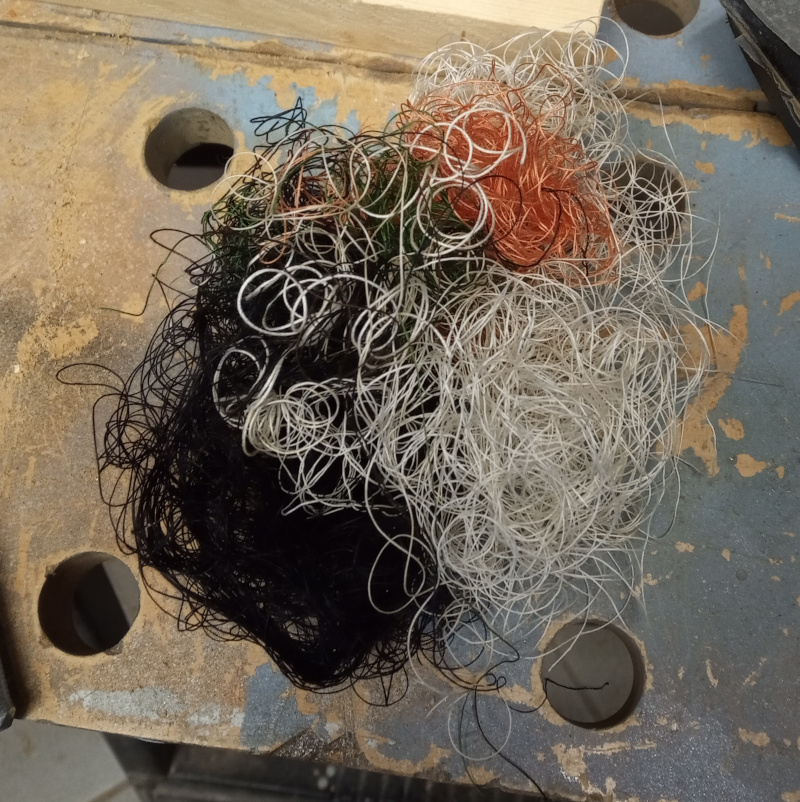
I spent a few hours in the garage yesterday, cleaning up the “new” old bobbins for my Adler class 8 sewing machine. While I was at it, I also polished the presser feet that came with the bobbins.
| Grungy unobtanium |
|---|
 |
Cleaning up the feet just required careful handling on the buffer wheel - wear safety goggles and try to work so that when the buffer wheel snags on one of the feet it will be thrown away from you instead of at you. I had to chase a couple of thrown feet around the garage, but the goggles never got a work out.
Cleaning the bobbins was another story, though. Since the bobbins were so much trickier, that’s what I’ll be describing.
First things first: Remove the old thread from the bobbins.
| Old thread |
|---|
 |
Most of the bobbins still had some thread on them. I had some fun unwinding the thread, then chasing the bobbins around the garage - sort of like spinning a top. I unrolled them in a box to keep them from getting away but some managed to jump out and skitter around the room.
To clean the outsides, I made a little holder out of a piece of threaded rod.
| Bobbin holder |
|---|
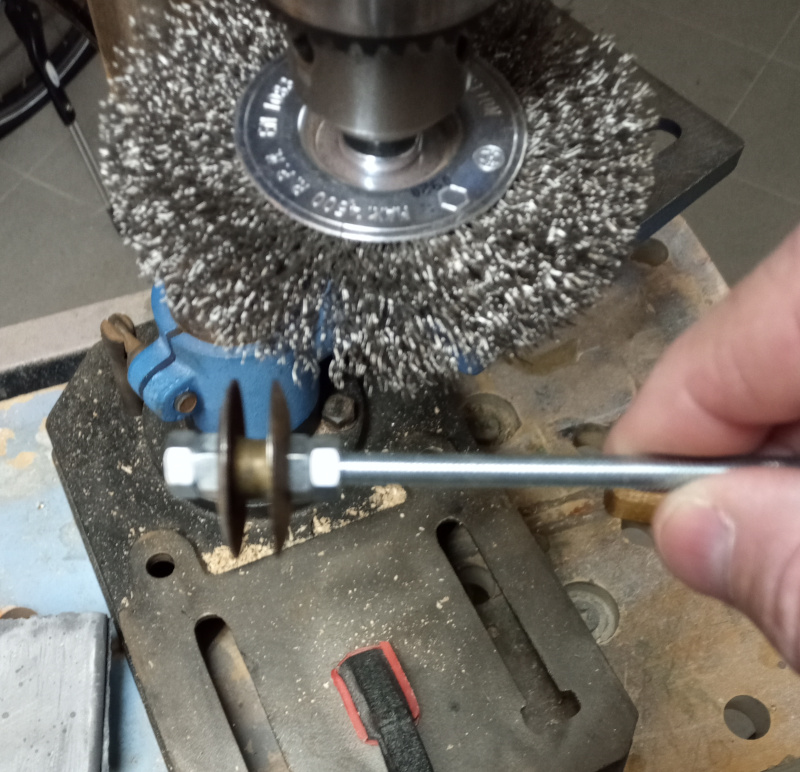 |
With the holder, I could work the bobbin around the wire brush without brushing my fingers to nubbins.
Besides being clean, the bobbins also have to be smooth and polished. The outsides aren’t hard to handle. It’s the insides of the curved bobbin shell that’s tough to polish.
At first I wasn’t sure how to go at it, so I plopped the bobbins in some rust converter while I worked on other things and thought about how to clean the insides of the bobbins.
Since the steel brush was already in the drill, I went ahead and cleaned up the “new” oil can.
| Clean can |
|---|
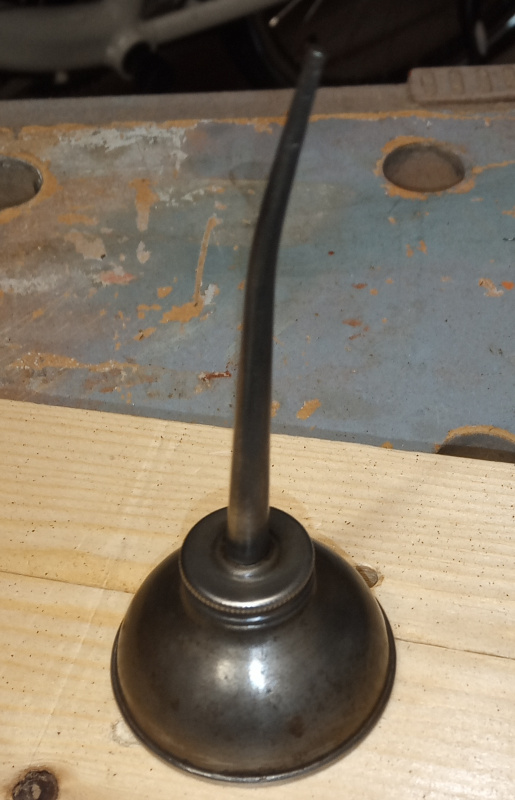 |
I was going to make a screw-on cap for it from a small piece of brass rod, but something went wrong. The 2.5mm hole I drilled in the brass rod was too large - there was almost nothing for the 3mm tap to bite into. I tried it a couple of times, and both were bad. I’d have tried a 2mm bit, but I seem to have broken it and not replaced it some time ago. This being late on a Saturday afternoon (and Germany,) there were no replacements to be had.
After that, I polished the presser feet. I’ve already described that. I didn’t make any pictures - there’s nothing especially interesting about it.
By the time I’d done all that, I had gotten an idea about how to polish the insides of the bobbins.
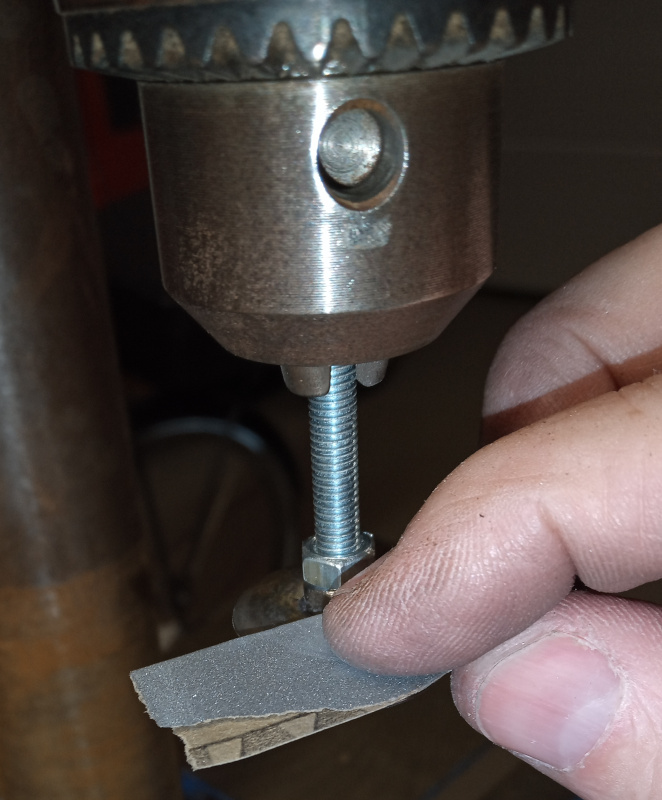
I already had the holder made, so I’d just chuck it in the drillpress and use some fine sandpaper to clean the insides of the bobbin.
| Bobbin spinner |
|---|
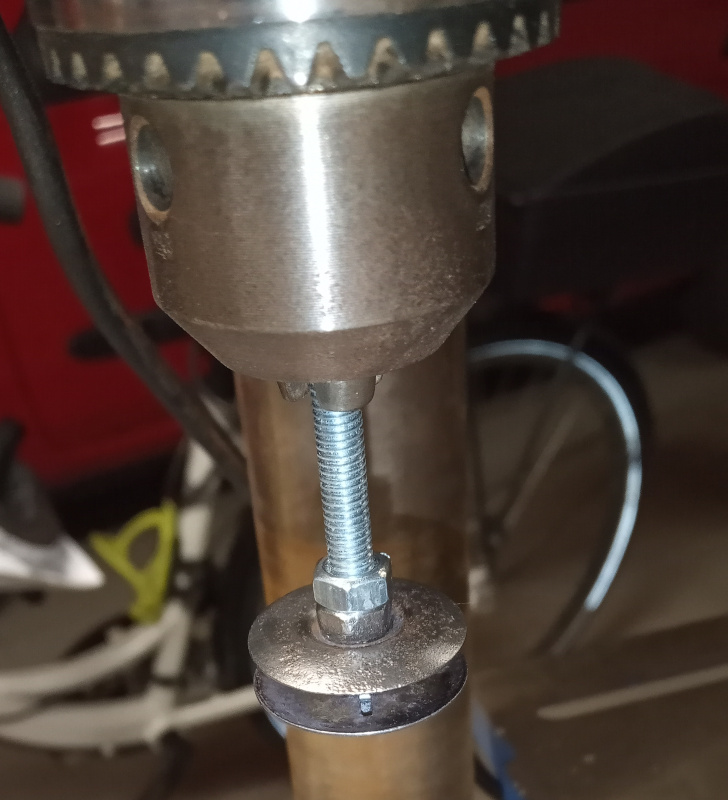 |
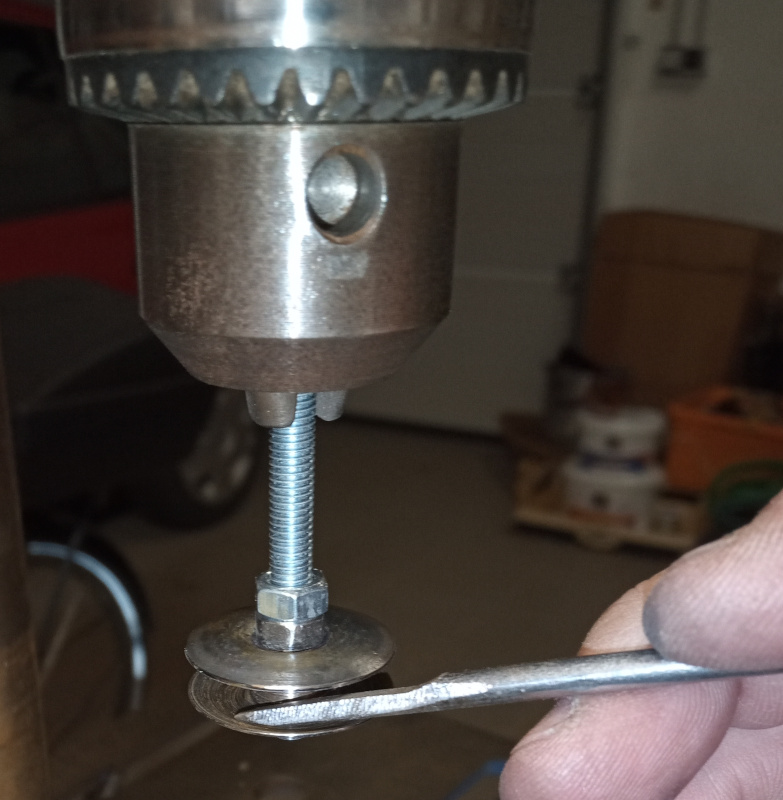
The idea was to stick a piece of sandpaper in the opening then hold it against the inside surface with a small rod.
That worked, but was going to take forever - fine sandpaper doesn’t remove rust that well.
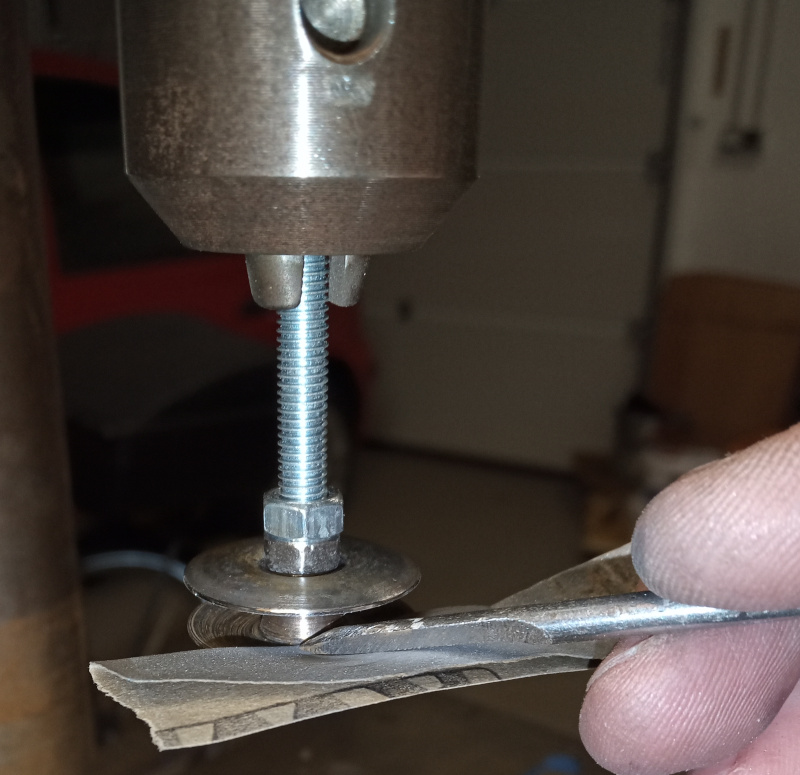
I accidentally poked the rod through the sandpaper and discovered that the rod did a much better job of removing the rust. I filed the rod to a sort of a point, then used it to “turn” the rust off of the insides of the bobbins.
| Turning rust |
|---|
 |
I made that and the following pictures with the drillpress turned off. I couldn’t scrape off rust and work the camera at the same time.
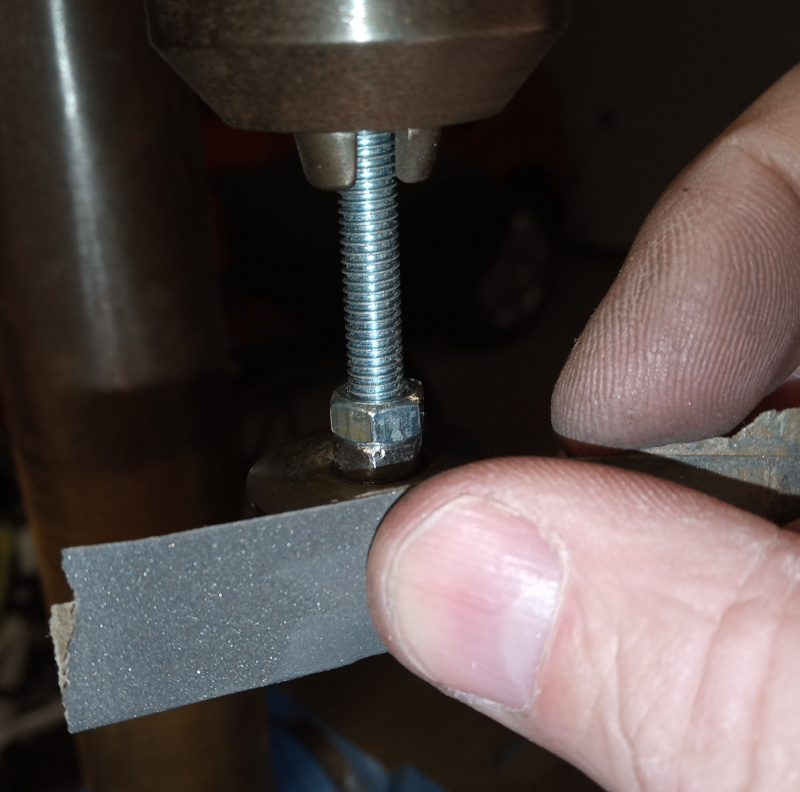
Once the rust was off of the insides, I stuck a piece of 600 grit sandpaper inside the bobbin and polished it smooth.
| Polishing the inside |
|---|
 |
I couldn’t reach the inside of the top half. I had to do each bobbin twice. Bottom side, take it out, flip it over, bottom side again.
With the insides done, I used the sandpaper to polish the edges of the bobbins to remove any sharp edges.
| Rounding the edges |
|---|
 |
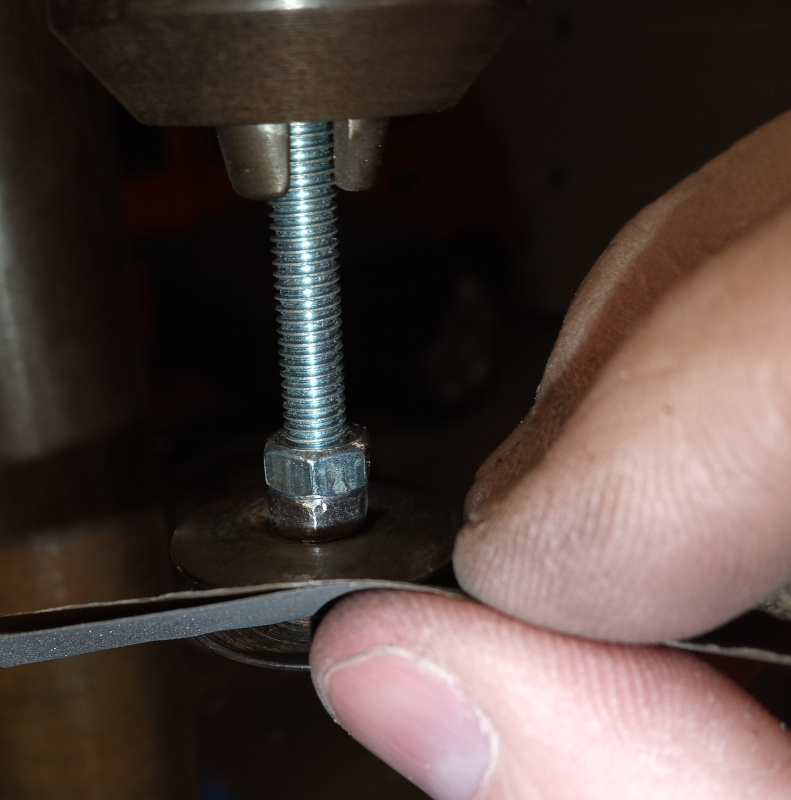 |
The top and bottoms got a final go over with sandpaper to make sure there were no snags from the steel brush.
| Sanding the outside |
|---|
 |
Once they were all clean, I setup the buffing wheel again and buffed them shiny. I didn’t make any pictures of that. I used the holder again, then took care to always hold the things so that when the buffing wheel caught on something it would be thrown away from me. Safety goggles are an absolute must when doing this stuff.
Here are my refurbished bobbins.
| Shiny bobbins |
|---|
 |
That’s the eleven refurbished bobbins, with the one original from my machine off to the right. I didn’t polish it.
The refurbished ones are a bit bumpy, but they are smooth and slick. They’ll spin just fine in the bobbin holder and they won’t cut the thread or snag it. The polish I used in the buffing wheel is some kind of oil based stuff. I normally clean it off with a solvent, but this time I just wiped the bobbins clean. That left a film of the oily polishing compound on them to protect against rust.
The presser feet turned out OK, as well.
| Clean presser feet |
|---|
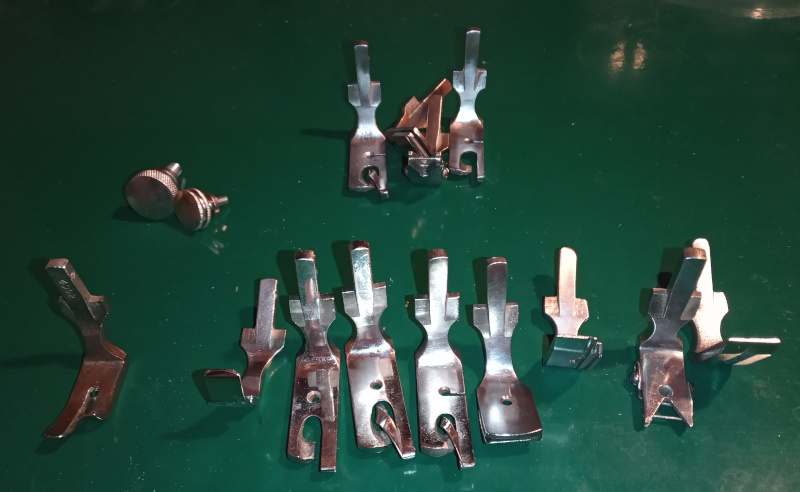 |
It turns out that I have one complete set of all the presser feet described in the Adler class 8 user manual plus four duplicates.
Off to the left there is the original foot that was with the machine when I got it. Together with the other eight in the front row, it makes a complete set. The spares are in the back row.
My wife is slightly envious. My bit of ancient junk has more accessories than her newer machines.
It turns out that the knurled knobs are important, too. They’re to hold some of the other accessories in place. I identified most of the rest of the mysterious parts I got - they’re in the user’s manual, you just have to look at it properly.
Those other accessories are due for a cleaning - but some other time.
Oh! I almost forgot the throat plates.
There was a second one in with the bits and pieces - and it’s important, too. The Adler class 8 was originally delivered with two plates. The difference is in the size of the needle hole. You use the small hole for fine needles with fine thread and the large hole for thicker needles with thicker thread.
My Adler came with a plate with the large hole. The plate in the junk has a small hole. Yay! A complete set.
| Throat plates |
|---|
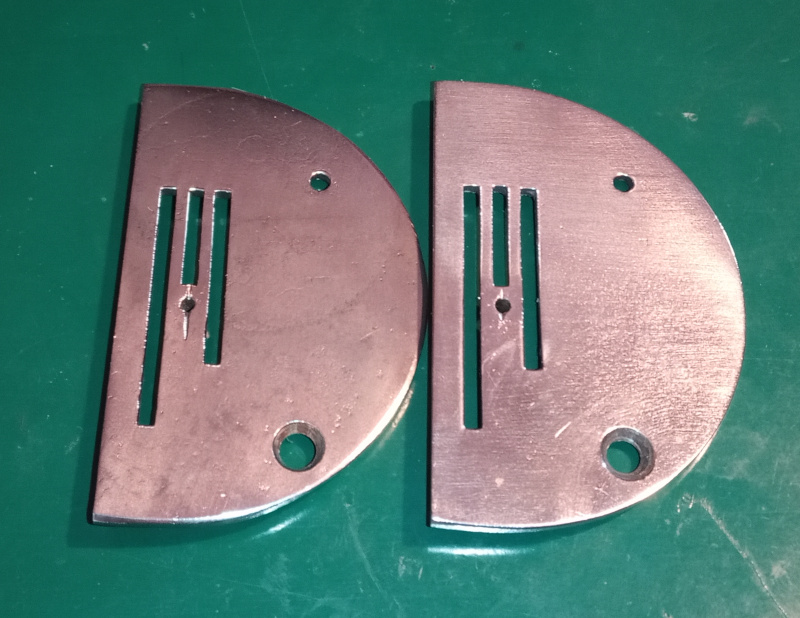 |
It’s hard to see in the photos, but the needle hole in the right plate is about 0.5 mm larger in diameter than the hole in the left plate.
I’ll clean up the other accessories some time this week, then put up a summary of all the accessories I’ve got.