Headset earpads - don't fear the imperfection.
If you don’t try, you’ll never get better.
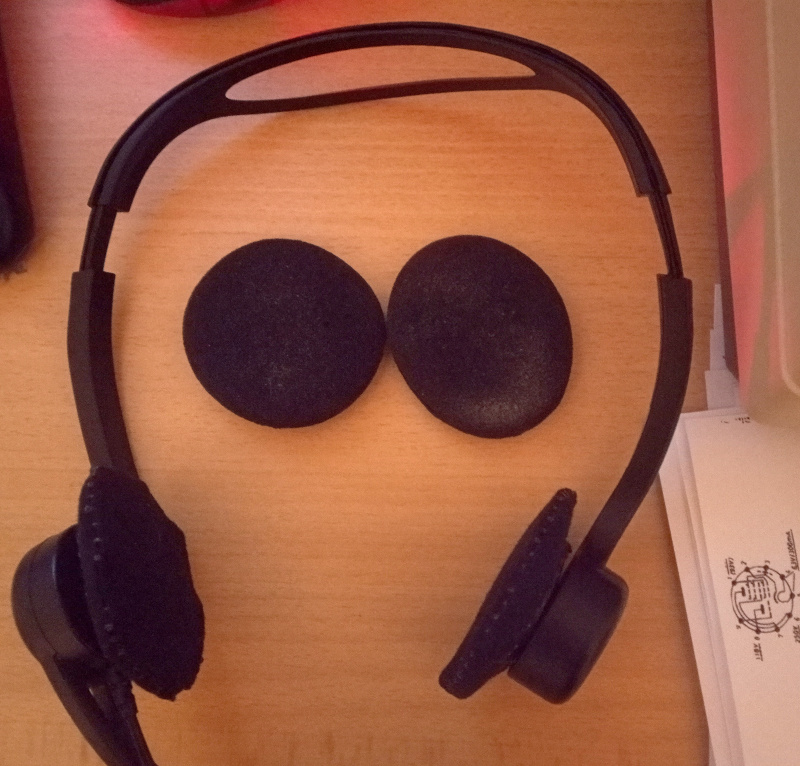
Did you ever pick up something you use every day and realize that you never really look at it? That happened to me the other day, causing me to take a real look at the headset I use daily.
I discovered that there’s a rip in one of the earpads on my headset, and that both of the earpads are full of skin particles and ear wax - phooey.
| Yuck |
|---|
 |
Well, yeah. The headset is three years old now. It has been in daily use since the beginning of the COVID lockdowns in 2019. No wonder the pads are icky and wearing out.
I made the new earpads for my headset (they are already on the headset in that picture up there.) Afterwards I got to wondering what it would have cost to just buy new pads - and I found that I couldn’t identify the headset, let alone find replacement pads. This seems to suggest that the manufacturer expects you to buy a new headset rather than replacing the pads.
My first attempt was a failure. It turns out that T-shirt material (jersey) is a real pain to sew - at least, if you are trying to sew small pieces. Maybe it is easier with larger pieces.
| Disaster |
|---|
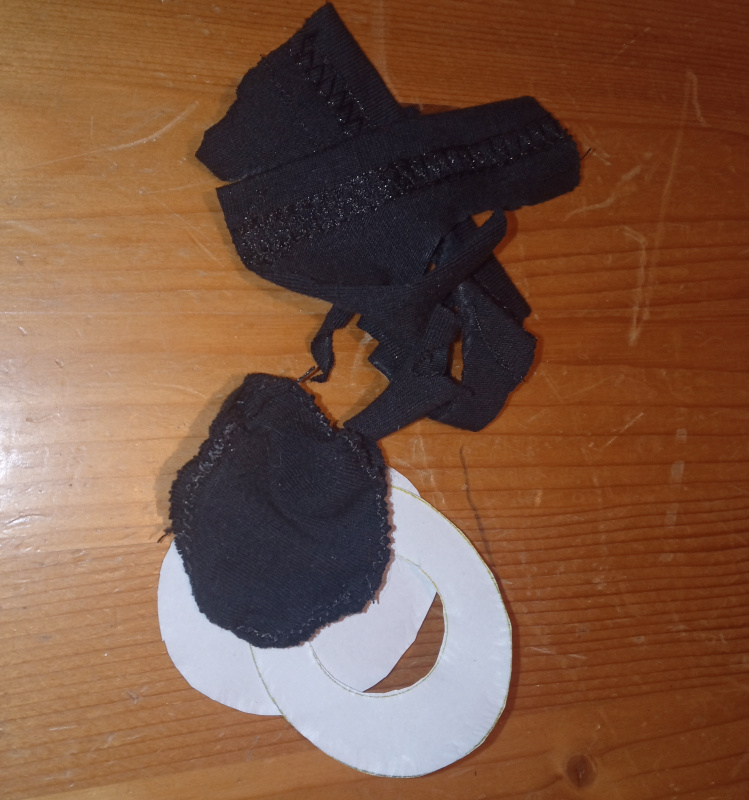 |
The material curled and rolled up from the stitches and got wadded up between the presser foot and the feeddogs. I made that mess one evening, then slept on it and came up with a better way.
I had marked the cloth using a pattern that I had made from measurements of the headset speakers, then cut the pieces out and tried to sew them together.
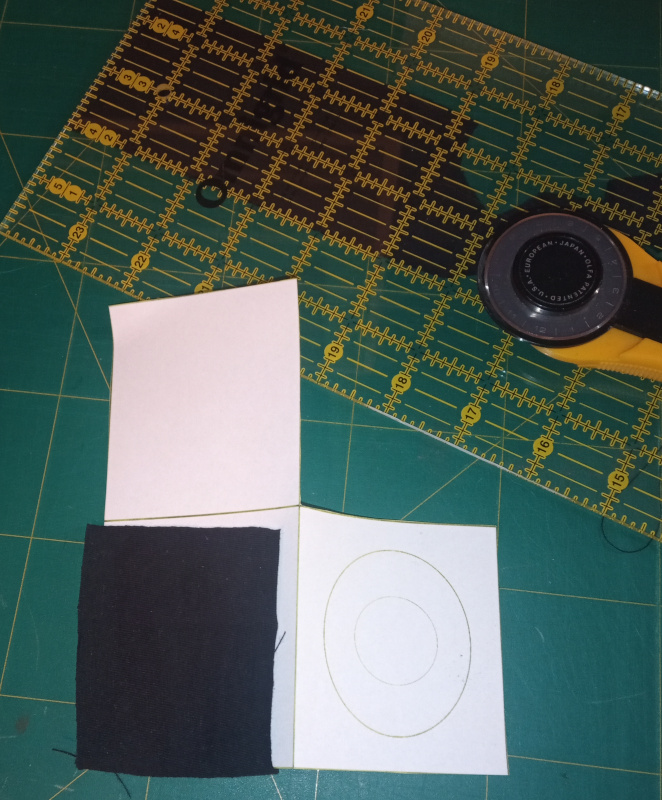
For the second attempt, I expanded the pattern to include re-enforcement sheets such that the cloth was inbetween folded layers of paper when sewing. That made the sewing much easier, though I still need lots of practice to sew small things.
| Improved pattern |
|---|
 |
I borrowed my wife’s Pfaff 262 rather than using my Adler class 8 because I thought I would need zig-zag (the Adler is straight stitch only) and because the Adler is still way to fast for me - I haven’t finished the new motor control for it yet.
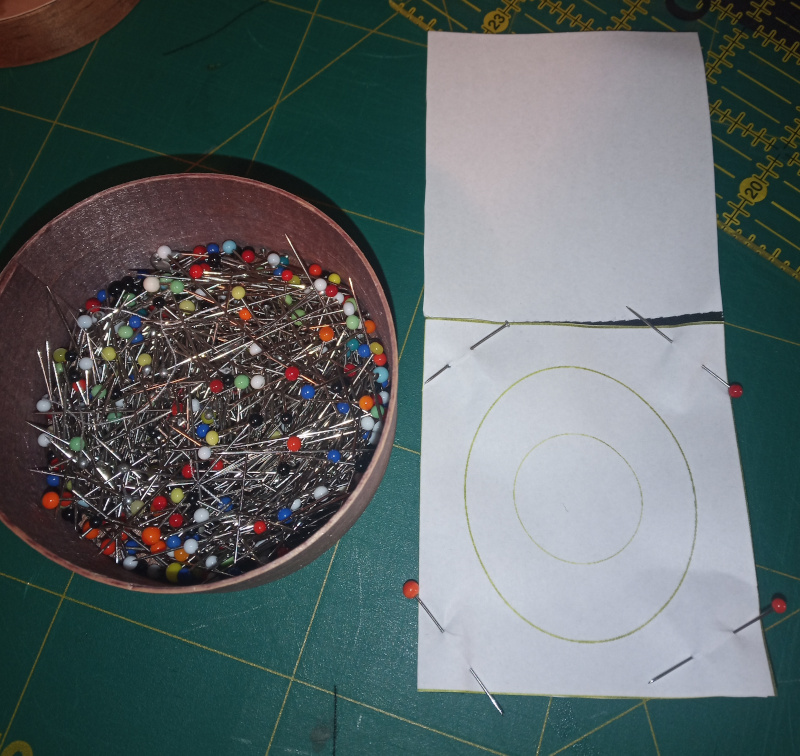
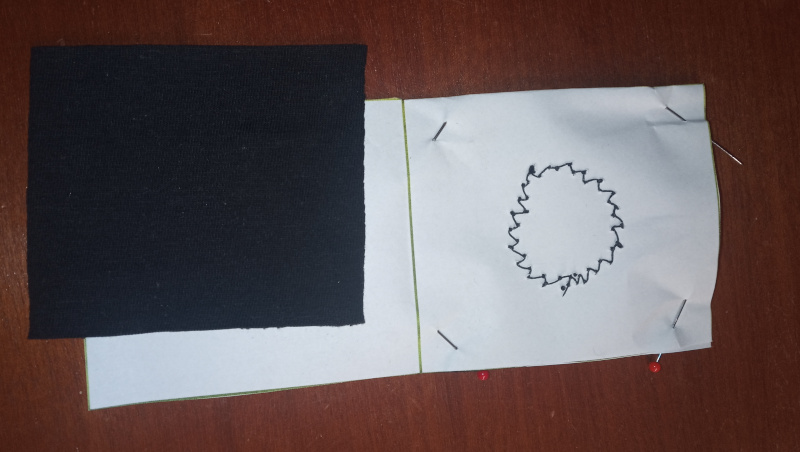
Pinning the cloth between layers did wonders for keeping the cloth under control, though it didn’t do much for my lack of practice.
| Pinned pattern |
|---|
 |
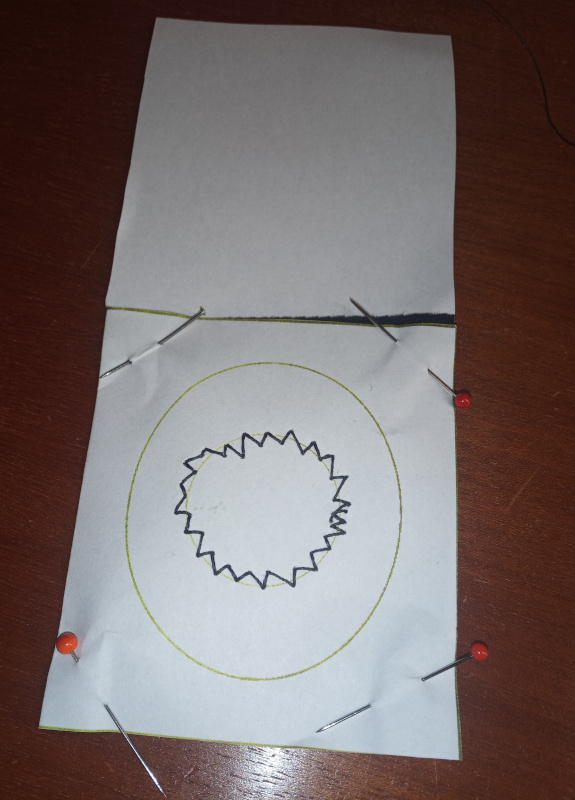 |
The earpads are made of two pieces of cloth. One covers the speaker while the other goes behind and around the speaker to hold it in place. That’s the back side up there. The small hole goes around the speaker. I’ll cut the middle out of the hole later.
I folded the front piece into the second part of the pattern then sewed the two pieces together.
| Front to back |
|---|
 |
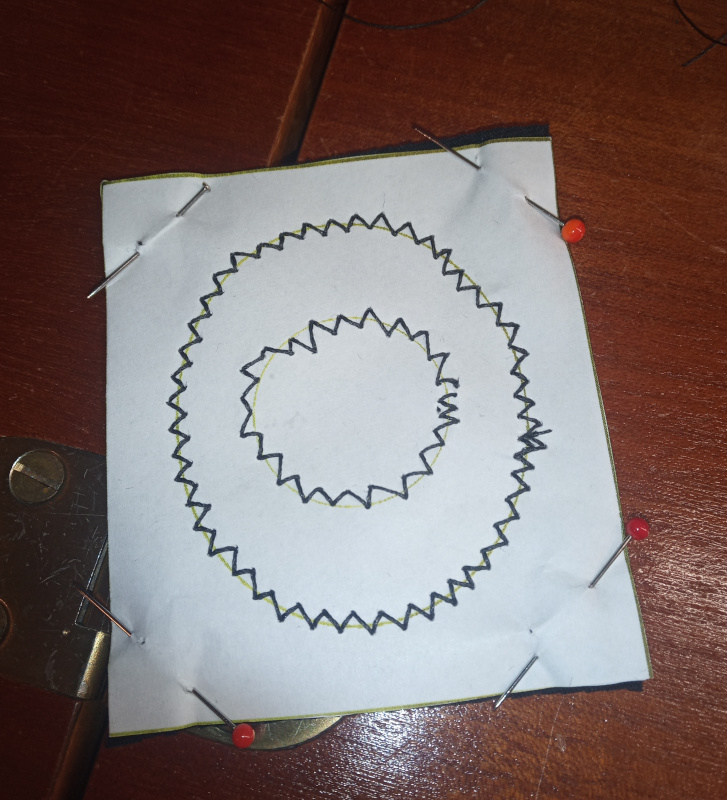 |
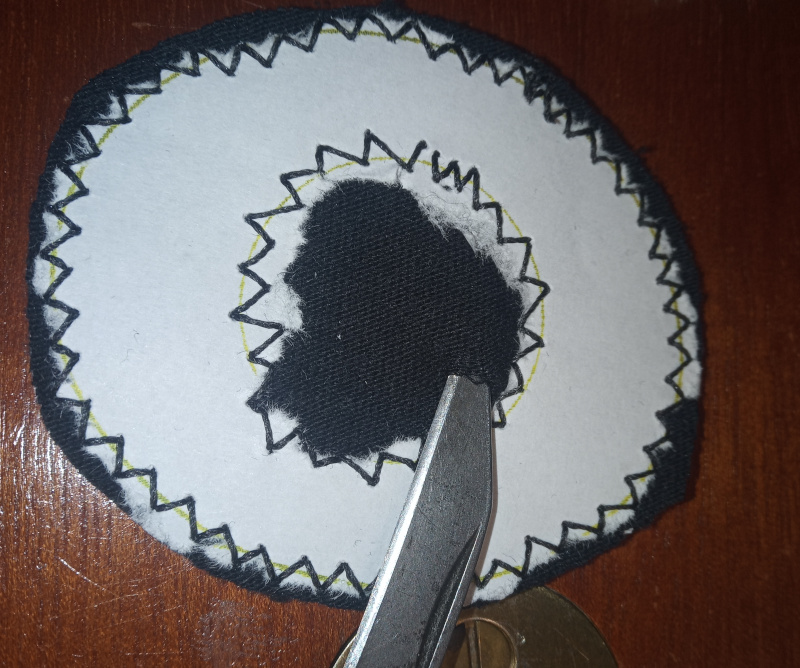
Once the sewing is done, the real work starts - trimming the earpads to the pattern dimensions and removing the pattern from the seams.
The trimming isn’t hard, but picking out the paper bits turned out to be quite time consuming.
| Trim and pick the earpad outline |
|---|
 |
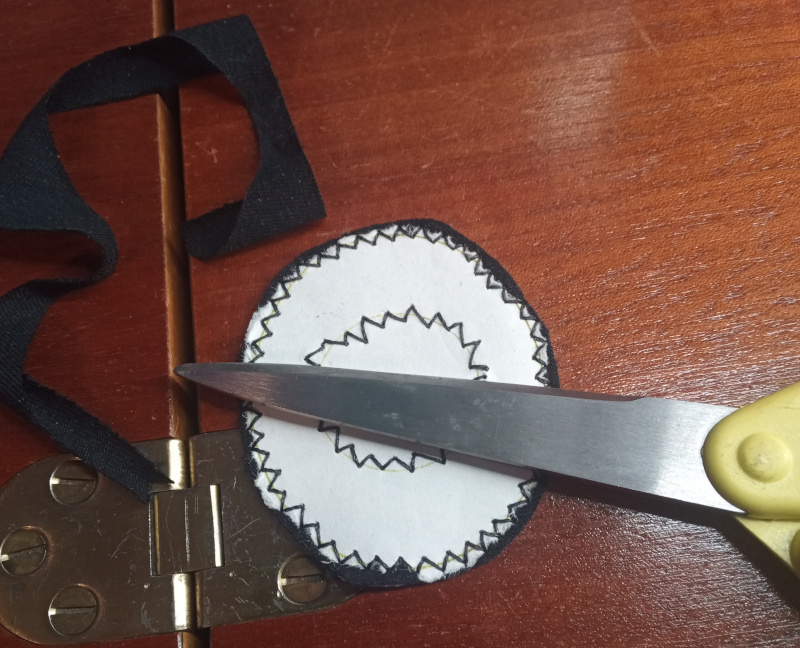 |
Do not use your regular cloth cutting scissors for this. You will be cutting paper. That will dull a good pair of scissors. I used a pair of hobby scissors that I normally use to cut paper. As coincidence will have it, all of the good cloth scissors in our house have purple grips. Anything else is fair game for cutting paper and cardboard.
It turns out that cutting cloth in paper works fairly well, despite the scissors being slightly dull (and getting duller.) The paper seems to help keep the cloth in a good position for the blades to properly cut it.
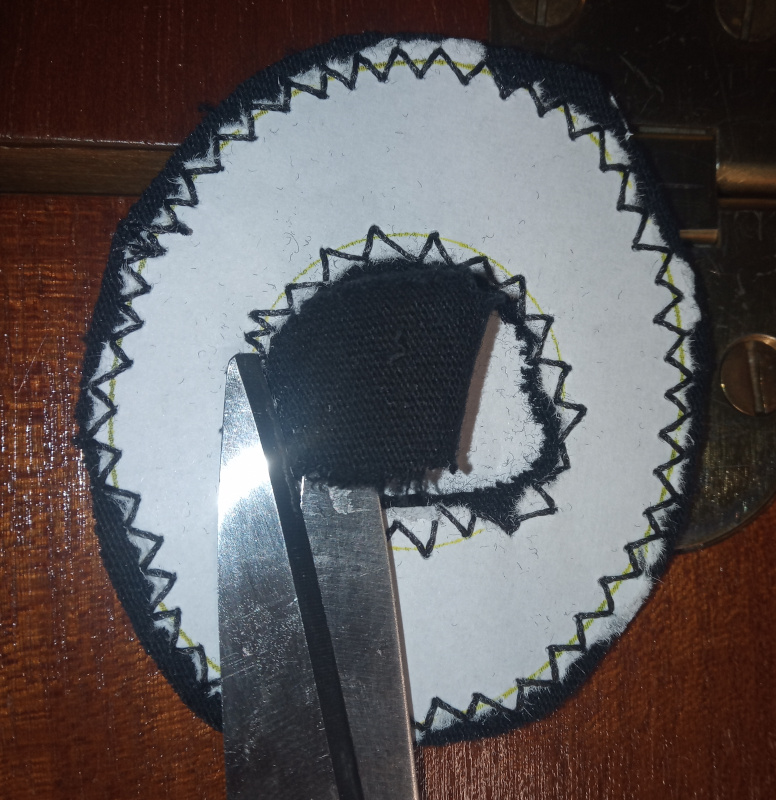
| Pick out the earpad front side |
|---|
 |
 |
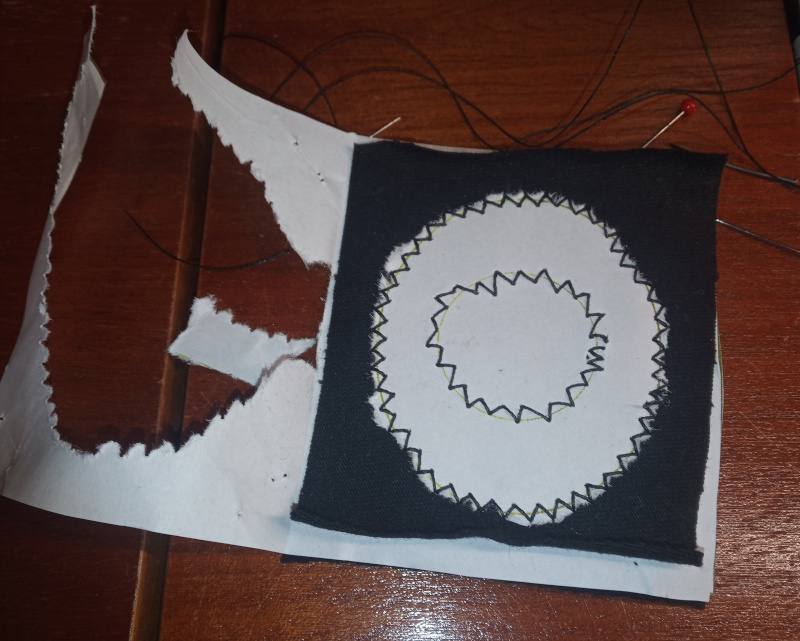
The front wasn’t too bad (although it did deliver its share of little fuzzy wuzzies.)
The back side (and the inside) were a bit more complicated.
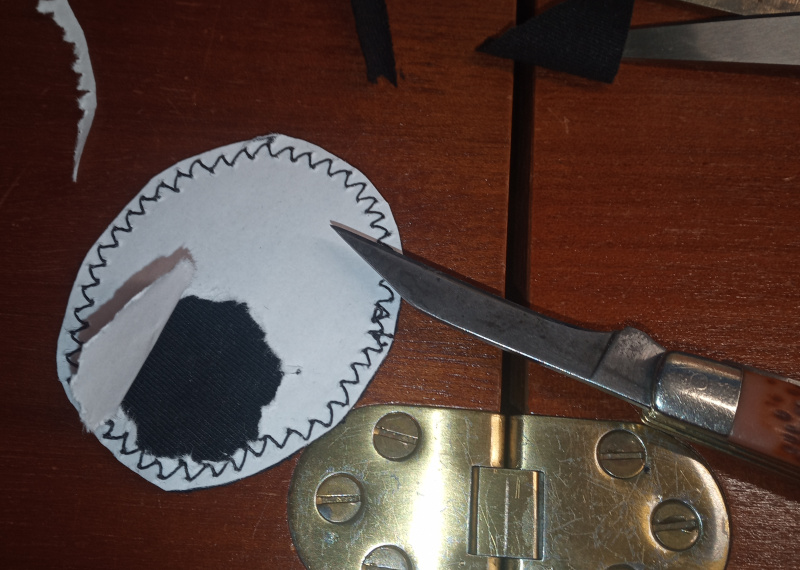
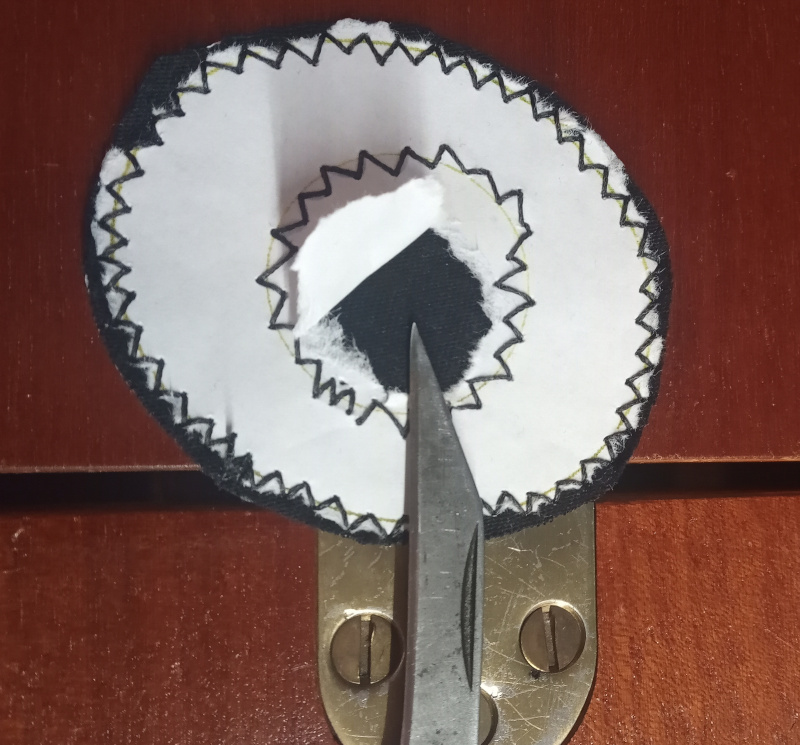
| Making the speaker hole |
|---|
 |
 |
 |
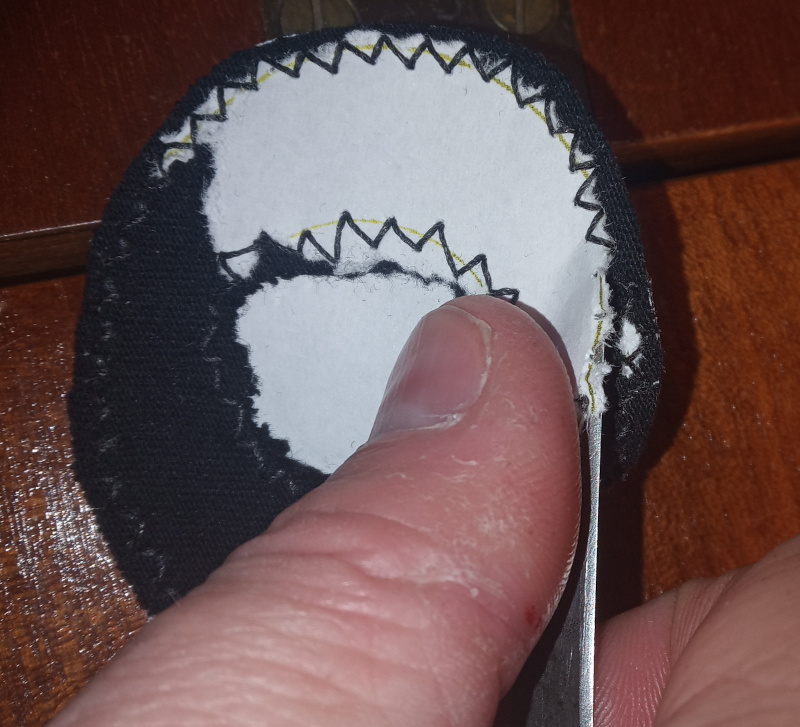 |
Poke a hole in the paper in the center of the speaker hole then peel the paper out of the way. Poke a hole in the cloth layer but not the paper layer underneath it, then cut out the cloth in the center of the hole.
Be careful not to cut the seam. It is better to leave a little too much cloth than to cut the seam.
Once the hole is made, peel away the rest of the paper on the back side.
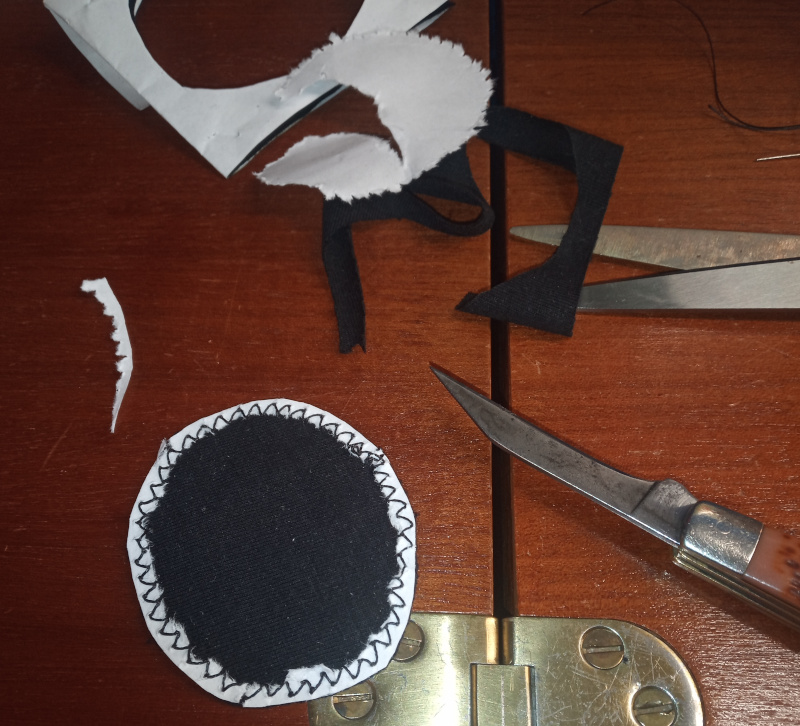
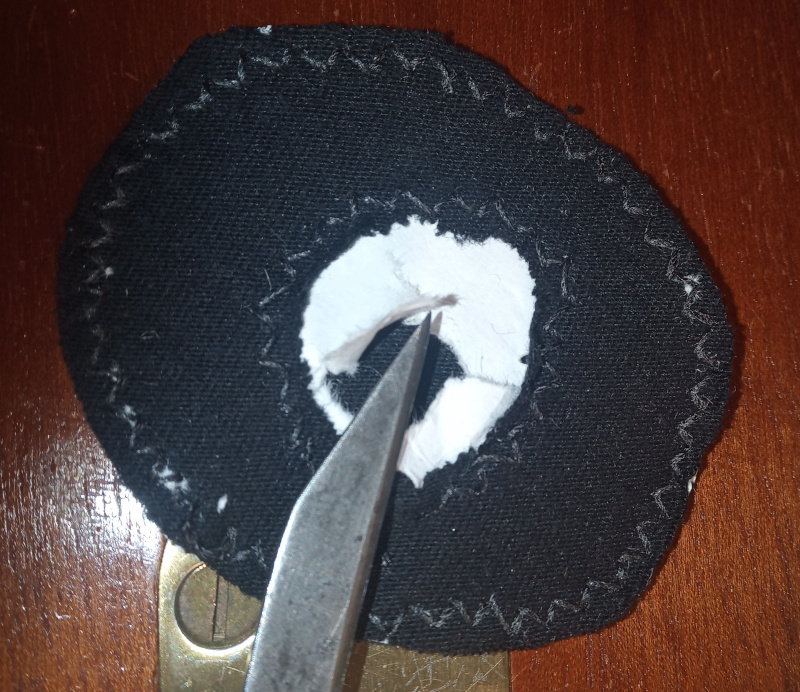
| Clean out the insides |
|---|
 |
 |
 |
 |
Poke a hole in the inside paper layer and tear it larger. Turn the earpad inside out then pick out all the paper bits.
Leave the earpad inside out. That puts the seam around the outer edge of the earpad inside where you can’t see it. That hides and jaggies you may have left while cutting out the earpad outline.
| Finished earpad |
|---|
 |
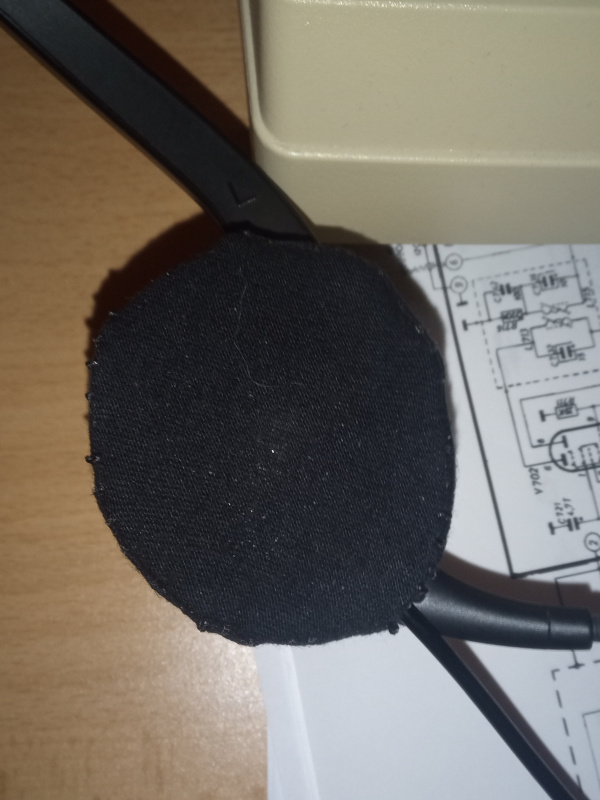 |
Mine turned out sort of lumpy, but it stretches out just fine and looks OK(ish) when it is on the speaker.
I sewed the second one a bit neater than the first one - practice doesn’t make perfect, at least not right away, but it does make better.
| Second earpad |
|---|
 |
I’ll probably make another set of earpads, but I’ll have to find a better way. The paper makes it possible to sew the cloth, but removing it makes a mess.
| Mess |
|---|
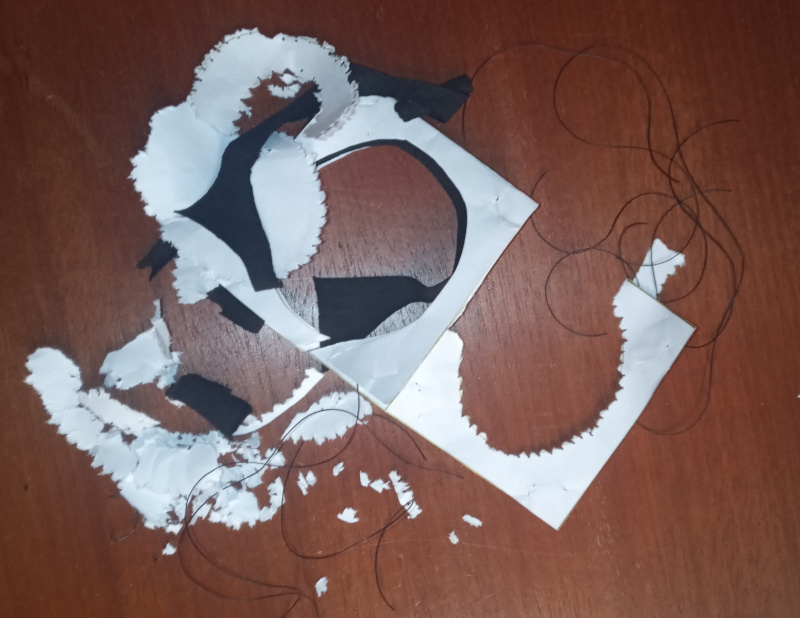 |
I think the next time I’ll use just a straight stitch and a shorter stitch length. I used a 2mm stitch length and a 2mm ziz-zag width for these earpads. That turns out the be rather coarse - the edges aren’t held together all that well. It also leaves a lot of paper to pick out of the seams. I think a shorter straight stitch will let me peel out the paper more easily, and without the zig-zag there won’t be little scraps of paper caught under the stitches. The straight stitches might make the hole too stiff to go over the speakers, though. We’ll see.
Regardless, I now have two new headset earpads. They are as comfortable as the old ones, and I can stuff them in the pocket of a pair of pants and throw them in the washing machine to wash the pads when they get grubby.
The pattern is for a headset marked “Logi” and “PID AL943.” All I did was make an ellipse the size of the outer edge of the speaker with a smaller ellipse the size of the “neck” of the speaker housing centered in the bigger one. A few boxes around them show where to fold the paper and where to put the cloth.
I cut the cloth using a rolling knife and straight edge on a cutting mat. That beats the heck out of trying to cut jersey cloth that rolls up and wiggles as you are cutting it (trying to cut it) with a pair of scissors.