Duplicating the pocket eyeglass clip
How many tools does it take?
I mentioned in my last blog post that I had made a clip to hold my eyeglasses in my shirt pocket. My brother-in-law saw it a couple of weeks ago and asked if I might make one for him as well. His eyes are better than mine - he only needs a pair of glasses when working at the computer. When he’s not at the computer, though, the eyeglasses tend to get in the way or get lost.
My first clip was sort of bashed together in a couple of hours one evening. I had been thinking about how to make on for a long time, so I had ideas in mind but hadn’t decided which way to go. As often happens, when you need to do something now, all the ifs and buts and whatabouts tend to disappear and you go with the simplest, most practical plan to reach your goals. I scribbled down a plan then got to work so as to not break another 200€ pair of glasses.
That plan is pretty straight forward, so the clip for my brother-in-law is made in the same style - mostly.
This time around, I drew up decent plans and did some simple experiments to improve the fit of the leather parts.
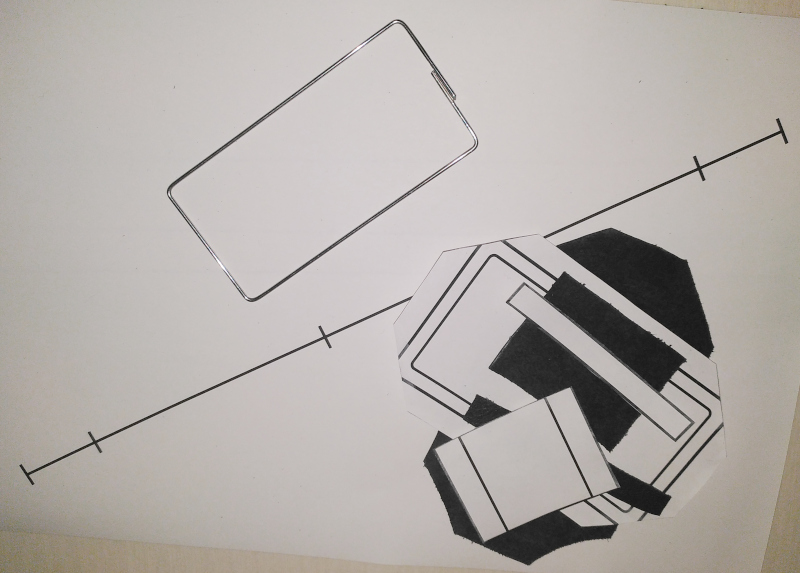
First, the plans:
Download those, then print them out at 1:1 scaling.
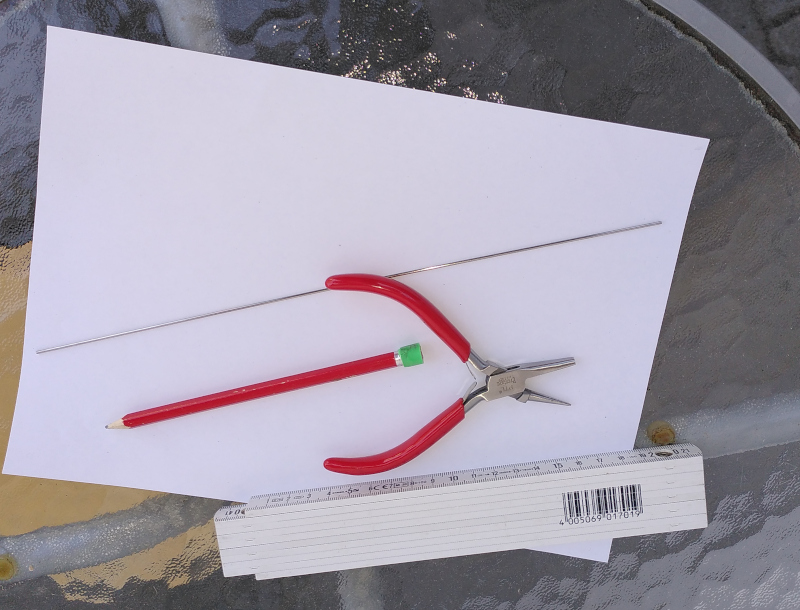
Now the materials:
- A piece of 1.5mm diameter stainless steel rod, 30 cm long.
- A piece of 1.5mm thick soft leather approximately the size of an A4 or letter size sheet of paper.
- A small crumb of silver solder and a bit of flux.
- Roll of 80 weight polyester thread.
Now follow along as I make parts and assemble a pocket eyeglass clip.
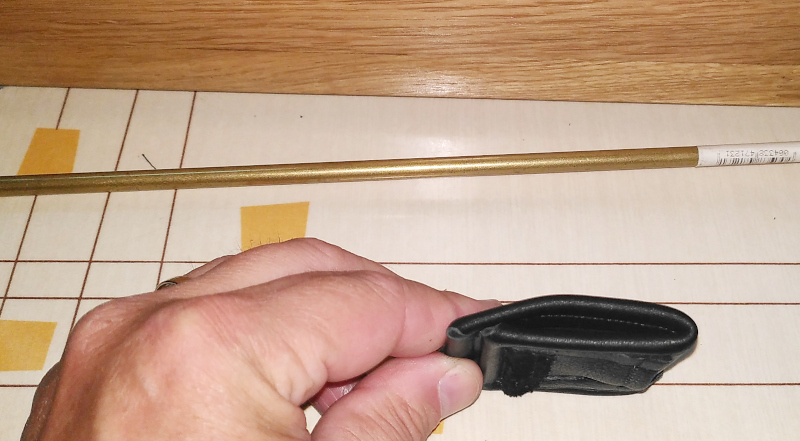
| Plannning the frame |
|---|
 |
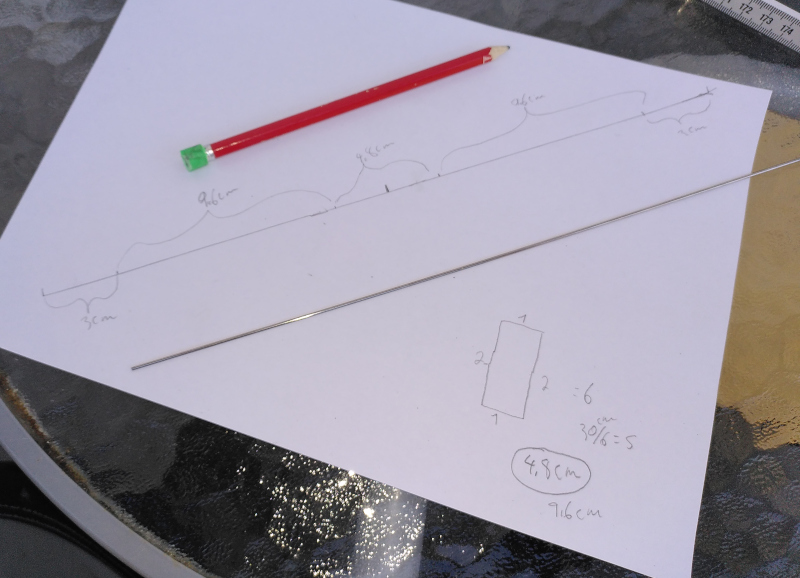 |
The 1.5mm stainless steel rods I’ve got are all exactly 30 cm long. I wanted the folded halves of the clip to be approximately square, so that means it has to be twice as high as it is wide. That’s a perimeter of 6 times the length of the shortest side. 30 cm divided by 6 give you 5 cm width and a length of 10 cm. Take a couple of millimeters off of the short side to make it 4.8cm. That gives you an overlap on the closing short side to solder it together.
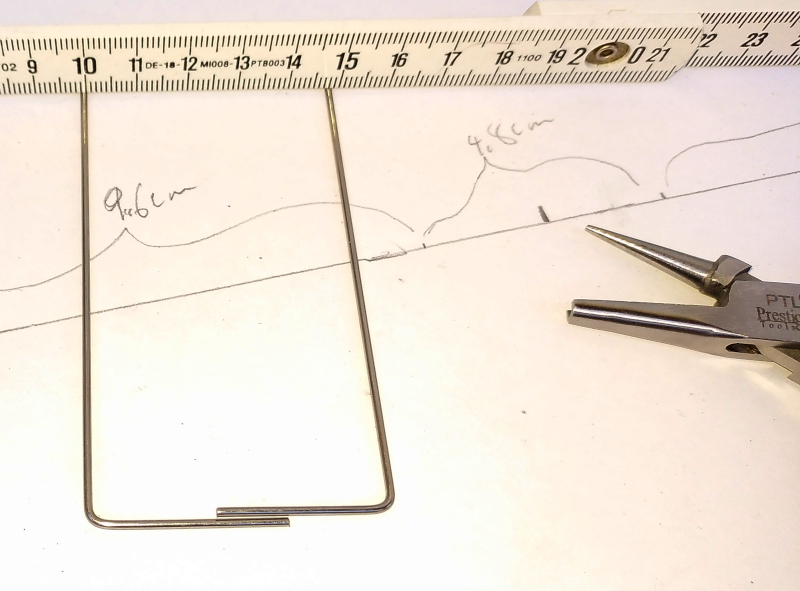
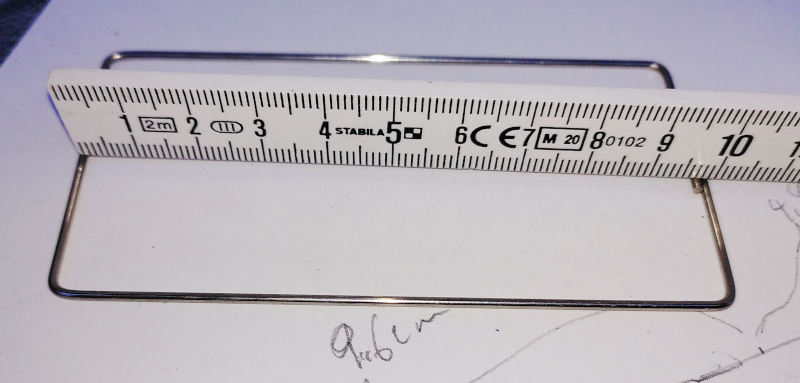
| Bending the frame |
|---|
 |
 |
I used a pair of special pliers for bending the rod. You can use regular pliers, but I had the ones with the rounded jaws at hand for another project I did a few months ago (that was never published and never likely to be published. If I published every thing I do, I wouldn’t have time left to do anything.)
| Soldering the frame |
|---|
 |
 |
 |
 |
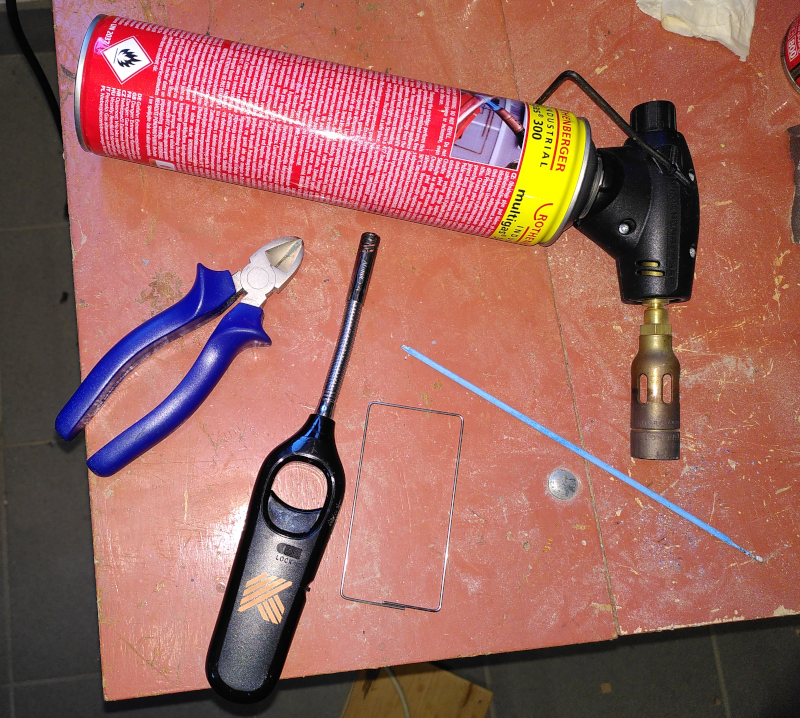
I use a propane torch and silver solder for joining pieces of metal. It often only takes a tiny crumb of solder to form the joint - as in this case. I use the blue handled diagonal cutters to clip off a small piece of solder, then collect the little flakes of flux that break off when I clip the solder.
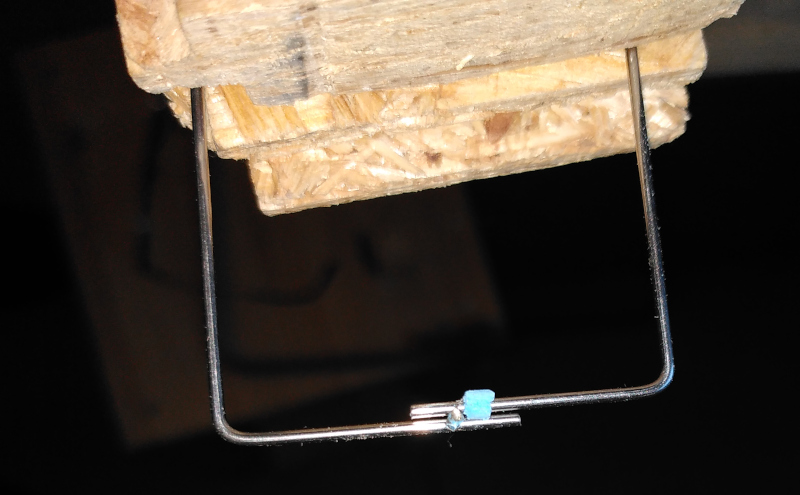
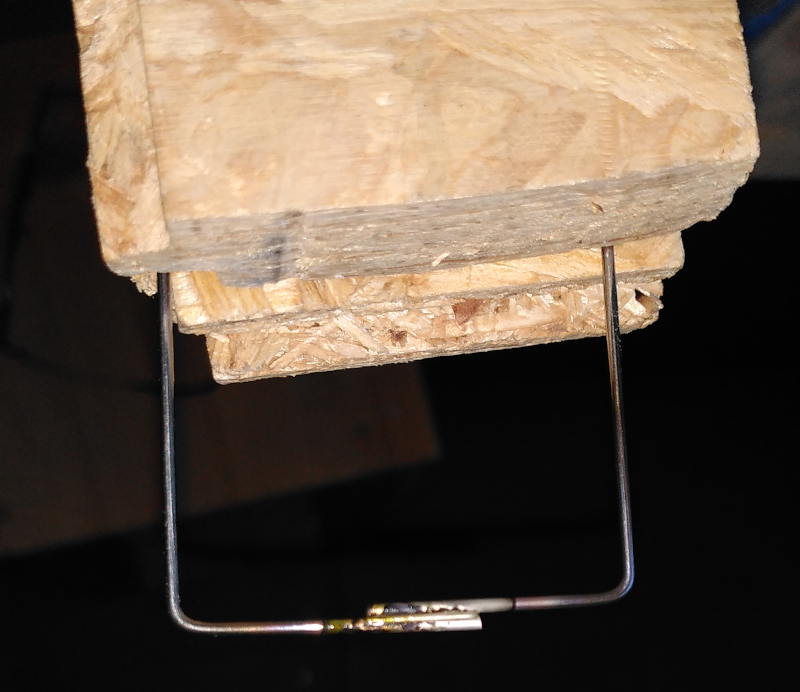
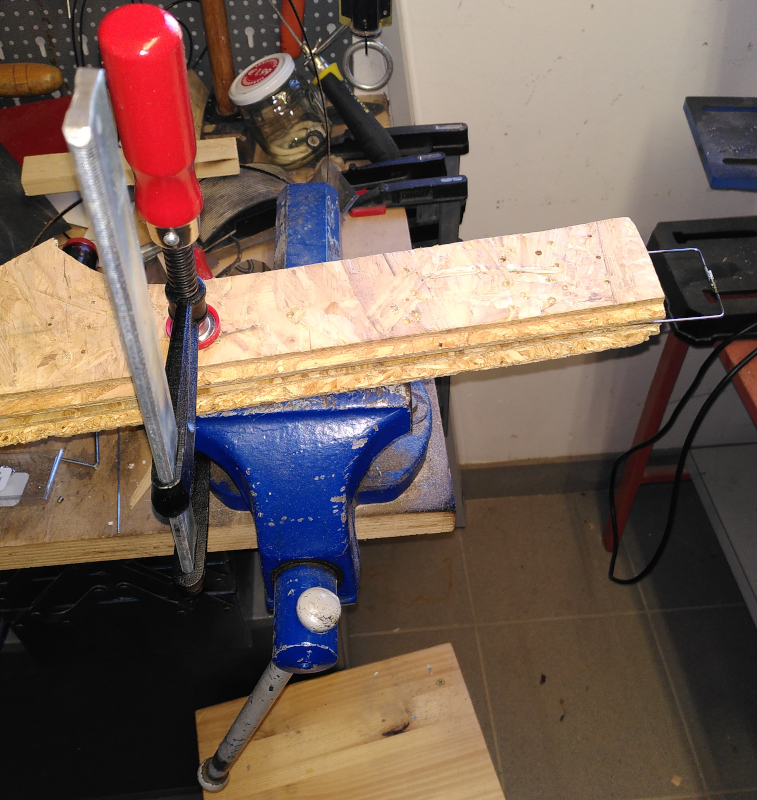
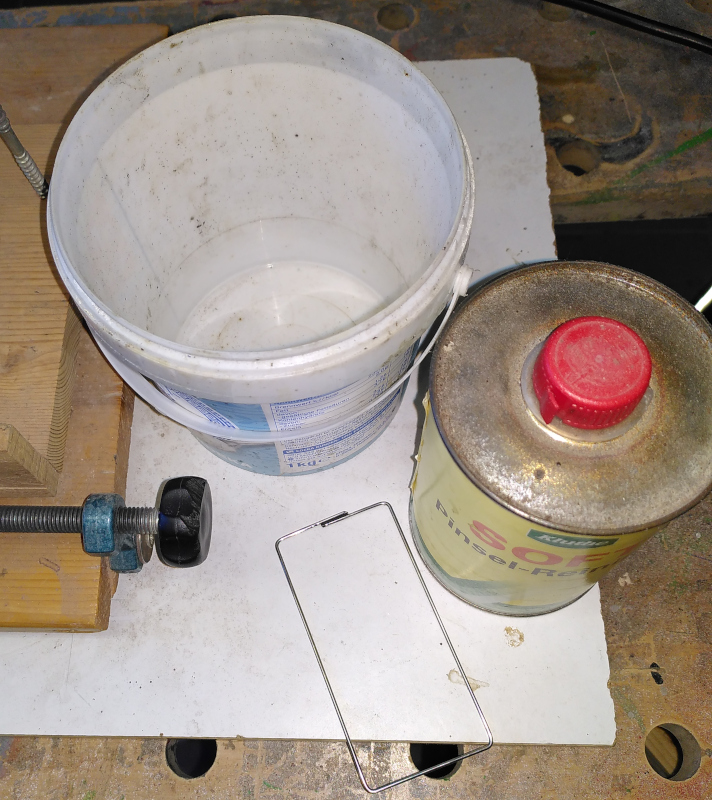
The frame has to be held motionless and in shape while soldering. I used some scraps of oriented strand board clamped to my vice to hold the rods. The vise is old - it originally belonged the my wife’s grandfather. Cleaning and repainting it was a Saturday afternoon project some 20 years ago.
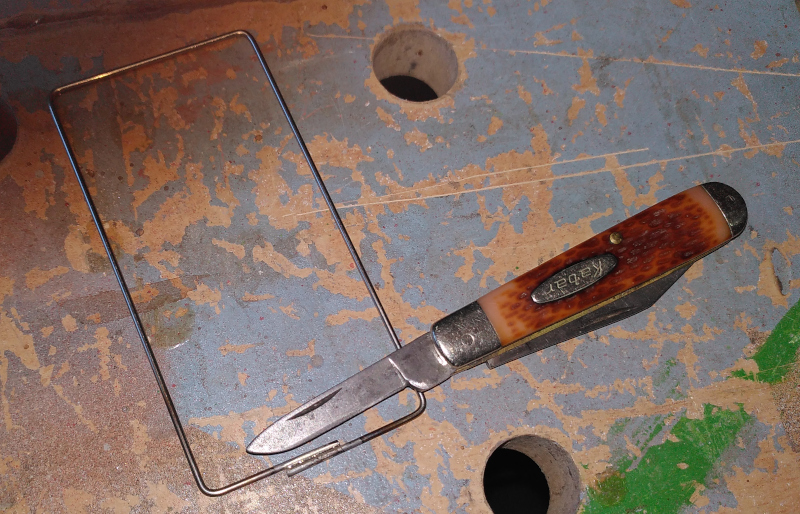
The flux makes a mess, and the ends of the joint are sharp, so the frame has to be cleaned and polished.
| Clean the frame |
|---|
 |
 |
 |
 |
 |
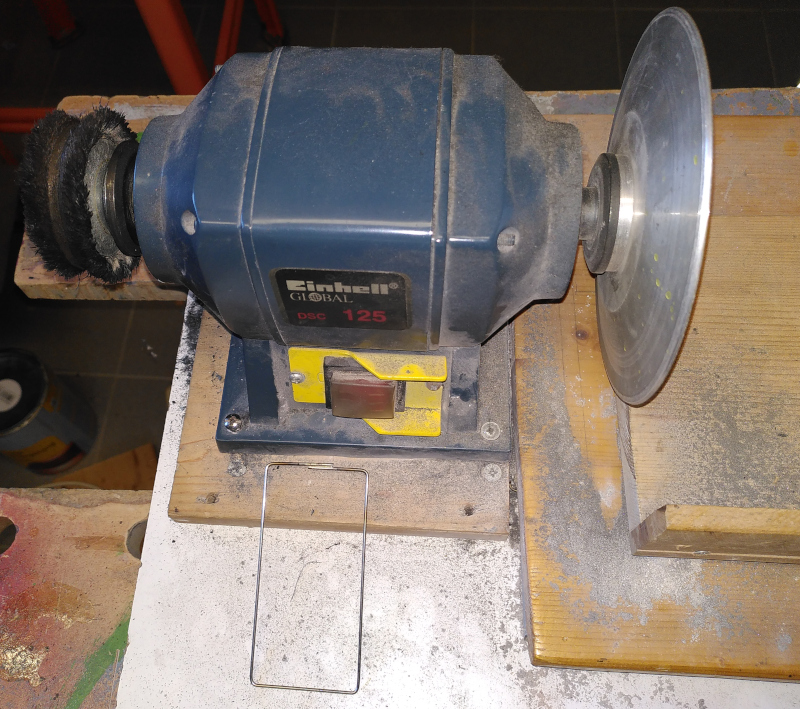
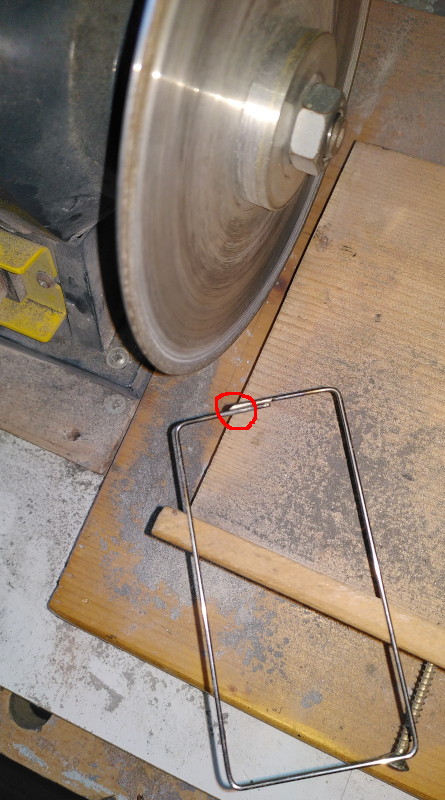
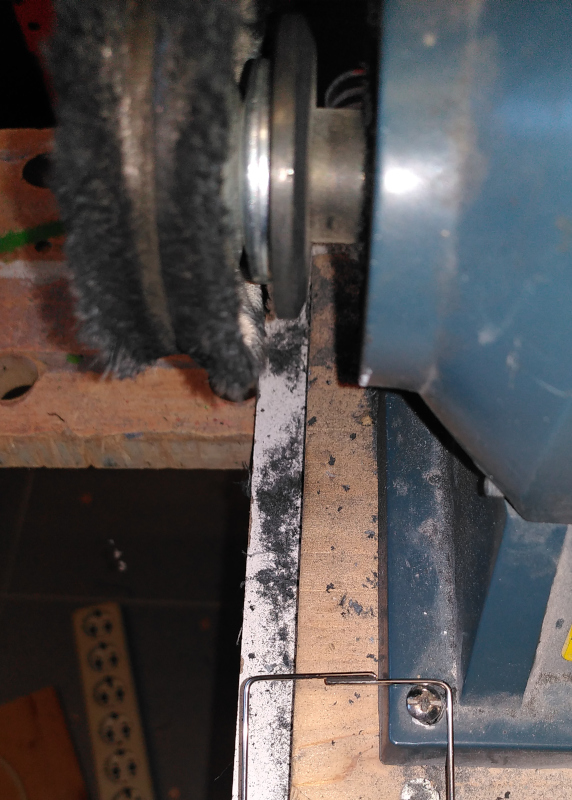
The flux leaves a tough, sticky coating on the metal. I use my pocket knife to scrape off the worst of it, then polish the rest off using a cloth wheel with polishing compound in a bench grinder. The other side of the bench grinder has a diamond grinding wheel that a machinist my father knew used to make tungsten carbide cutting tools. It was worn out for what he did with it but it does a dandy job grinding sharp corners off of stainless steel.
Once all the flux was polished off the frame, I had to clean the polishing compound off of it. I use turpentine (or rather, the modern non-turpentine turpentine) to dissolve it, then wash it in soapy water.
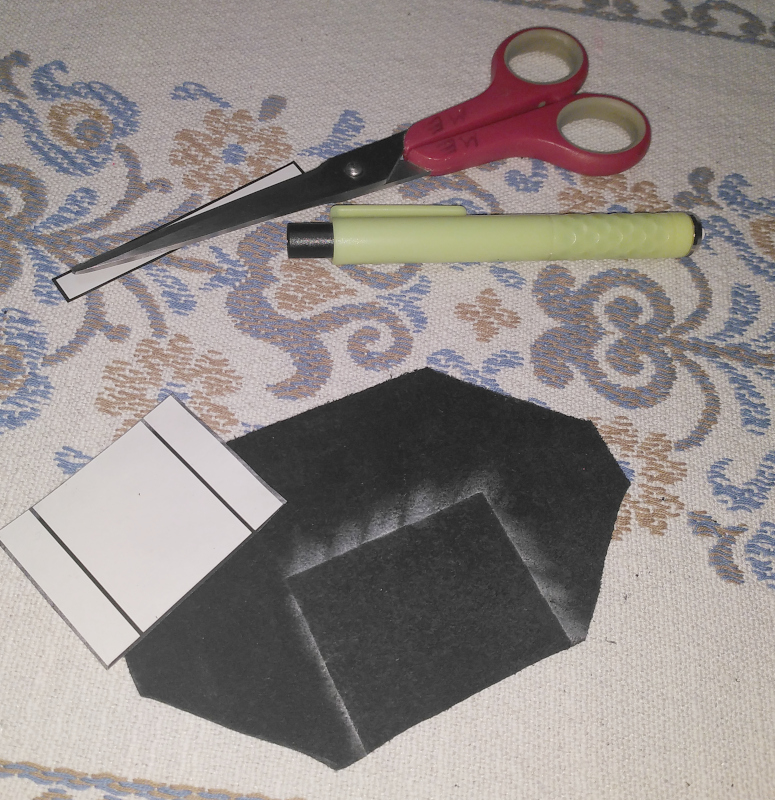
All the leatherworkers out there will probably have a fit, but I use a tailor’s marker (with chalk) to transfer my patterns, then I use scissors to cut the leather. Not cool, but it works.
| Pieces parts |
|---|
 |
 |
The first picture shows a new part being cut out of a scrap of leather that I’d used to check the plans and the fit.
I used my Adler class 8 sewing machine with its Bigfoot motor control to sew the leather pieces together.
| Assembly |
|---|
 |
 |
 |
 |
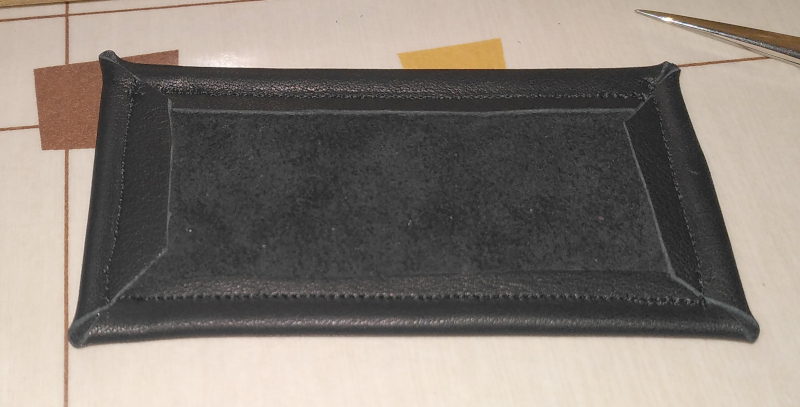
I used a zipper foot to sew the seam right up to the steel frame, then used a regular foot to sew the other parts together.
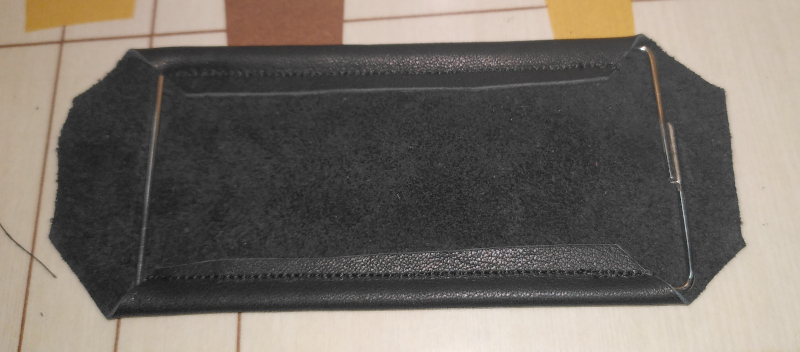
If you look closely at that last photo, you’ll see that the actual holder for the glasses (the square shape from the pattern) has one edge folded inside and the other folded outside. That isn’t a mistake. That is on purpose. Those two edges need stiffening, so they are folded double. The lower one folds out (rough side out) so that the earpiece of the eyeglass frame doesn’t hang on it going in.
The holder is sewn in such that its lower edge is right against the lower edge of the frame. That clamps the earpiece in so that glasses can’t slide out of the clip.
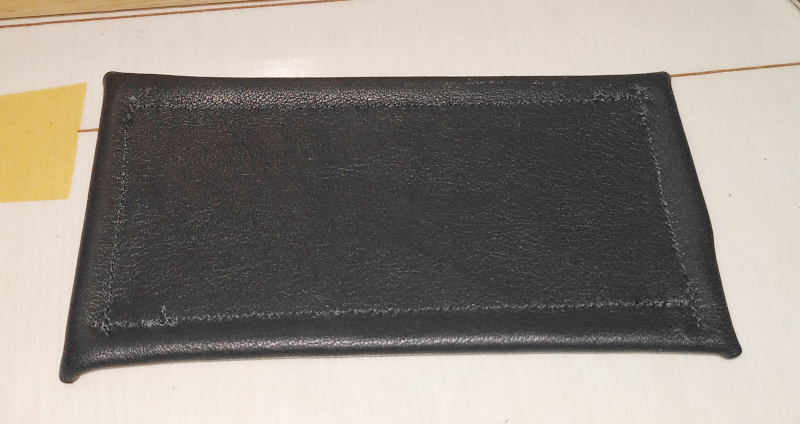
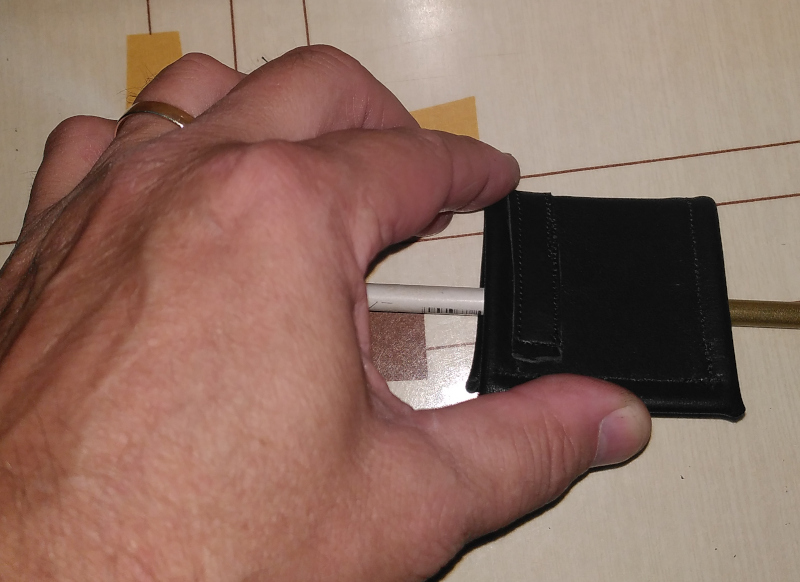
The clip itself now has to be folded so that it will clip onto a shirt pocket.
| Folding the clip |
|---|
 |
 |
 |
The clip is folded in half just at the upper edge of the holder. That makes the folded piece longer than the front piece. Don’t fold it flat all at once. Fold it over, then put a 5mm rod through the clip and fold the clip down about 5mm. Then squeeze the clip flat. If you do it right, there’s an overhang. The cloth of the shirt pocket will be bent as it goes through the overhang - the clip will hold really tight to the shirt pocket.
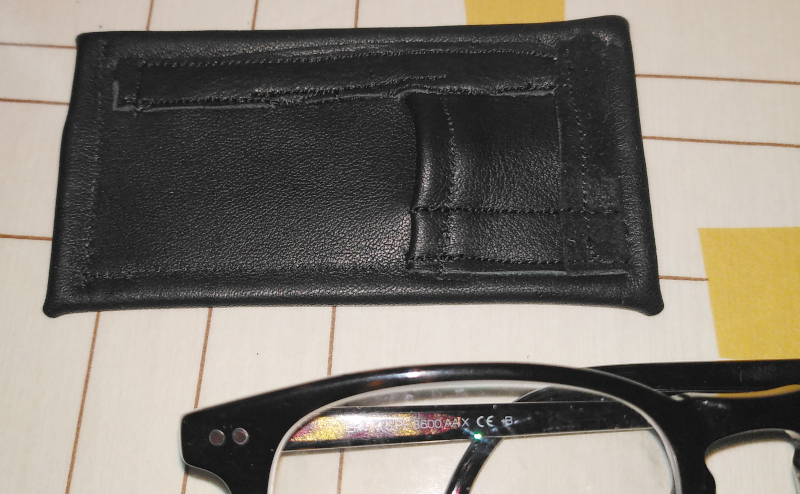
| All done |
|---|
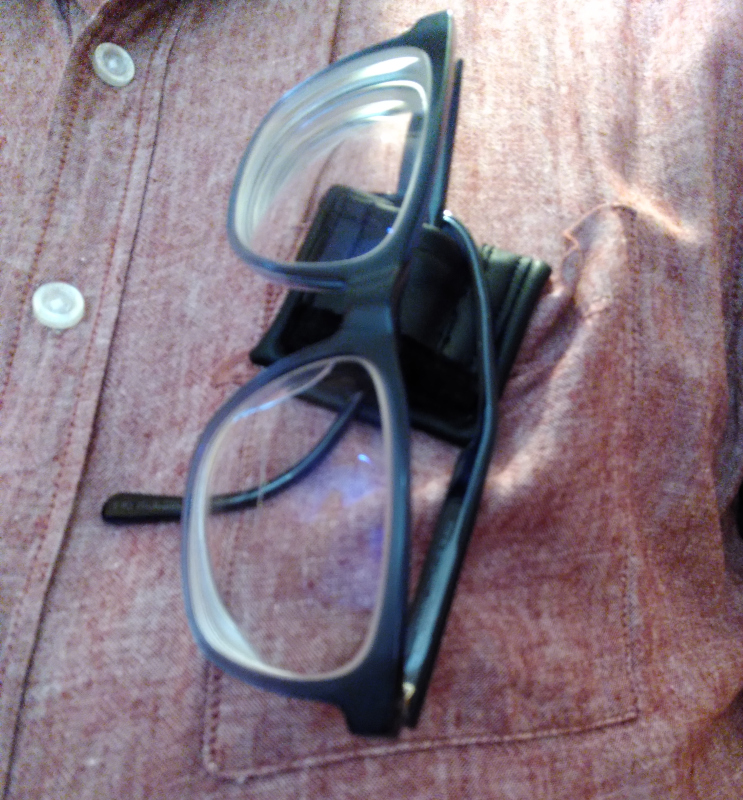 |
There’s some seams that could have been better. My brother-in-law will just have to deal with it. It’ll hold even if it looks a little funky.
How many tools did it take?
| Number | Tool |
|---|---|
| 1 | Pencil |
| 2 | Yardstick |
| 3 | Pliers |
| 4 | Diagonal cutters |
| 5 | Vise |
| 6 | Clamp |
| 7 | Torch |
| 8 | Lighter |
| 9 | Pocket knife |
| 10 | Bench grinder |
| 11 | Cloth wheel |
| 12 | Grinding wheel |
| 13 | Plastic tub (for cleaning the frame with solvent) |
| 14 | Scissors |
| 15 | Tailor’s marker |
| 16 | Sewing machine (with various feet) |
| 17 | 5mm rod |
| 18 | Calipers |
| 19 | Embroidery scissors (for trimming thread ends) |
| 20 | Computer (drawing plans) |
| 21 | Printer (printing patterns) |
That’s a heck of a lot of stuff. It wouldn’t seem like you’d need that many tools for such a simple looking project, but that’s what it took.
It takes things to do things. If you want to make things, you’ve got to have the things it takes to make them.