Building a firewood rack
Under-engineered and over-built - but the price is right.
I mentioned a while back that my wife and I bought a wood burning stove.
What I didn’t mention was that we had no wood and no place to store it. I mean, we have space around the yard, but you can’t just dump a pile of wood in the grass and expect it to be useful when you need it.
I still don’t have any firewood, but at least now I have a place to put it when I get it. I spent a rather long afternoon piecing a firewood rack together out of stuff I found in my garage.
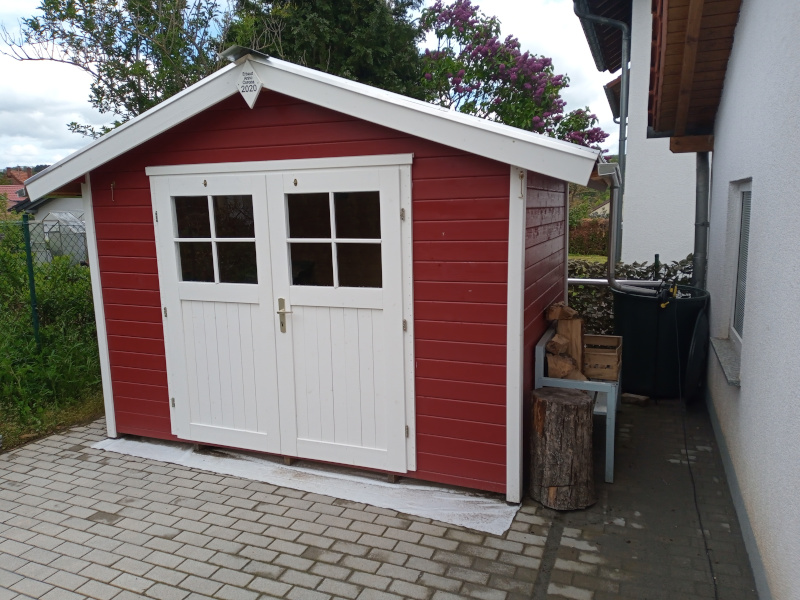
The idea was to build a rack that will fit between the garage and the garden shed.
| Future home of the firewood rack |
|---|
 |
My son, one of our neighbors, and I put that shed together from a kit last year. I used some left-overs from the kit and more stuff I had laying around to build the firewood rack.
| Loads of lumber |
|---|
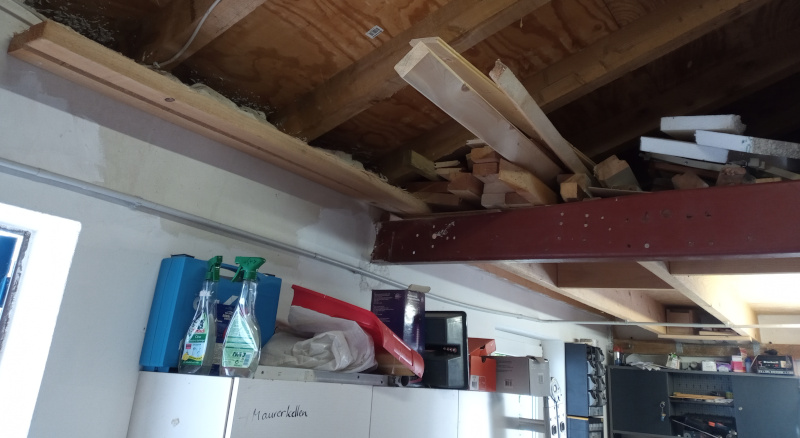 |
As you can see, I have a fair amount of lumber in the attic of my garage. Some of it is in fact left over from when my son and I built the attic in the garage some ten years ago.
Since I need some exercise, I figured I’d use just my old handsaw rather than the table saw or the circular saw.
| Hand tools |
|---|
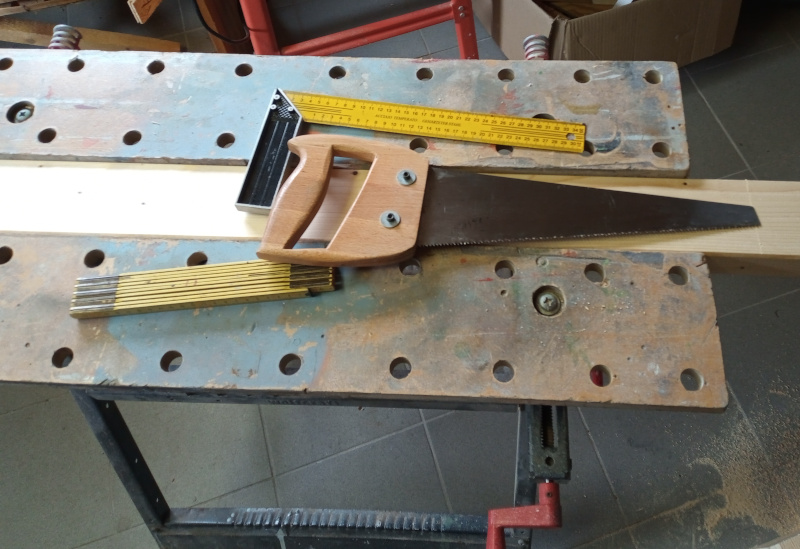 |
I did use the electric drill and a battery powered drill to make pilot holes and drive the screws - I need exercise, not torture. Note to future self: Plug in the charger for the battery powered drill when you start work so that the spare battery is charged before the first battery runs down.
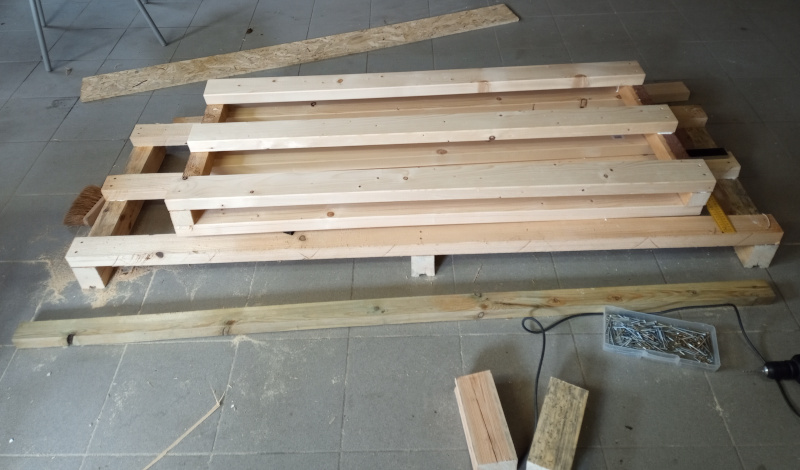
The rack needs to be about two meters long and a little over 60 centimeters wide. I intended to make it 1.75 meters high to hold a total of 2 cubic meters of firewood. Firewood here is typically in 30 centimeter long wedges. Sixty centimeters lets me stack the wood in two rows.
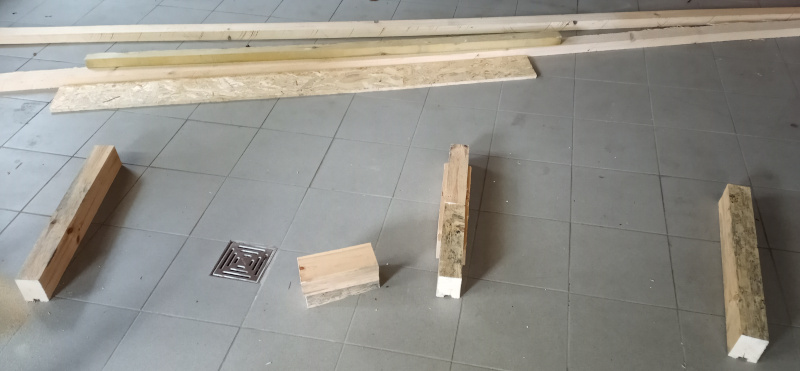
| Getting started |
|---|
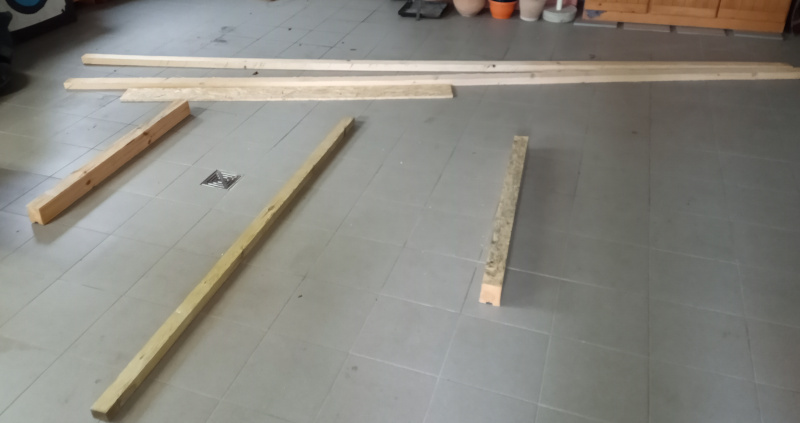 |
The thick pieces are from the kit we built the shed from. They are impregnated to prevent rot. They were the “feet” supporting the packaged kit. They’ll be the “feet” of the firewood rack.
In the background are two very long “not quite two by fours.” Those were left over from building the attic in the garage. I couldn’t buy dimensioned lumber suitable for the joists back then so I bought wider boards intended for making concrete forms on a construction site and ripped them to the correct width for the attic joists. I had a lot of those four meter long pieces left over and have used them for various other things over the years.
Those “not quite two by fours” will be the lower part of the rack. That’s four pieces, each two meters long.
| Feet |
|---|
 |
I cut the two feet to length then cut the scraps to make a third “foot” of the correct length. I glued it together, and screwed (and glued) some scraps to the sides to make sure they stay in one piece.
| Rack bottom |
|---|
 |
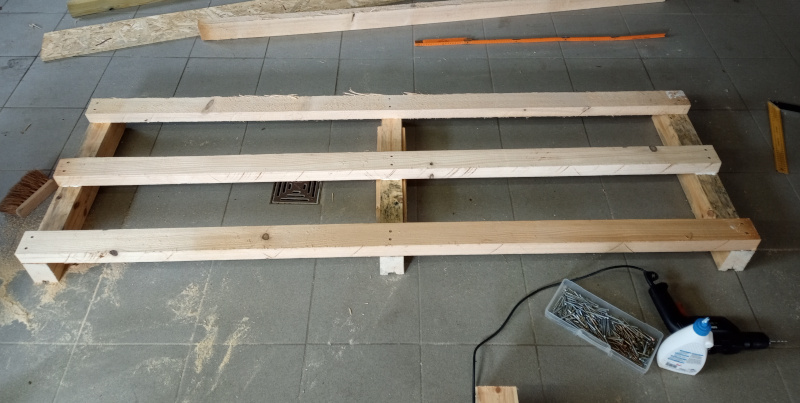 |
The screws in the tray are partially leftovers from the shed - at least, the yellowish ones. The silvery ones are some that my father-in-law gave me. That’s the one spot where I should have gone and bought some screws. I ran out of the yellowish ones, and finished the rack with the silvery ones. They suck. They have slot heads rather than Torx or Phillips. They are an absolute pain to drive, even when using a battery powered drill. I’d give ‘em away, but there ain’t nobody on this planet I hate bad enough to force those things on ‘em.
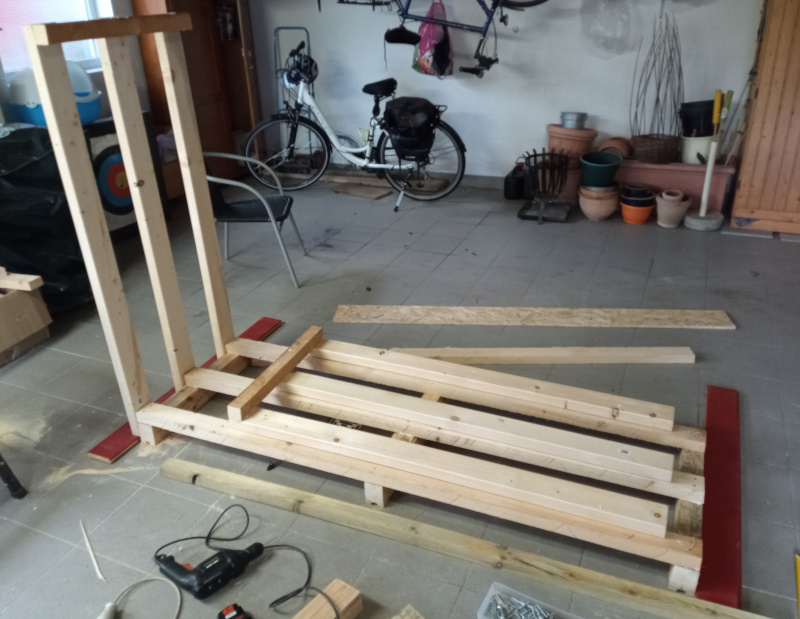
A few years ago, our daughter moved into her first appartment. I had intended to build a sort of bunk bed/desk thing for her appartment and bought lumber for it. She found a used bunk bed somewhere before I got started to work on it, though, so I ended up with a pile of lumber. The pieces are 3 meters long. I wanted the uprights to be 1.75 high, but it was more reasonable to make them 1.5 meters to make better use of the lumber.
| Uprights |
|---|
 |
 |
The red painted boards are also scraps from the shed. They aren’t part of the rack. I’m just using them as spacers while installing the uprights.
| Attach an upright |
|---|
 |
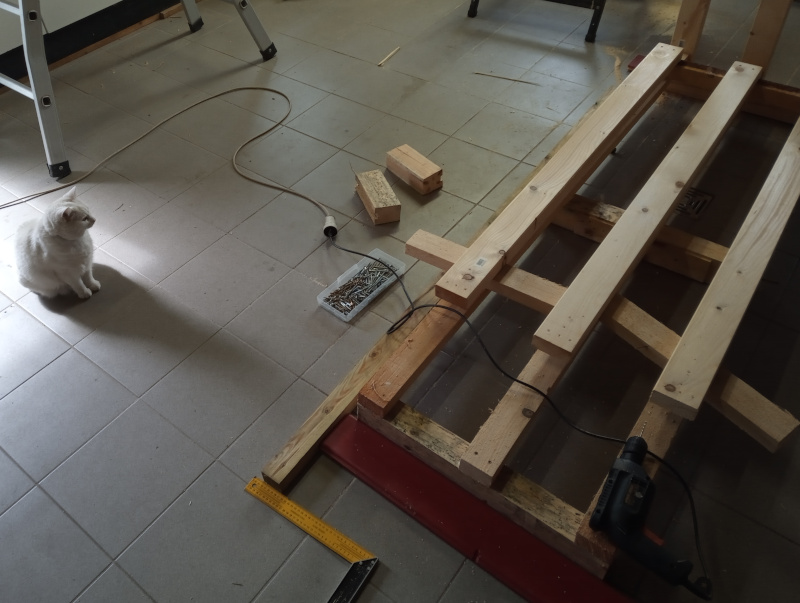
Our cat Snow stopped by to get under foot and play “sidewalk supervisor” for a while.
| Sidewalk supervisor |
|---|
 |
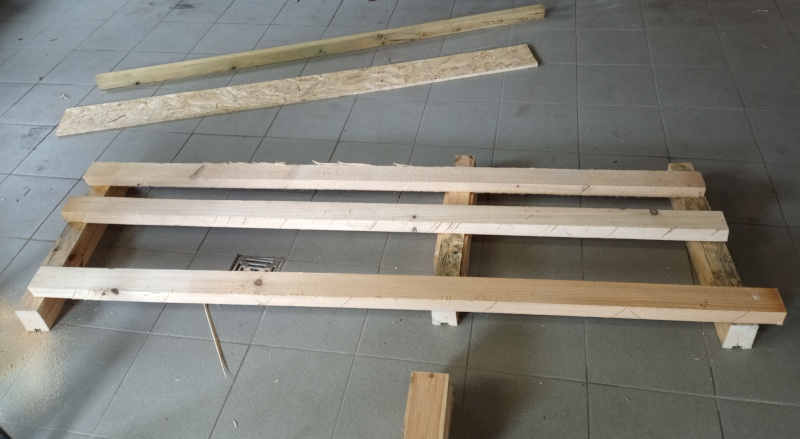
There’s both uprights installed and the top attached.
| Both uprights |
|---|
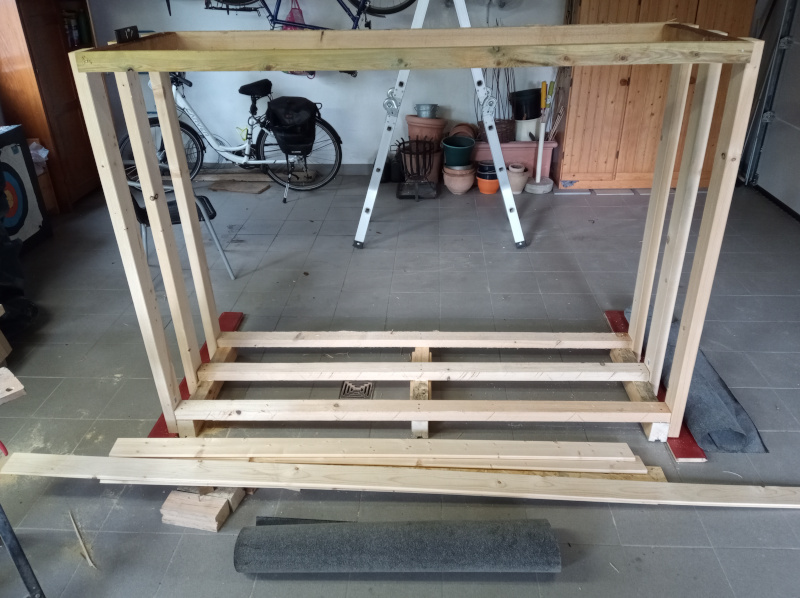 |
On the floor there in front are some pieces of tongue and groove flooring from the shed. There’s not enough to make a complete roof for the rack, but that’s OK. The rack will be partially under the roof of the shed. There’s also a roll of (left over) tar paper for the roof.
| Roof |
|---|
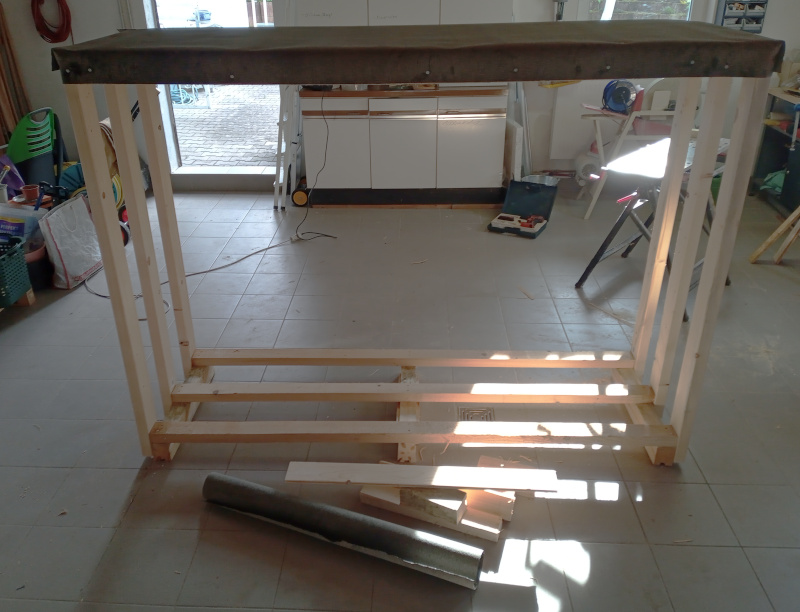 |
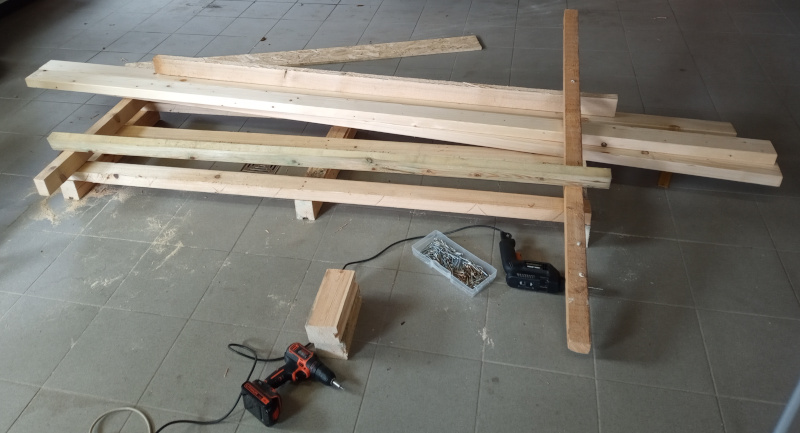
The rack is done, and ready to be taken outside. There on the floor are the scraps left over from building this project out of leftovers. A few stumps of wood, and a couple of meters of tar paper.
| Bad idea |
|---|
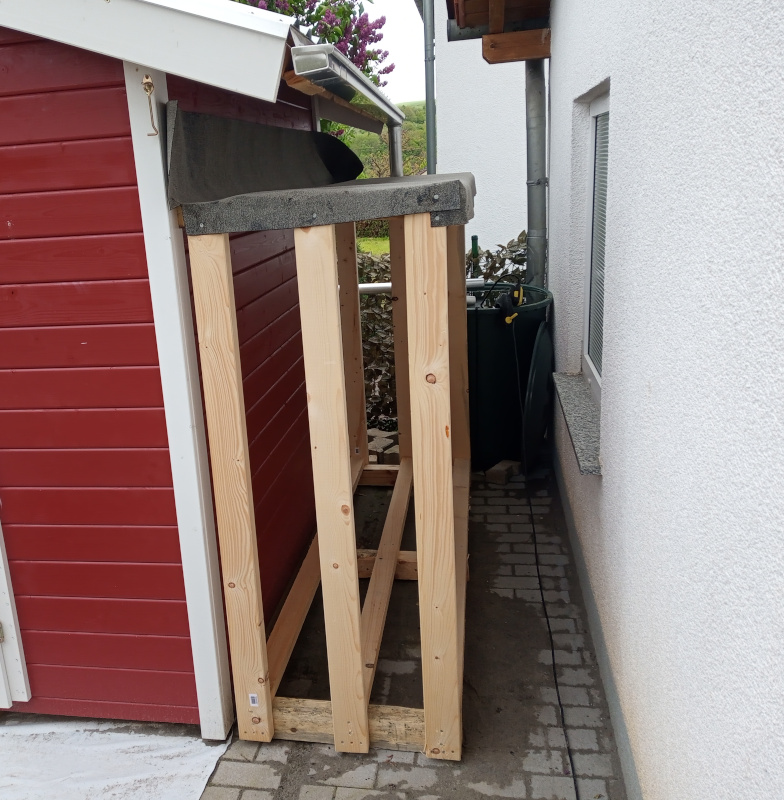 |
The firewood rack fits where I planned for it to go, but it would be an absolute pain in the backside to stack wood in it.
| Better idea |
|---|
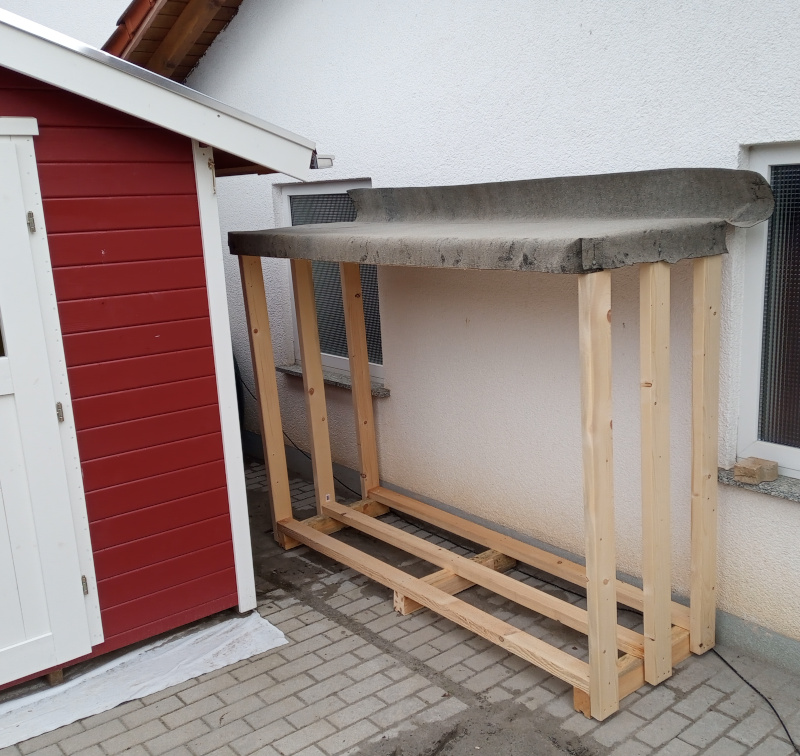 |
It is partly under the roof of the garage, so it’ll be fine.
I can still squeeze in between the rack and the shed to get to the rain barrel, so that’s OK.
One firewood rack, price 0€ and an afternoon of exercise.