HowTo: Solder by hand - Vision check
You can’t solder what you can’t see.
HowTo: Solder by hand - Table of Contents
I’ve always thought it strange that people would ask how I could solder small stuff. They acted like they couldn’t even see what I was showing them. I mean, my eyes are crap. If I can see this stuff, why couldn’t they?
I’ve finally come to understand that most folks with “normal” eyesight don’t really see all that well, either. They are in fact to some extent far sighted (can’t focus on things close up) or simply have poor visual acuity (the resolution of their retina is lower than average.)
Since you have to see what you are doing to successfully solder connections, I thought I’d start off with a section on checking your eyesight and determining what (if anything) you need to do to improve or enhance your eyesight.
I’ve made up a PDF containing a few typical things you will see on a typical printed circuit board (PCB.)
The text in the PDF is intentionally small. Read the text and answer the questions truthfully to yourself - the eyes and aggravation you save will be your own.
Print it out. Use a magnifiying glass to check that the printout is clear enough to read. I used a 2400 dpi laser printer to check the quality, and some spots in the document cannot be clearly printed at that resolution.
Once you are satisfied with the quality of the paper copy, put down the magnifying glass. Try reading the questions and markings with just your bare eyes. Ideally, you want to be able to look at that picture from less than 30cm (12 inches) and clearly see and read everything on it without straining. If you have to strain even the slightest, then you will need to use some kind of lens while you are soldering.
What kind of visual assistance aids can you use?
Visual assistance aids
| Type | Picture |
|---|---|
| 1. Reading glasses |  |
| 2. Magnifying glasses | 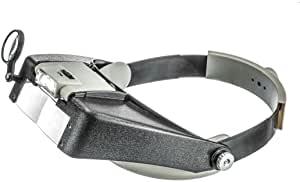 |
| 3. Desk mounted magnifying glass |  |
| 4. Low power microscope | 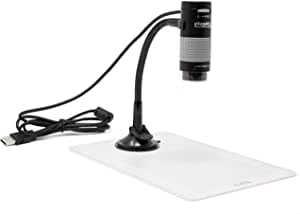 |
Whatever you use, you will need at least 10cm (4 inches) between the lens (or your face) and the things you are working on. You want a little distance because you really don’t want the hot soldering iron too close to your face (or the lens of your microscope or whatever.) You want it to be close enough to see the details, though. Anywhere between 15cm and 30cm (6 to 12 inches) ought to be workable.
Yes, I really do mean that you should get that close to what you are working on - microscopes and lenses need to be that close to the work piece anyway else they do you no good.
This is what it shoud look like when you are working:
| Example |
|---|
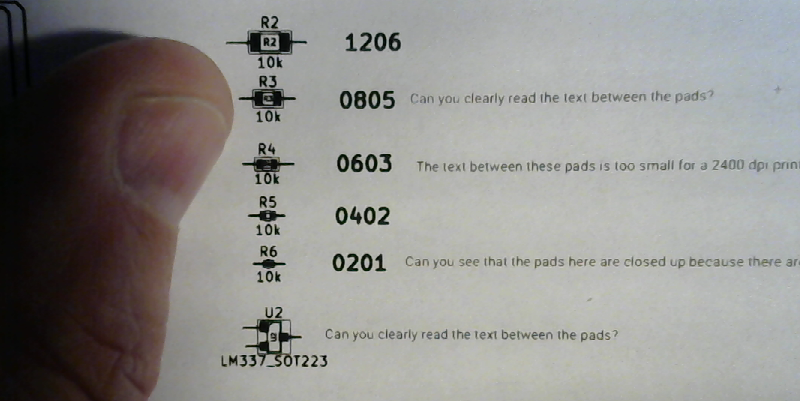 |
- Zoom that picture out to 100 percent.
- Hold your thumb about 15cm (6 inches) from your eye.
- Move your head back and forth (keeping the thumb to eye distance the same) until your thumb just barely covers the thumb in the picture.
- That is the way you want things to look when you are soldering.
- Look at the printout of the PDF you made before.
- Put your thumb down on the paper and move your head closer until it looks about the same size as the on screen example you looked at before (point 4.)
- Your head is now close enough that you could properly solder a PCB.
You’ve got to get up close and personal with your work to make good solder joints by hand.