HowTo: Solder by hand - Before you get started
Make a habit of it.
HowTo: Solder by hand - Table of Contents
Now that you have everything ready, you’ll want to heat up the iron and get started.
Before that, though, I’m going to explain a few things you should do with a new soldering iron. I’m also going to tell you a few things you should always do while you are using your soldering iron.
Before you turn on the soldering iron, every time you turn on the soldering iron
- Even if your iron is new, look it over and make sure the cables are OK, and that there are no exposed wires. The cables can be damaged by the soldering iron tip, and it is easy to damage the housing of the base. If there’s anything broken or exposed, don’t plug it in.
- Check that the base is placed solidly on your work bench and won’t slide or fall off while you are working.
- Make sure the stand for the soldering iron is solidly placed on your work bench. If it slides around or falls over, the hot soldering iron can damage things on your work bench - or you.
- If your iron has a sponge for water, you should always dampen the sponge before doing anything else. Get it soaking wet, then squeeze it out until no more water drips off of it. It should really only be damp, not wet.
The first time you use the soldering iron or replace the tip
When you heat up your iron for the first time, or after you replace the tip, you must tin it. That is, you must apply solder to the tip over about the lowest 5 to 10 mm. That’s the area that gets hottest, and it’s the part that wears out first.
Hot metal oxidizes - it “rusts.” It has to have air to oxidize, though.
If there’s a layer of solder over the metal of the tip, then the solder will oxidize rather than the tip.
This is a good thing. You can easily apply fresh solder to replace the oxidized solder.
The solder oxidizes instead of the tip, so the tip lasts longer.
Scroll down the page to the section “How to tin your soldering iron tip” to see how to tin your tip.
When using the iron
- When you take the hot iron out of the stand, wipe it on the sponge. This will remove oxidized solder and flux from the tip that would otherwise mess up your soldered joint.
- After you clean the tip on the sponge, apply a touch of solder to it from your roll of solder. This will replace the protective film of solder on the tip.
- Before you put the iron back in the stand, apply another bit of solder to the tip. Leave it on there as a blob. This will help protect the tip.
- Before you turn off the iron, always put a small blob of solder on the tip. Again, this is a protective layer to keep the metal of the tip from oxidizing.
You should make all of those steps into a habit. You should do them automatically when working with your soldering iron.
They’ll help keep you safe, and help your iron give you a long lifetime of use.
How to tin your soldering iron tip
Tinning isn’t difficult, and you must do it.
Here’s how:
- Install the tip in the iron, and turn the iron on.
- As the iron heats up, keep trying to melt solder on the tip - way down by the point, maybe 5mm (1/4 inch) from the very end of the tip.
- You may have to “scratch” the solder on the tip to get it to melt.
- If the iron indicates it has reached its set temperature and you still can’t melt solder on it, then turn up the heat.
- Once the solder melts, rub it up and down the tip and try to get about 10mm (3/8 inch) covered.
- Get a blob of solder melted onto the tip and spread it around.
- Rotate the iron so that the solder blob goes around the tip.
- The blob may fall off - just add more solder and make a new blob.
- Keep scratching, rubbing, and rotating the tip until the lower 10mm (3/8 inch) has a coat of solder over it.
- Done.
While you’re working, it will look like this:
| New tip |
|---|
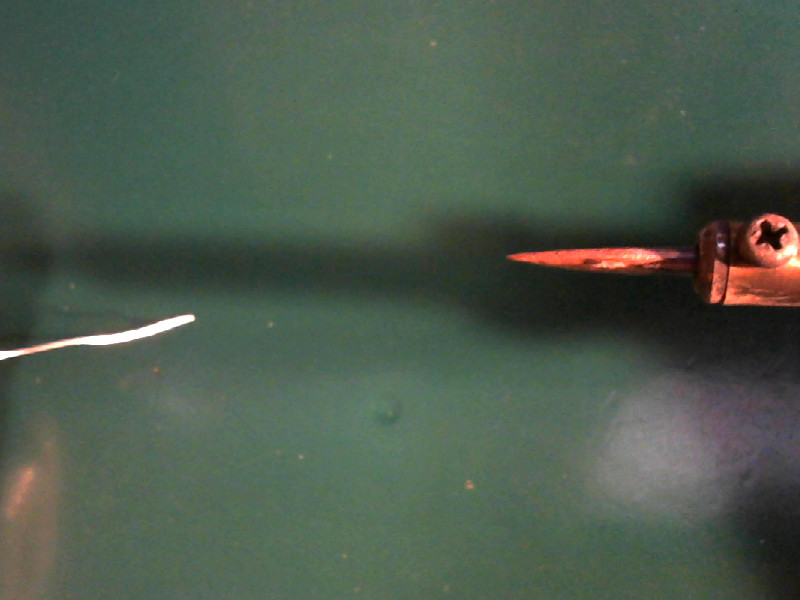 |
| Solder blob |
|---|
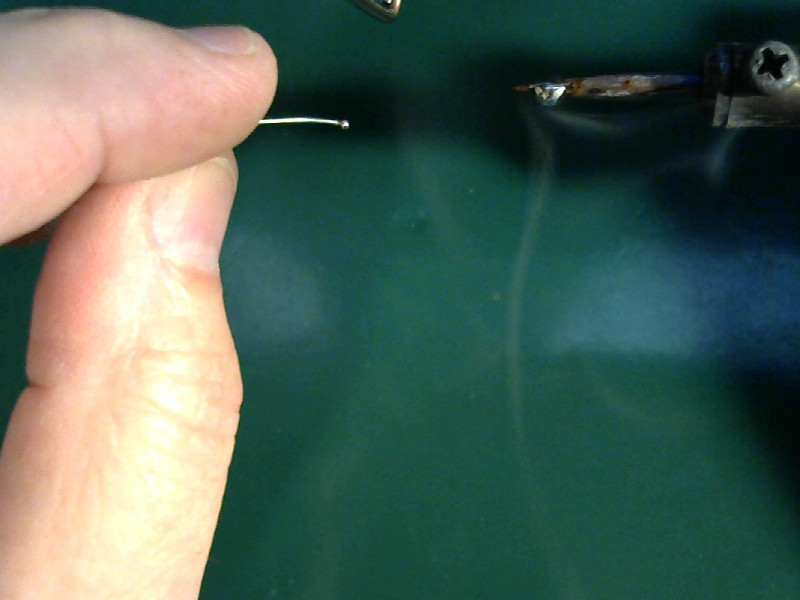 |
Rotate the iron so the blob goes around the tip.
| Replace the blob |
|---|
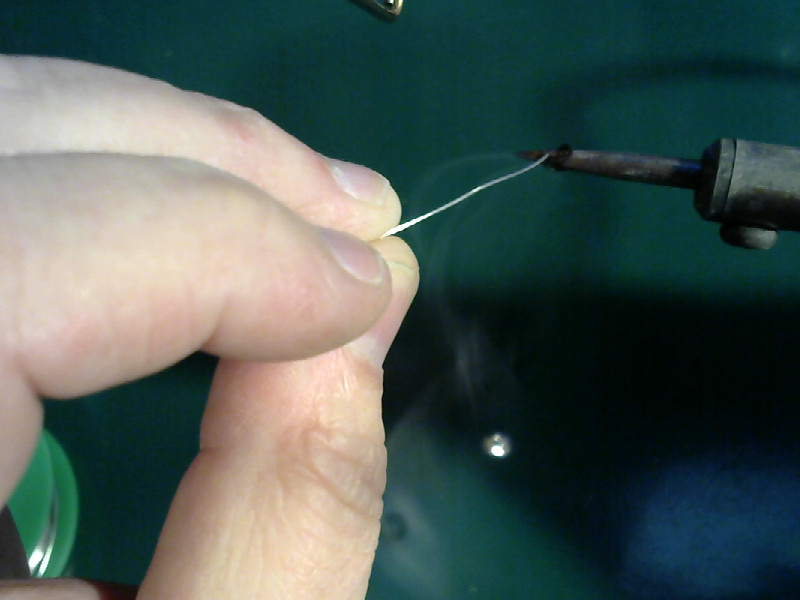 |
See the the silver spot on the work bench? The blob fell off. Just build up a new one on the tip and keep going.
| Done |
|---|
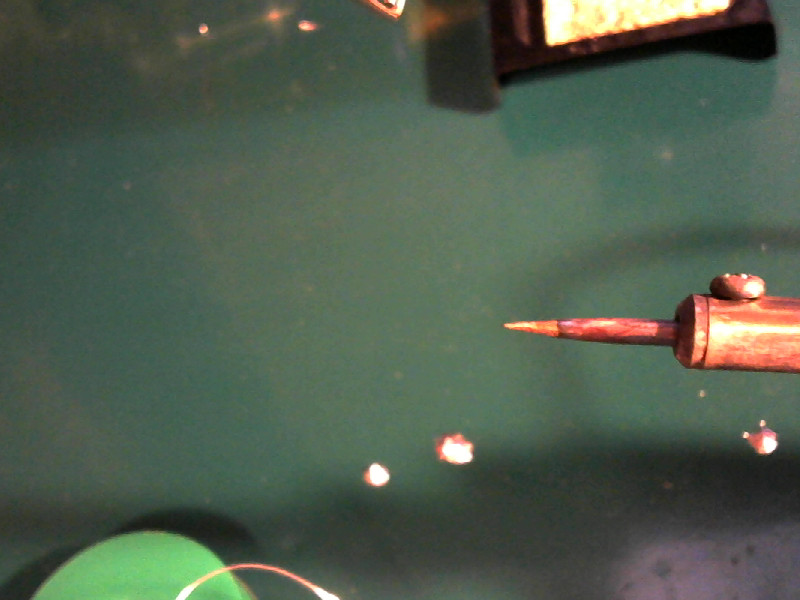 |
There’s not quite 10mm (3/8 inch) of the tip tinned. Notice that there’s several splattered blobs on the workbench. It’ll happen. Don’t worry about it. It isn’t a waste - it did its job in getting your new soldering iron tip ready to use.