A new handle for a cheap knife
Fixing something when it doesn’t matter if you mess it up.
The last few months have been extraordinarily busy. So busy that I haven’t felt up to taking the time to write about the things I’ve been doing. This evening, I don’t feel up to doing what I had planned - it is better not to use a rolling knife to cut cloth when you’d rather just lay down and snooze.
To fill out the evening in a non-hazardous way, I decided to post a few pictures of something I did over the last couple of weekends.
One of our kitchen knives broke sometime back. “Broken” as in “the handle fell off” rather than “broken” as in “broke the blade.” I thought it over several times, and decided to see if I could make a new handle for it.
| Broken knife |
|---|
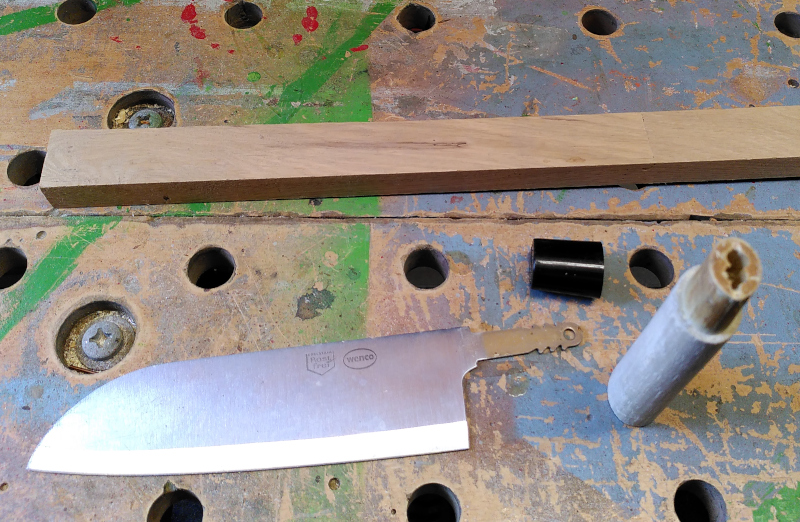 |
The blade was simply press-fit into the handle. There’s a hole in the blade to pin it to the handle, but the manufacturer didn’t use it. They simply depended on the barbs of the shank to hold it in place. It did that for a few years, but the wood finally lost its grip and let the blade fall out.
Above the knife there in the picture is a scrap of oak left over from when I made the base for my Adler 8 sewing machine. I used that scrap to make a new handle for this knife.
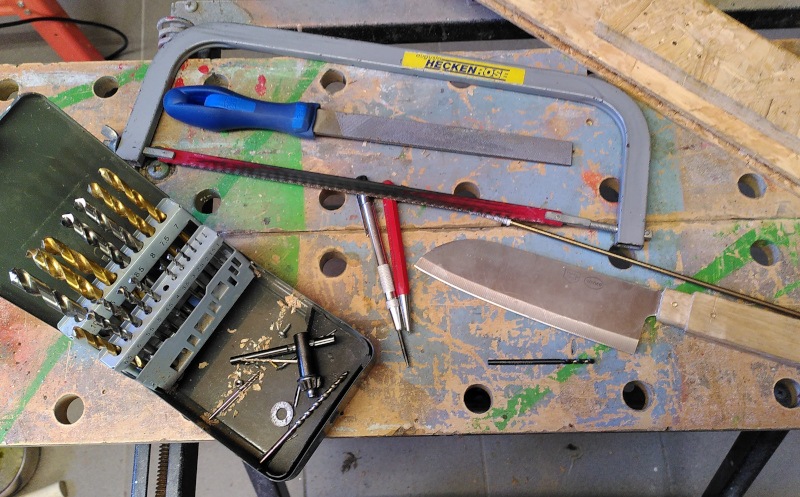
I didn’t make as many photos as I usually do - I make photos when I’m reasonably sure of what I’m doing. This time around, I was mostly in experimenting mode and pretty much just making things up as I went along.
I cut a piece of oak about as long as I felt the handle needed to be - an inch or two longer than the original. The scrap was already about the right width and height to fit comfortably in hand.
The original idea was to pin the blade in the handle using the existing hole. It was larger than the brass rod scrap I had at hand to make the pins from, so I ended up drilling two smaller (4mm) holes in the tang to match the brass pins.
| Fitting a pin |
|---|
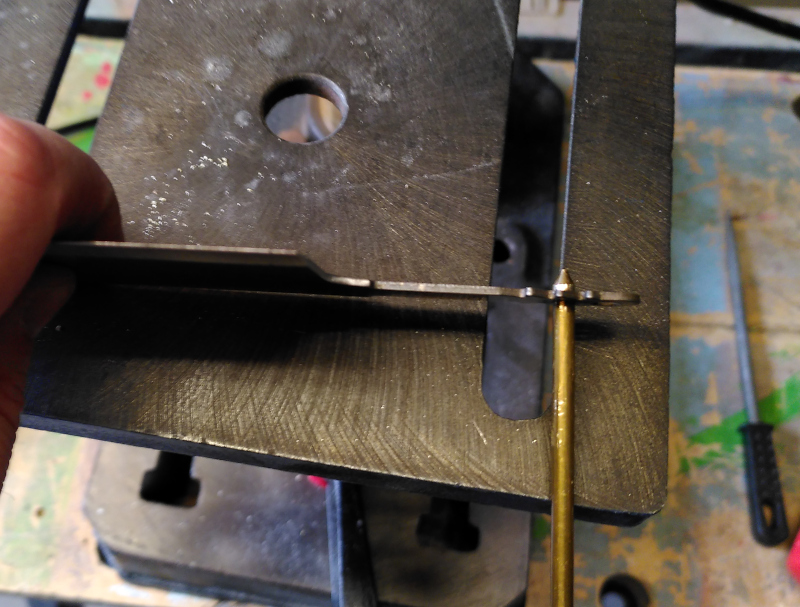 |
I used my band saw to split the handle the long way, then carved cutouts for the blade using a wood chisel. I made the slots match the barbs, in the hopes that it will help hold the blade in place.
I put the blade in place, then clamped the handle together. Before the glue set, I drove in the brass pins.
Once the glue was dry, I ground the pins down almost flush to the wood, then used a center punch to spread the ends of the pins.
With the blade firmly pinned in place, I used the disc and belt sander to smooth the handle. I should have put tape on the blade to protect it - it ended up with some scratches from the sanding.
| Finished handle |
|---|
 |
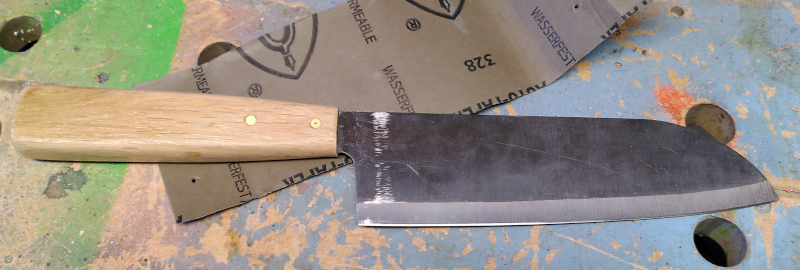 |
I used some more of that hardwood floor sealant that I keep around to finish the wood. I thought about using linseed oil, but then realized that this thing will be tossed in the dishwasher with the other dishes - linseed oil would be washed out in no time.
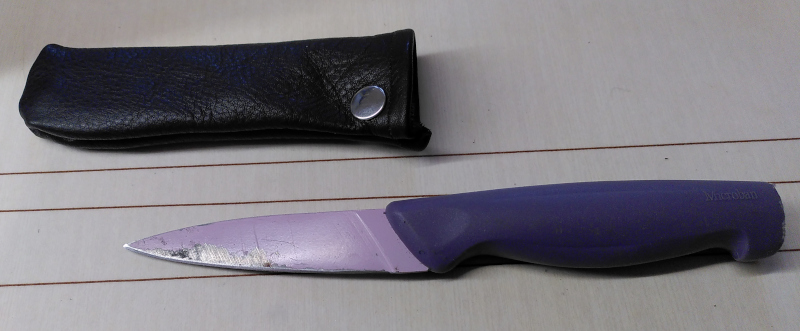
With the knife all finished, I took it in the house and sharpened it to a razor edge. It is a cheap knife, but the steel actually holds an edge pretty well.
If I think about it, I’ll check back in a few years and let you know how well my DIY handle held up.
One of the many things I’ve done in the last months was to try to make a small leather drawstring bag for the dice my son uses to play Dungeons and Dragons.
The bag didn’t turn out well - it was a bit small, and I couldn’t get the drawstring threaded through the neck.
It was laying there on my workbench, mocking me, when I came through the room with another knife in hand.
I had been cleaning out the trunk of the car, and came upon our “emergency knife.” It was packed in with the tools and stuff I keep in a large wicker basket in the trunk. That basket is full of things you only need once in a blue moon - things like a tow rope, jumper cables, etc.
That “etcetera” includes a knife for just in case. That knife had worked its way free of whereever we had had it stashed so as not to cut fingers - it nearly cut mine while I was sorting things to go back in the basket.
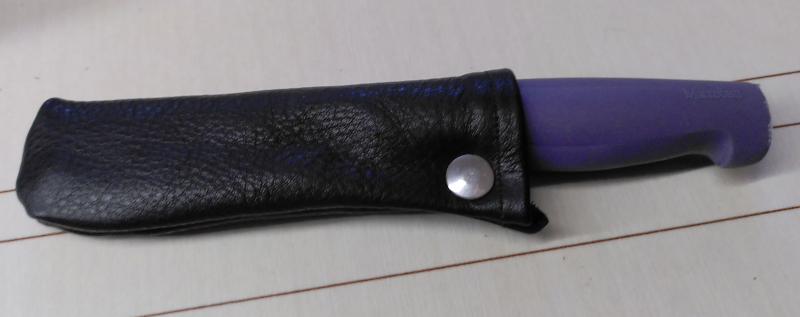
As coincidence would have it, the dice bag is just long enough to cover the blade and go on up onto the handle. A couple of minutes put a snap on the mouth of the bag and converted it into a clip-on sheath for a knife.
My wife always complains that I never throw things away. Well, dang it, I end up using a lot of that “junk.” Just like this failed bag turned knife sheath.
| Knife sheath |
|---|
 |
 |