A holder for some more sharpening stones
Showing how I did something the second time around.
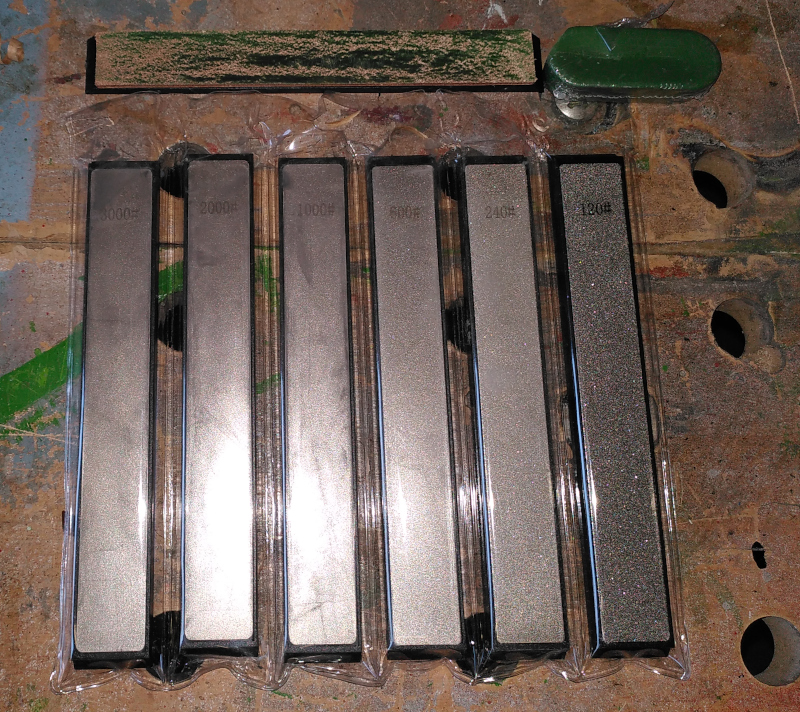
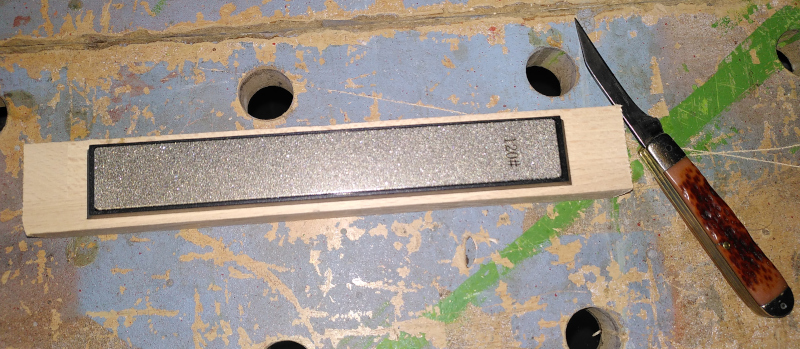
Last week, I mentioned the set of sharpening stones I bought for the local Repair Café. While trying them out, I found that I liked using them so much that I bought a (larger) set for myself. The repair cafe only needs to get kitchen knives sharp enough to cut vegetables. I use mine to sharpen our kitchen knives, but also the chisels I use for woodworking. The set I bought has six stones (120, 240, 600, 1000, 2000, 3000 grit) and a leather strop with some polishing compound.
| New stones |
|---|
 |
Up to now, I’ve used these guys to sharpen knives and chisels:
| Existing sharpening stones |
|---|
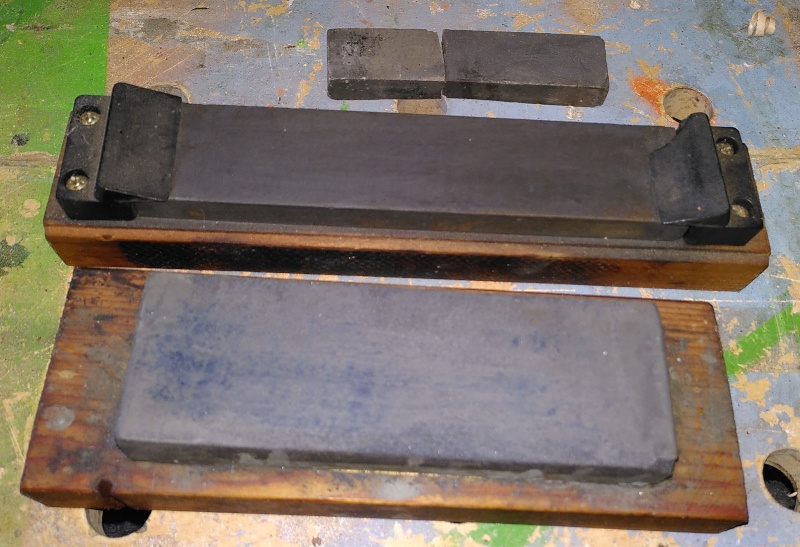 |
At the top is a small hard Arkansas natural sharpening stone. I bought it for 50 cents at a flea market about forty years ago. I dropped some years ago and broke it in two.
In the middle is a larger hard Arkansas stone that I’ve used for probably twenty years now. It puts a good edge on things. It is large enough that I can easily do chisels and large kitchen knives on it.
At the bottom is a cheap double sided industrial stone that I’ve used for probably more than fifteen years. It is no great shakes, but it works.
I use oil with all of those stones - that makes a mess, so I only sharpen things in the garage with them.
I won’t be disposing of them, but I’m pretty sure the industrial stone won’t see much use in the future.
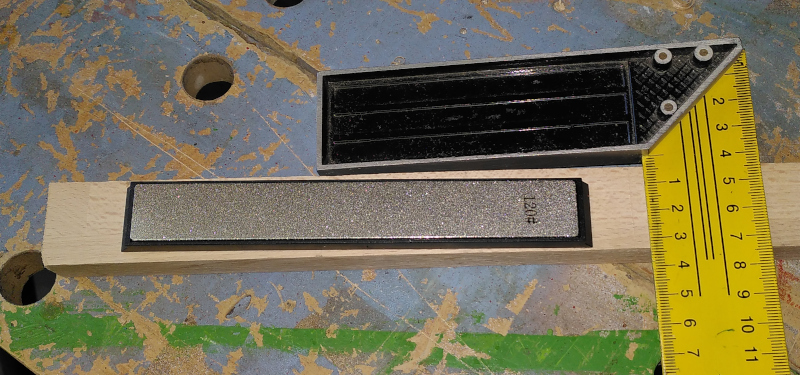
I didn’t take pictures when I made the stone holder for the repair café, but I made some this time around.
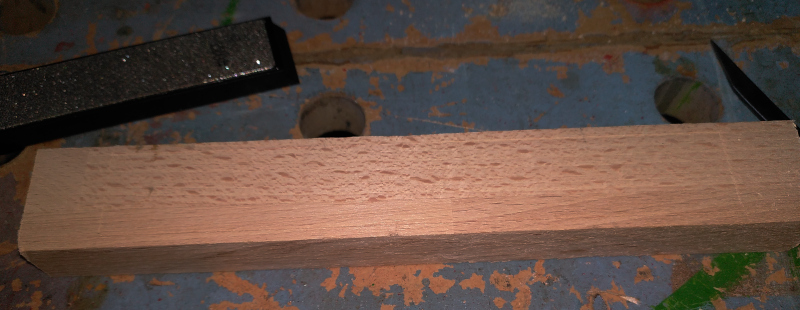
This project starts with cutting a scrap of beech wood to the right length - it is already the right width.
| Wood for the stones |
|---|
 |
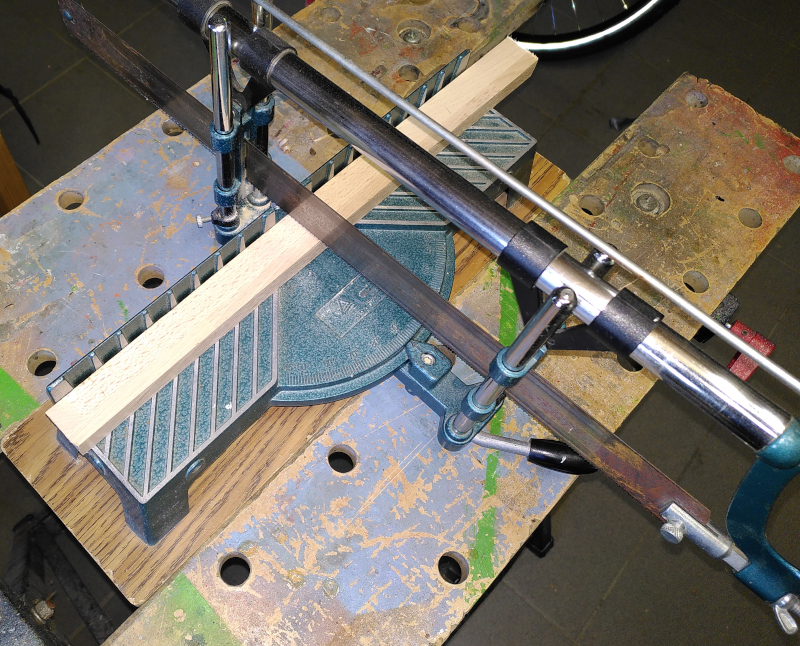 |
I have no idea how long the holder is, really. I just eyeballed it to about an inch longer than the stone on each end. As an American, I grew up using inches. When I do stuff like this, I still think in inches.
I use a rickety old mitre saw that I bought over twenty years ago. I used it to cut the baseboards for our house back when we built it.
| Marking the cutout |
|---|
 |
 |
The stones will sit in a rectangular cutout in the holder. I just plopped a stone down in about the middle of the wood, then traced around it with my knife. This isn’t rocket science, you know? It doesn’t take any kind of accuracy. All it has to do is fit. Nobody cares exactly how big the block is. It doesn’t matter if the cutout is exactly centered. If it looks centered, that’s good enough.
The marked lines are hard to see in the photo. They were somewhat clearer in person.
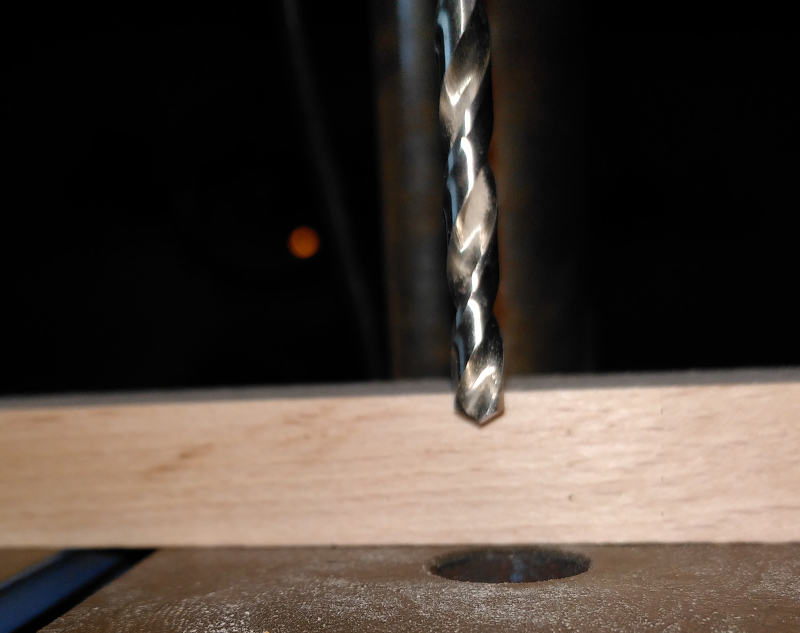
I used my drill press to remove most of the material in the cutout. That starts with adjusting the depth stop to just a couple of millimeters.
| Drilling out the cutout |
|---|
 |
 |
Again, accuracy doesn’t really matter. The depth is all that counts, and that’s taken care of by the depth stop on the drill press. Just stay inside the lines and it’ll be OK.
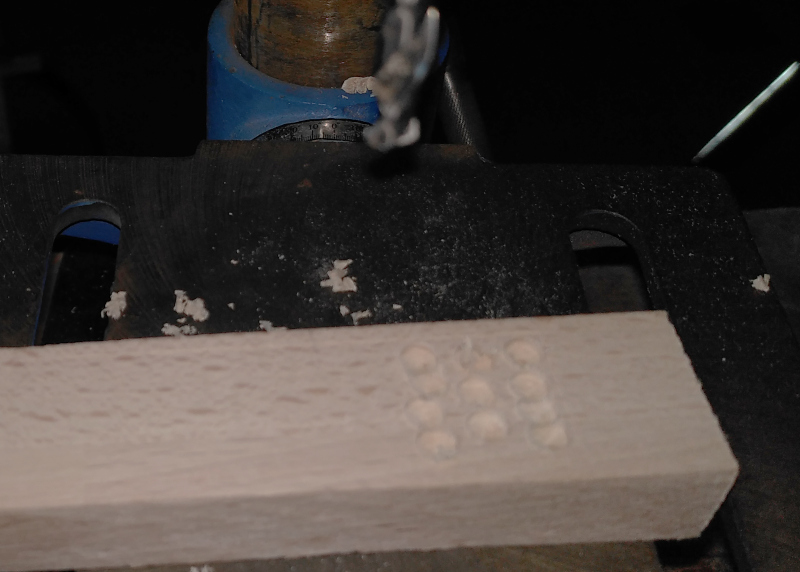
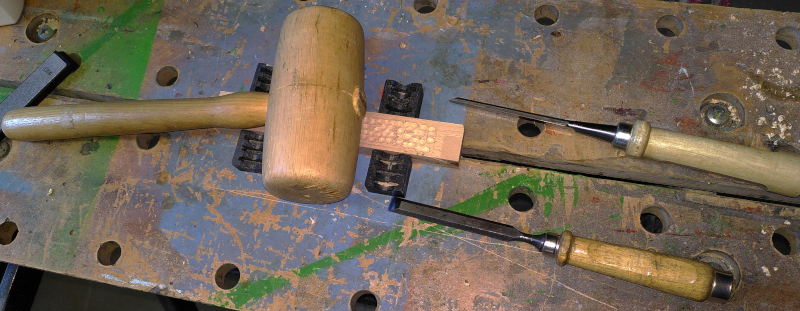
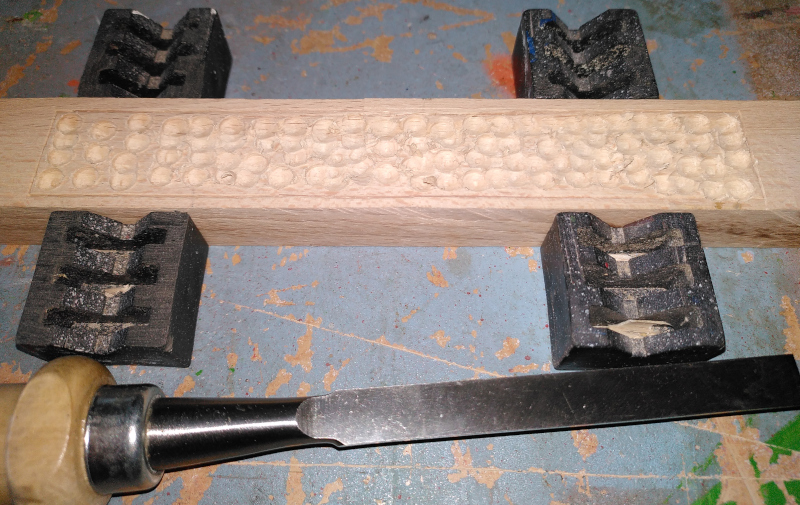
I drilled out the whole area for the cutout, then got out a wood chisel to remove what the drill couldn’t manage.
| Clearing the cutout |
|---|
 |
 |
 |
I cut around the entire cutout with the chisel before removing the stuff in the middle. That keeps me from cutting outside the lines. Stand the chisel up along the marked line and hammer it down a couple of millimeters into the wood. Move over and do it again. Keep going until you’ve got a groove all the way around the cutout.
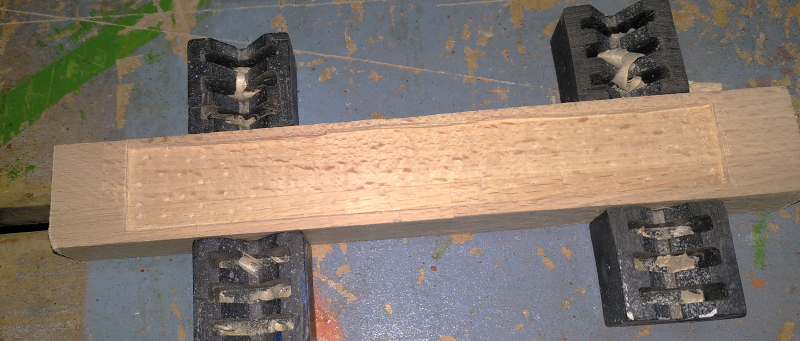
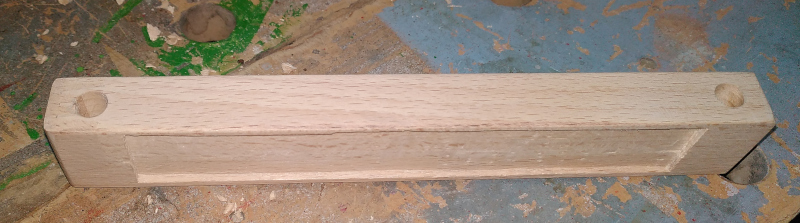
I removed material until the dimples from the point of the drill were gone. That makes it easy to get the bottom of the cutout level.
| Finished cutout |
|---|
 |
 |
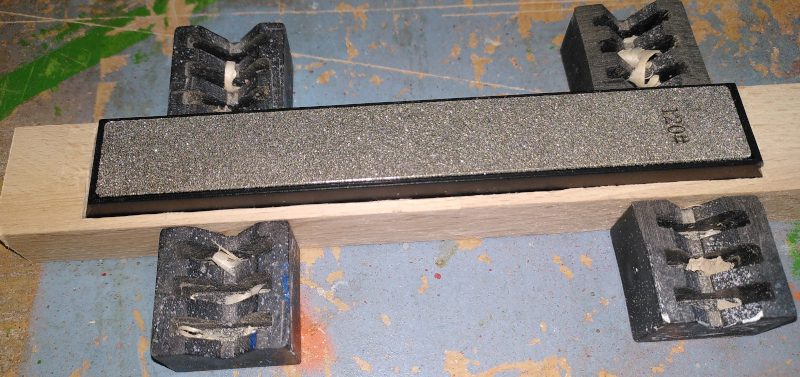 |
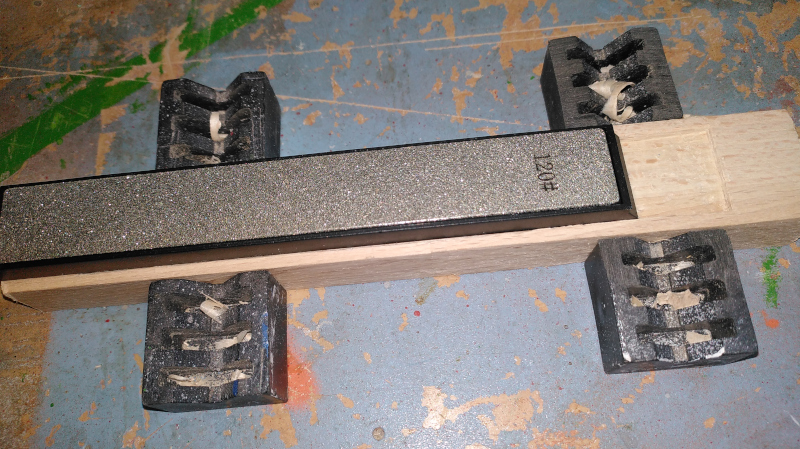
The last bit of “woodworking” is to drill the holes for the clamps. Again, I just eyeballed them into place. First with a small bit, then with an 8.5mm diamter bit to fit the clamps.
| Clamp holes |
|---|
 |
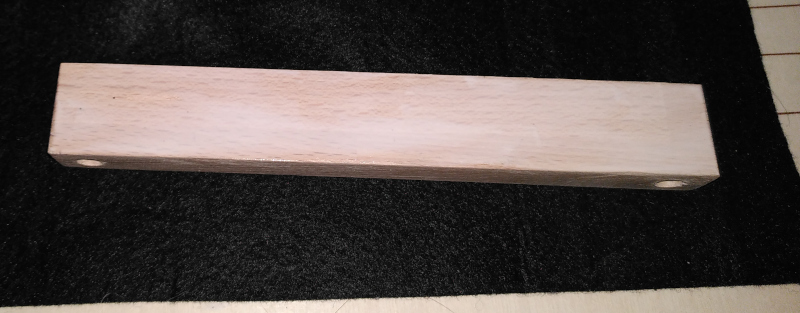
I didn’t put any kind of finish on this one. I figure it’ll develop its own “finger fat” polish as time goes by.
With the woodwork done, it was time to go in the house and put a felt bottom on the holder.
| Felt |
|---|
 |
That’s not real felt. It is some kind of artificial fiber that looks like felt but isn’t.
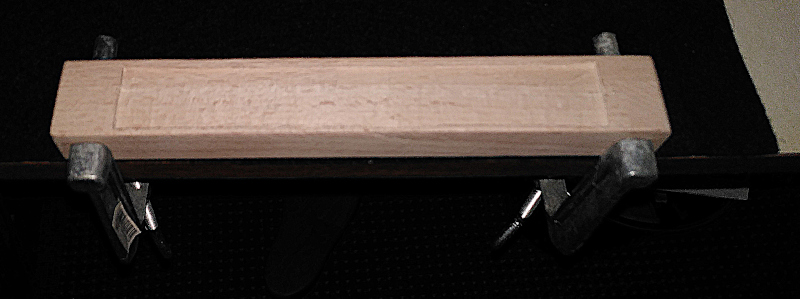
I spread a thin layer of white glue on the bottom of the holder then used the clamps to clamp it to the felt on the edge of a table.
| Glue |
|---|
 |
 |
When the glue dried, I borrowed my wife’s rolling knife and cutting mat to trim off the excess felt. After that, I used a lighter to melt the fuzzies off of the cut edges. With real felt, the fuzzies burn. With fake felt, the fuzzies melt. The result is the same - clean cut edges around the wood.
| Trimmed and flamed |
|---|
 |
 |
That’s pretty much it. The sharpening stone holder is all done and ready for the next time I need to sharpen a knife, a pair of scissors, or a chisel - or the pruning shears for the roses.
| All done |
|---|
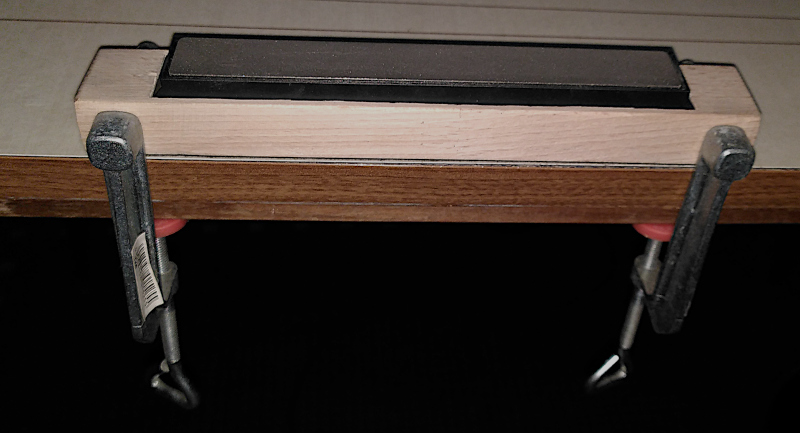 |
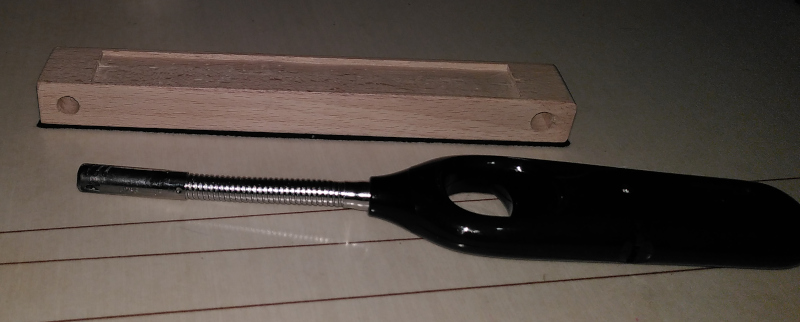
What I like about the diamond stones is how quickly they work.
I stopped in the middle of making the holder to sharpen a really dull chisel. It took just a couple of minutes where I’d have had to spend maybe half an hour diddling with the industrial stone to get a smooth, straight edge.
Sharpening a chisel:
Anybody who does serious woodwork won’t be impressed by my technique or the results, but I’m impressed with how quickly it went. That’s all down to the stones cutting quickly.
The next task on the list is to make a pouch for the stones and the holder to keep them all together. Another day, though.