A sewing machine motor speed control - Nearly there
Got the hardware. Where’s the software?
A sewing machine motor speed control - Table of Contents
Way back in February of 2022, I set out to build a better motor speed control for my Adler class 8 sewing machine. I optimistically assumed that it would be done rather quickly. Maybe it would have been done earlier, but I backed up and described a lot ways not to do it before I got down to building things for real.
I am finally (more or less) done with the hardware. It works fine electrically and it is mounted on the machine so that it all works. It isn’t as pretty as I wanted to make it, but I think I can live with it.
Today is just a look at the outsides before I get down to writing the final software. The program that is in it now just regulates the power - it ignores the tachometer.
| DIY Bigfoot sewing machine motor speed control |
|---|
 |
 |
 |
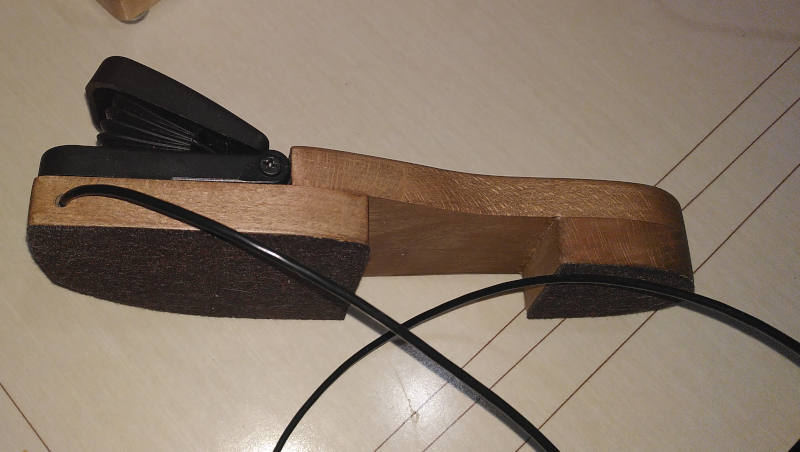 |
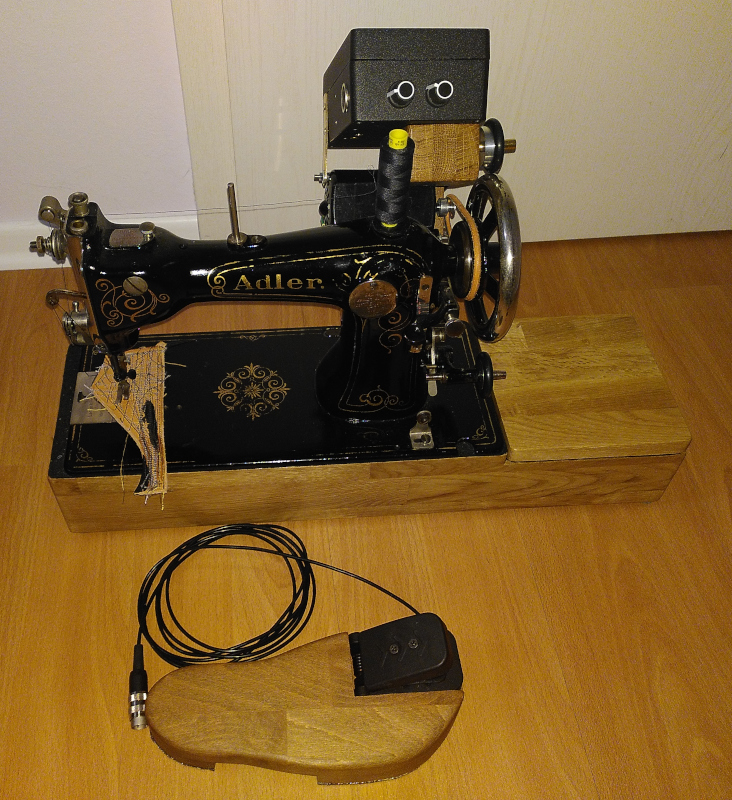
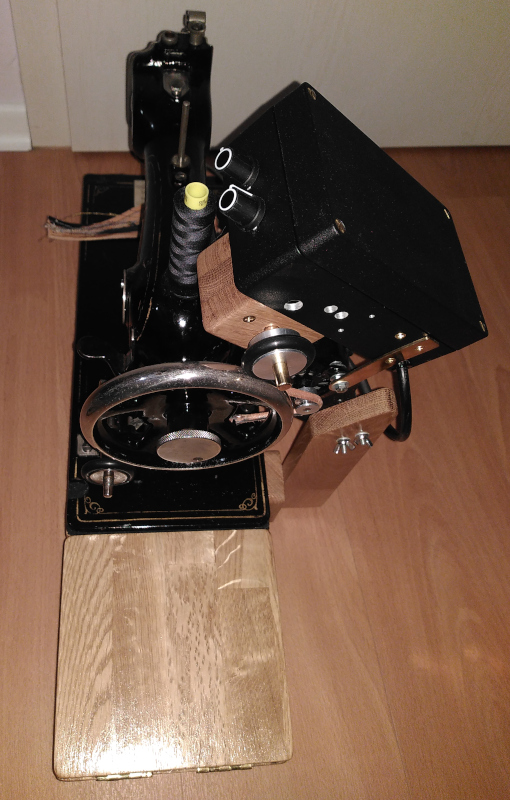
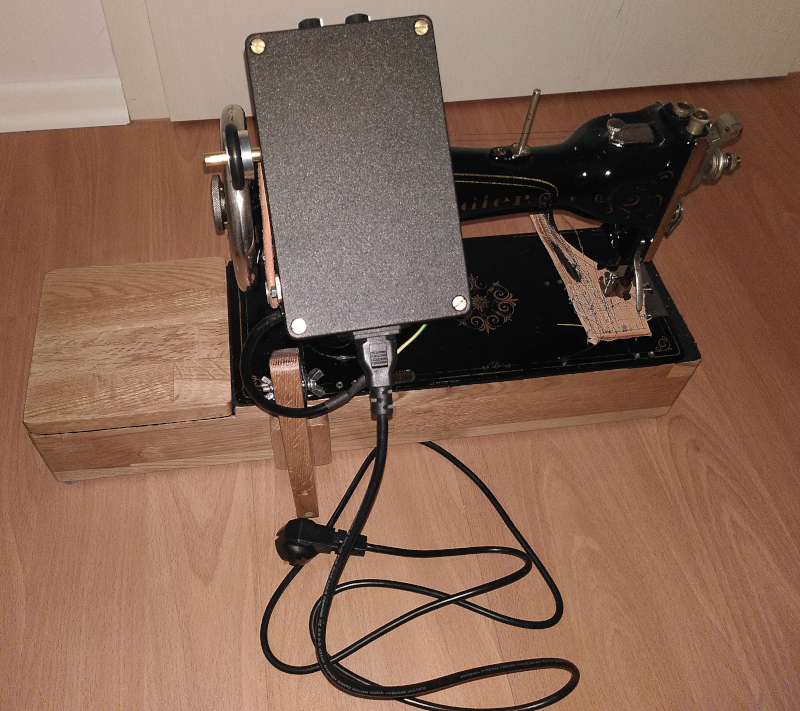
The controller is that big, bulky black box. The tachometer is in the wooden box underneath the controller. The foot pedal is modeled on my own size nine right foot. The black pedal is a commercially made unit intended for use on electric go-karts. It has a Hall effect sensor in it rather than the potentiometers that you usually see in electronic sewing machine motor controls.
The whole thing works as is, but not quite like I want it. Right now it is (merely) a more easily controlled power regulator. The two knobs on the front control the minimum power and the maximum power. The controller interpolates between those two settings depending on the pedal position. It is far easier to use than the controller that came with the motor.
When I can find the time, I’ll implement the PID-controller with the tachometer feedback. I’ll put all the schematics and software up on Github when that’s all done and working.