The Pfaff 30-31 sewing machine - Repainting and applying decals
Looking good.
Click here to see all the Pfaff 30-31 posts.
While it didn’t turn out perfectly, I think repainting the machine was the easiest part of this whole project. There wasn’t much difficult or complicated about it, it was just spraying paint, a little sanding, and a little care in putting on the decals.
There’s not really much to tell about it - if you know how to paint stuff, it’s obvious and if you don’t know how then I’m the wrong person to teach you because I’m not that good at it myself.
| Preparation |
|---|
 |
 |
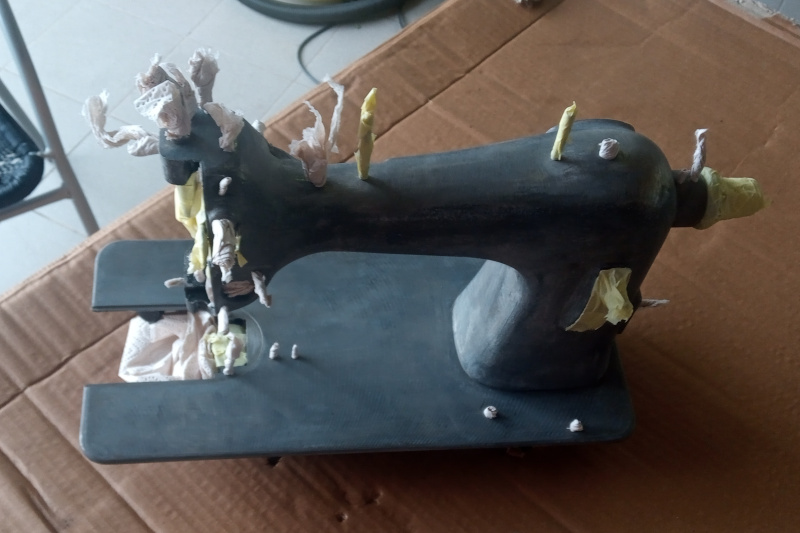
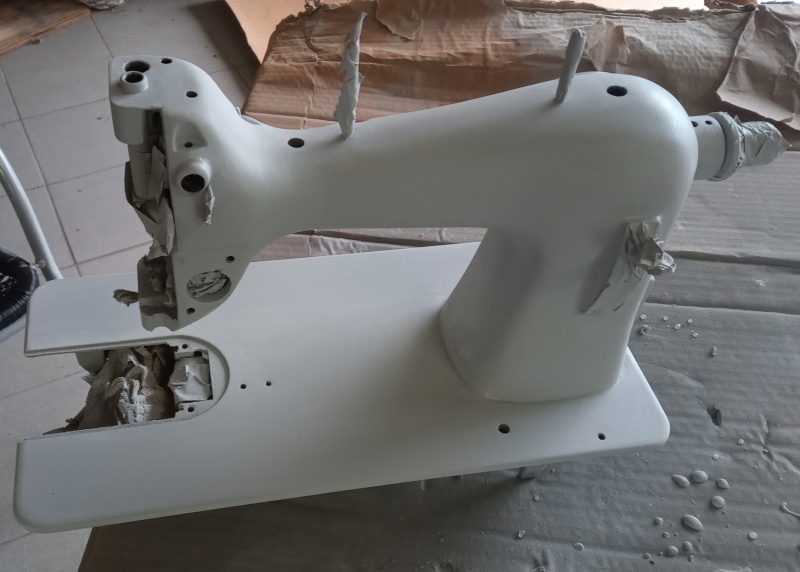
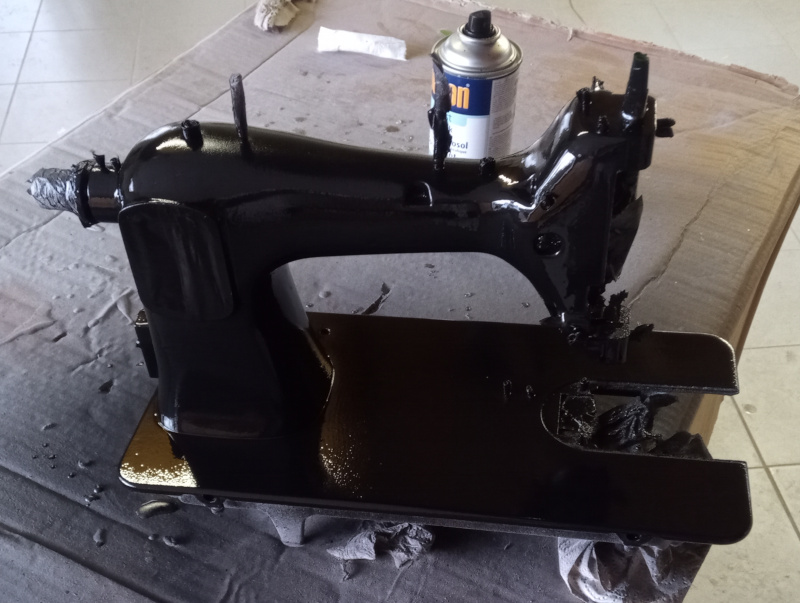
There’s a lot of holes and openings in the housing of the machine where you don’t want paint to get into. I taped off a lot of things, then stuffed rolled up pieces of paper towels in the rest of the holes. That turned out to have been a bad idea - painted paper towels crumble and get dust all over everything.
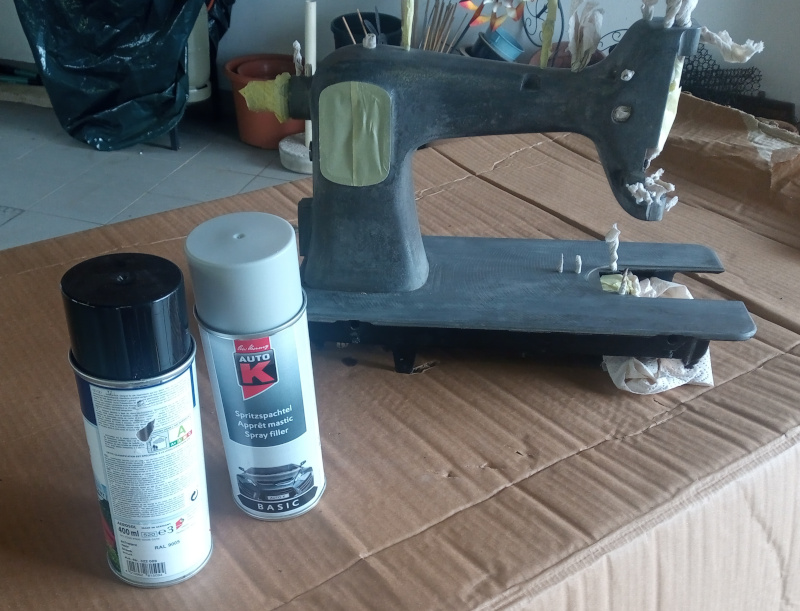
I used plain gray primer and a can of RAL 9005 “jet black” glossy to repaint this machine.
| Primer |
|---|
 |
 |
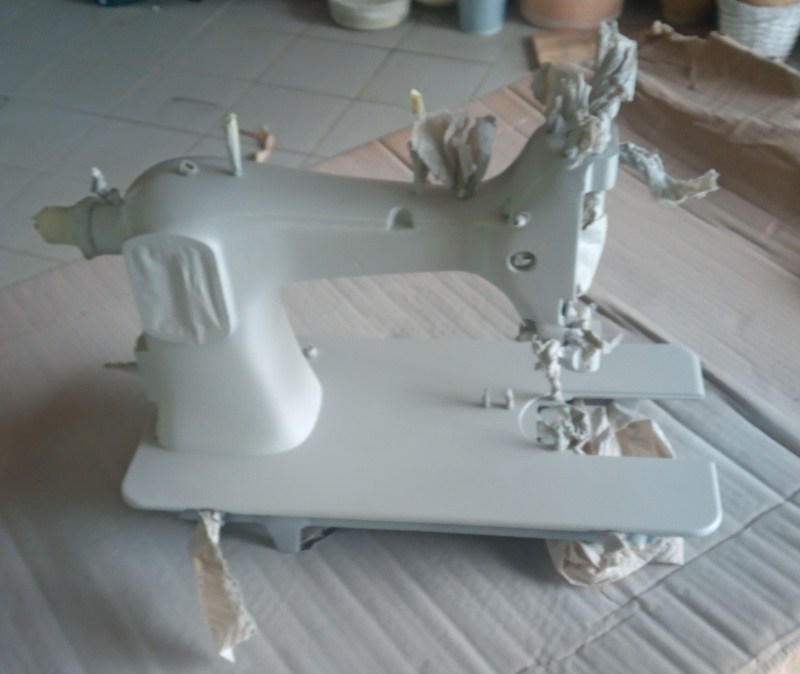
After a couple of coats of primer, I sanded the surface smooth with some 600 grit wet/dry sandpaper.
| 600 grit |
|---|
 |
You’ll want to wet sand the surface. There might be some of the old paint still on the machine, and if you sand through the new primer you’ll get dust from the old base coat - and that has lead in it.
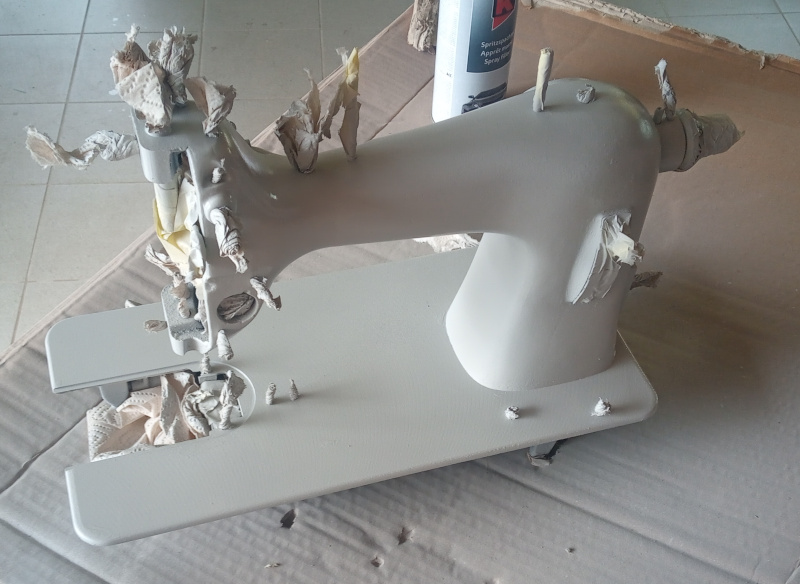
| Sanded primer |
|---|
 |
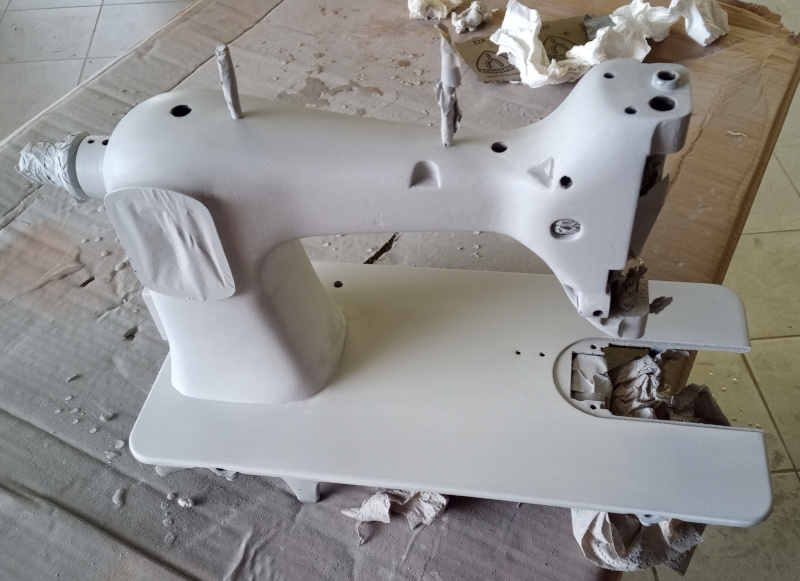 |
Before starting with the black paint, I replaced all the paper plugs with small rolls of masking tape.
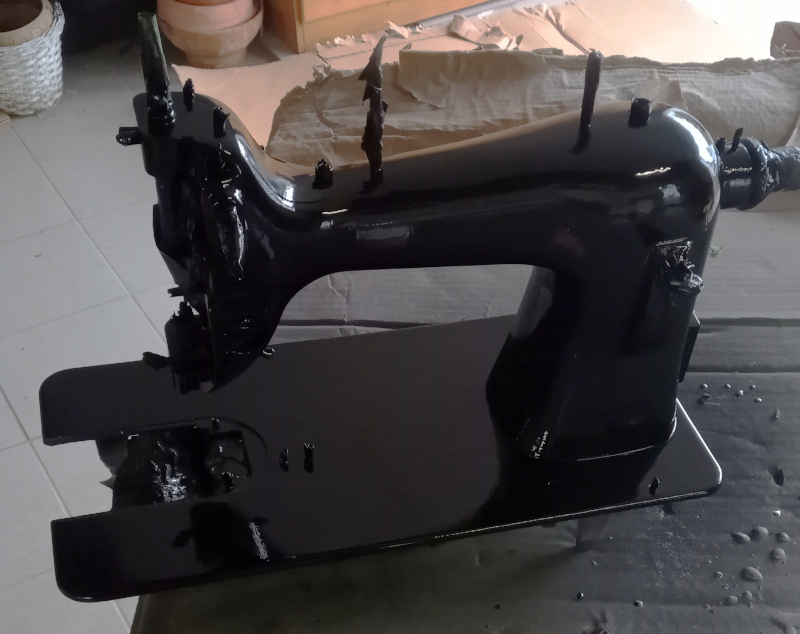
| Black paint |
|---|
 |
 |
I put on one coat, wet sanded it, put on a second coat, then wet sanded it, too.
With a fresh coat of paint on the machine, it was time to put on some decals.
I bought two sets of restoration decals for the Pfaff 130 from (of all places) “Singer Decals.” They aren’t an exact match, but they are as close as I could get. The set actually covers several models - the 130, the 230, the 30, the 31, and the 301 - and of course the 30-31.
| Decals |
|---|
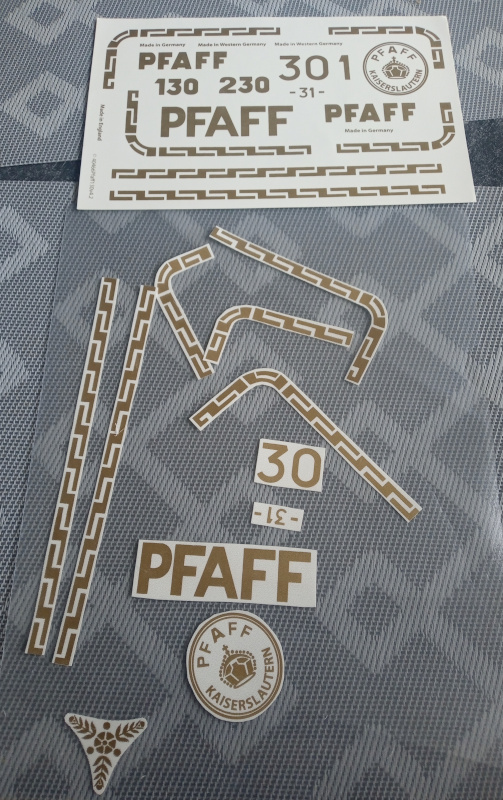 |
The little triangle shaped thing in the lower left corner was a free sample that they sent with the decals I ordered. I thought it looked nice, so I used it as a “center piece” on the bed of the 30-31.
I cut the decals out with a very narrow border - 1/16 inch (1.5mm) or so. The instructions say to use a much wider border, but they worked just fine with the narrower border.
| Applying decals |
|---|
 |
 |
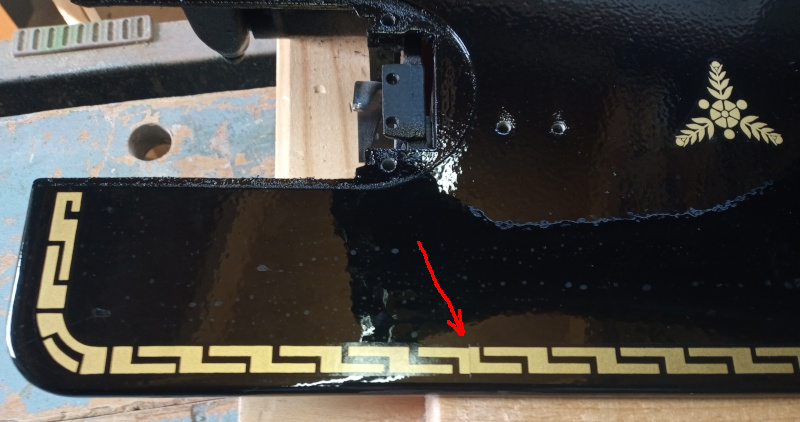 |
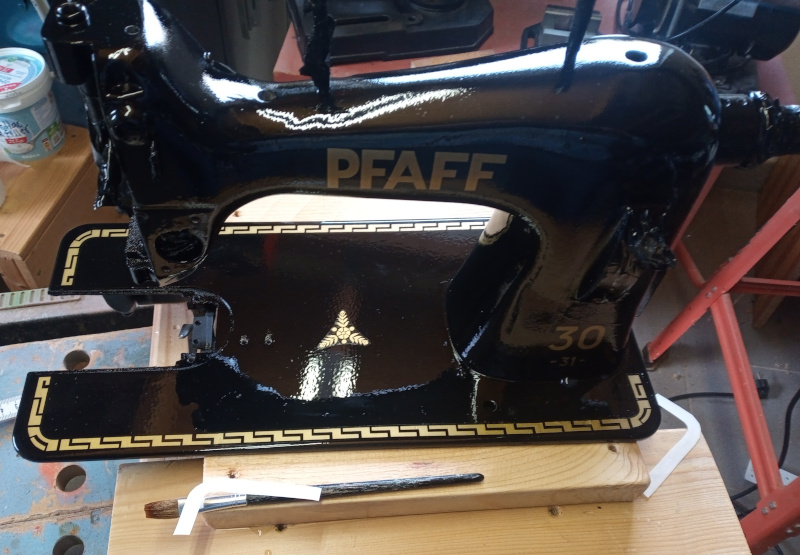
The chain-link border around the machine is composed of six segments - two straight ones and four corner pieces. Lay them out dry and match up the junctions (red arrow) before you put them on the machine.
You should only have one decal wet and working at a time. When I was a little kid, I’d cut out all the decals for model airplanes and throw them all in the water at the same time - and always made a mess.
Use a shallow pan of water, and let one decal float in it until it comes unstuck from the paper backing. You don’t want it to fall off, but you want it to slide around on the paper backing.
I used a small paint brush and extra water to move the decals around on the paint. Add water and brush the decal around until it is in the right spot, then shake the extra water out of the brush and use it to brush the water out from under the decal - gently stroke the surface of the decal and push the water out. All it takes is patience.
Replace the water as you are working. There’s something that sticks the decals to the paper backing. It dissolves in the water. Whatever it is collects in the water. After a while there’s so much of it in the water that water drops on the paint dry into a gray film. Replace the water when you see a gray fog where water dries on the machine.
When all the decals are in place, wipe off any water drops with a damp cloth then let things dry. I can’t tell you how long it needs to wait. Due to the way I work on things as I have time and the mood strikes me, it was a couple of days after I put on the decals before I got back to it.
You can’t leave the decals bare on the surface of the machine. They’ll come unstuck or get rubbed off very quickly.
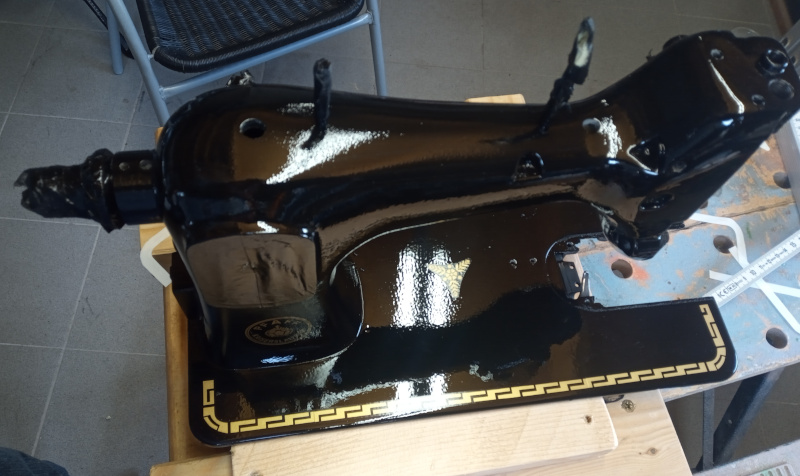
I brushed a couple of coats of shellac on the whole machine to protect the paint and the decals. That’s tricky. You have to get the shellac just thin enough to go on easily with the brush but thick enough that it dries shiny instead of dull. A couple of times I had to brush the entire bed with straight ethanol to get rid of runs and then put on another coat of shellac.
I suppose you could use a coat of some clear paint, but I don’t trust it. Modern paint is hard - it tends to crack if you put pressure on it. Shellac is tough rather than hard, so it won’t crack or flake off if you bump it or use one of the screw on accessories on the bed. Besides all of that, I know that shellac won’t turn to goo under influence of sewing machine oil.
With the paint and decals on, the machine was ready for reassembly.
I have approximately 5 million photos of putting it back together. It’ll take me a while to sort and edit them - it’ll be a couple of weeks before I get that done.