The Pfaff model K sewing machine - Beech wood, shellac, and brass
A quick look at a couple of weeks of hobby time.
Read all about my adventures with the Pfaff model K.
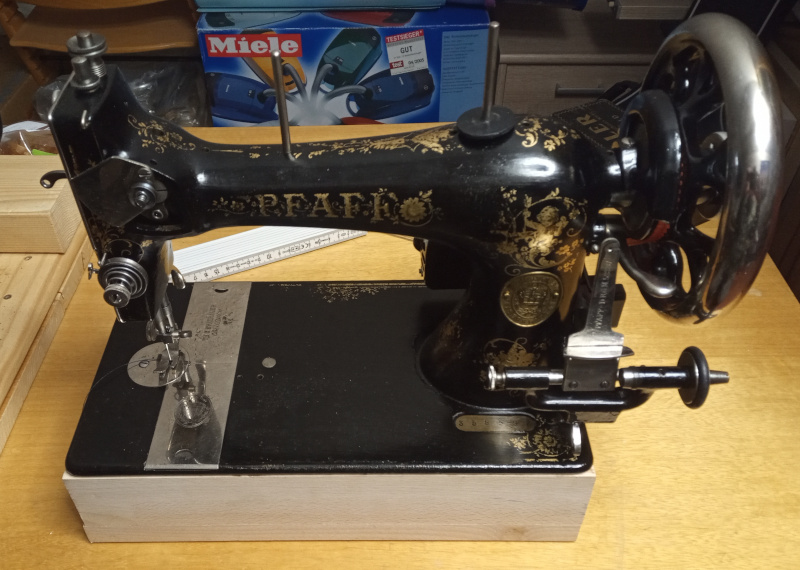
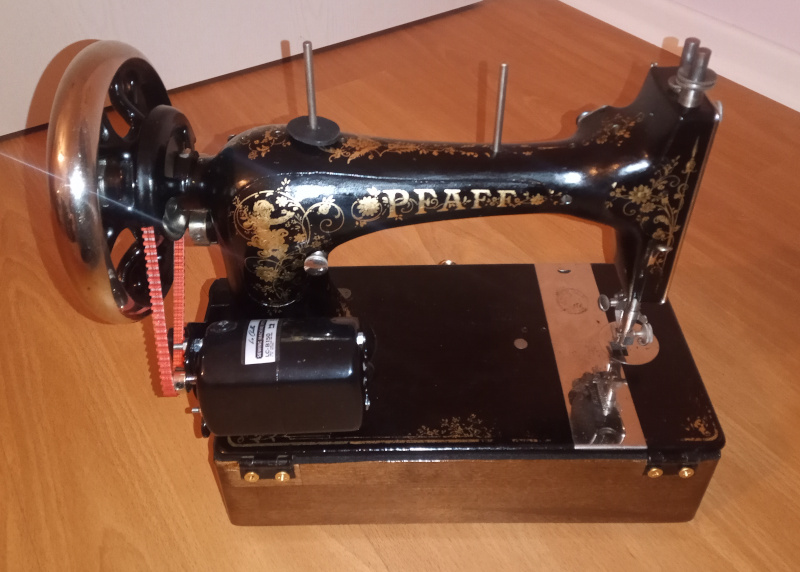
After only (snork) four months, I have finished the Pfaff model K rejuvenation. Besides cleaning and adjusting it and giving it an electric motor, I’ve built a nice wooden base for it to live on.
This isn’t a “How To” on building a base for a sewing machine. It’s just a sort of slide show of random photos I took while making one. Maybe it is of no interest to anyone, or maybe it’ll inspire one of y’all out there to do something similar - or better.
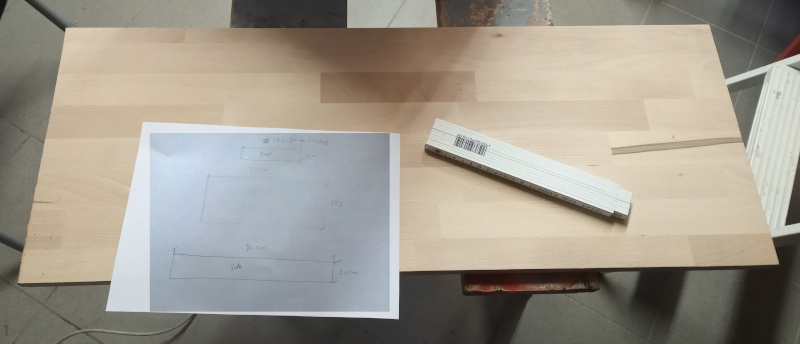
I started with a rough sketch and a piece of beech that I had unused in my garage.
| A simple beginning |
|---|
 |
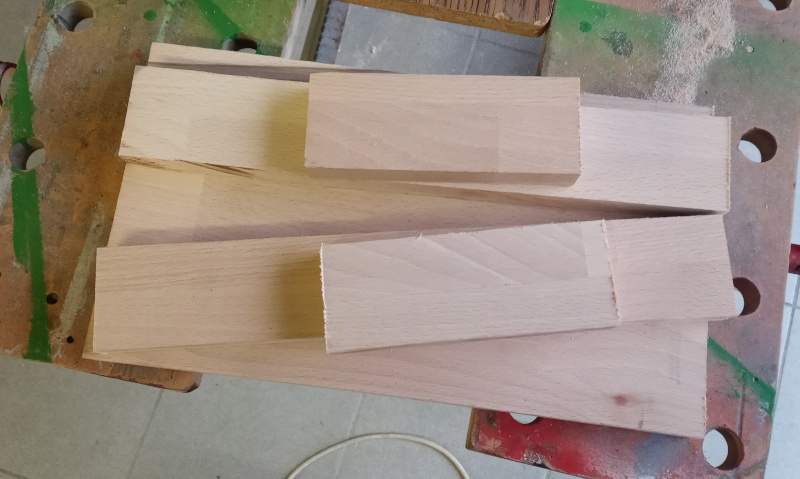
A little work with the table saw got me some pieces to build the box from.
| Parts |
|---|
 |
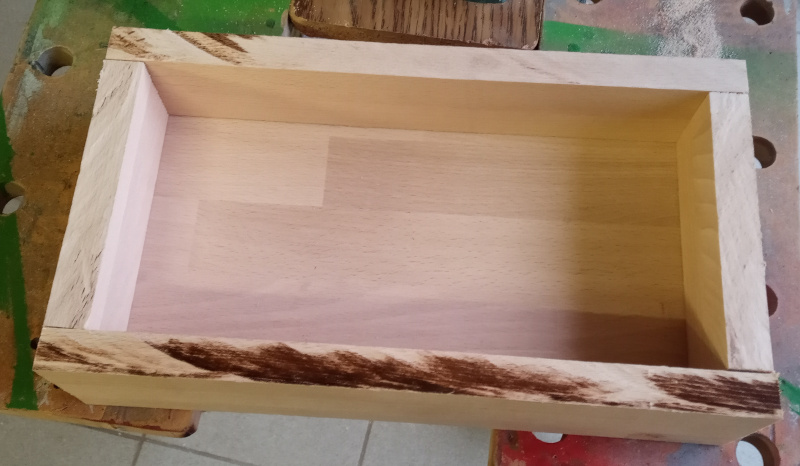 |
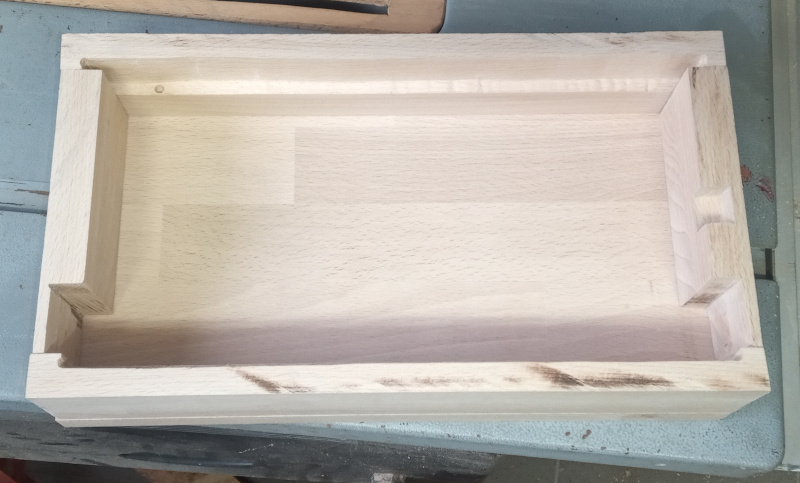
More work with the drill press and a wood chisel got all the needed cut-outs to match the bottom of the machine. The box is held together from the bottom with screws, while all the joints are glued together.
| Box |
|---|
 |
 |
Once the basic box was assembled, I sanded it smooth and rounded the corners and edges. I did much of the work with the belt sander but there was also a lot of hand sanding involved.
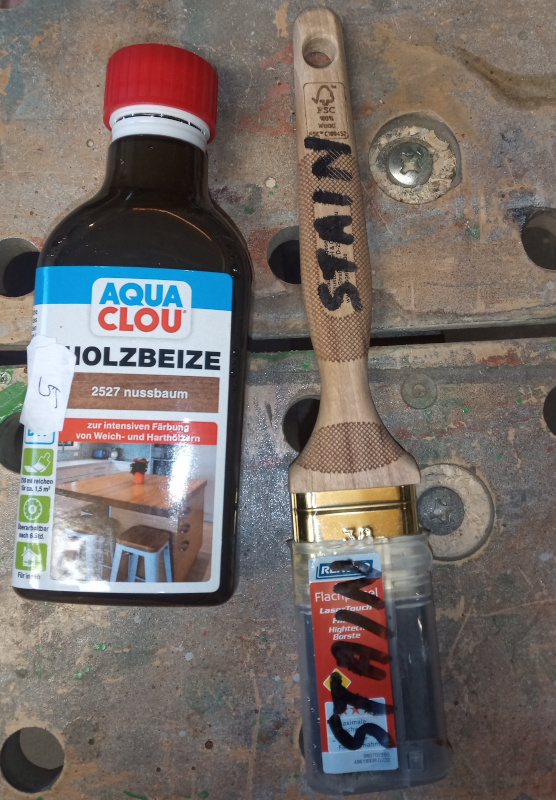
I used walnut stain and shellac to finish the box. I used the stain because beech looks kind of plain - it is so lacking in contrast that blonde shellac can’t do much for it.
| Finishing materials |
|---|
 |
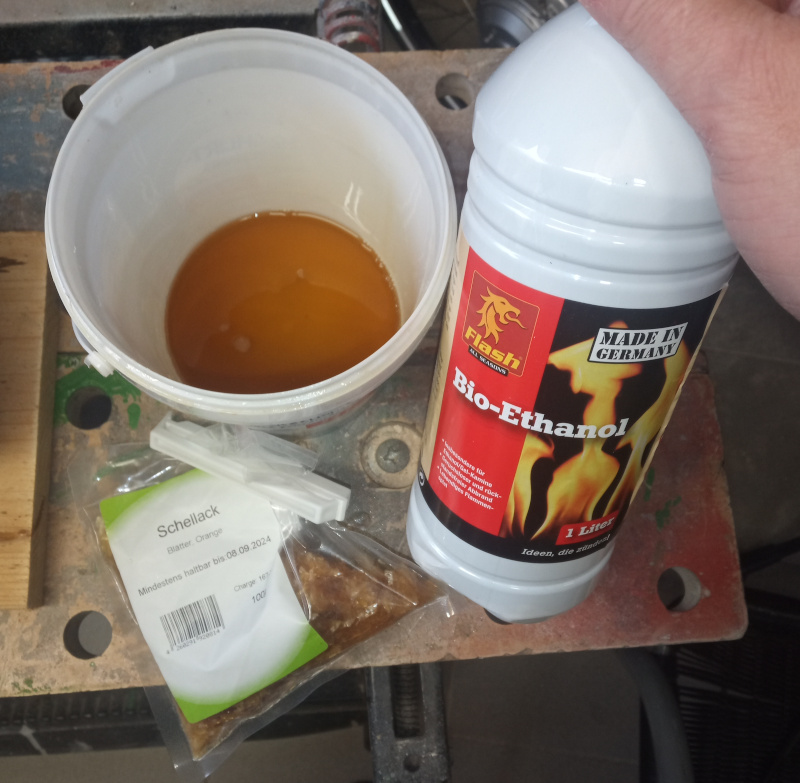 |
I used shellac flakes this time instead of pre-mixed shellac. I ended up using a mixture of about 30 grams of shellac flakes and less than 200 millilters of ethanol. I think that’s about what you’d call a four pound cut. I just mixed it thin then added flakes until the shellac had a nice look when it dried on wood. If it is too thin it looks dull. If it is too thick it doesn’t go on well with the brush. The next time I do it, I’ll probably mix it thick, then thin it as needed. It takes an hour or two to dissolve additional flakes, but only seconds to thin it with more alcohol.
After putting on the finish, I turned the box over and put some felt feet on it.
| Feet |
|---|
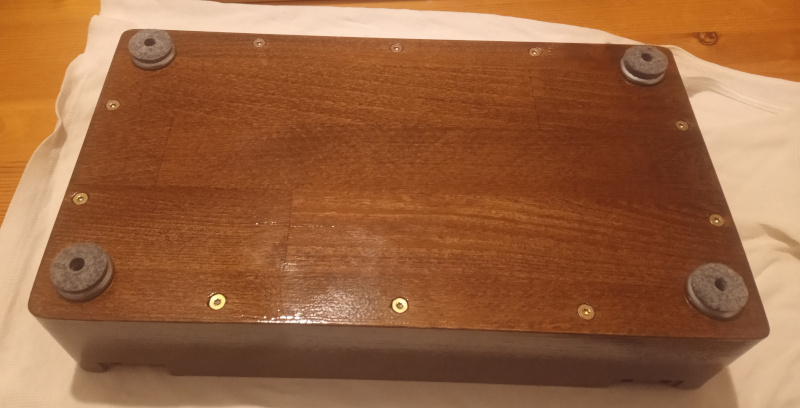 |
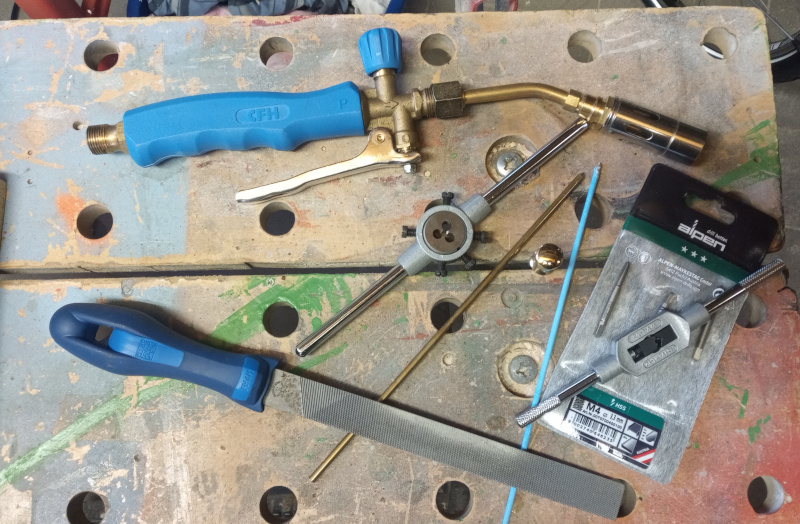
I wanted to stick with brass hardware on the box. All the visible screws are brass (except the ones on the bottom, which are yellowed steel,) as is the knob I put on it to keep it closed.
Brass knobs are usually screwed in from the back side, but since I needed the screw to be part of the knob I sort of had to improvise.
I drilled and tapped a hole for a 3mm screw in the cast iron frame of the machine. I cut a piece of 4mm brass rod then used a threading die to cut 3mm threads on both ends. One end goes into the machine while the other goes into the brass knob I’d bought.
To keep the rod from coming unscrewed from the knob, I used a small crumb of silver solder to solder them together.
| A brass knob to hold the box closed |
|---|
 |
With the box finished and all the hardware collected, it was time to put it all together.
| Ready for assembly |
|---|
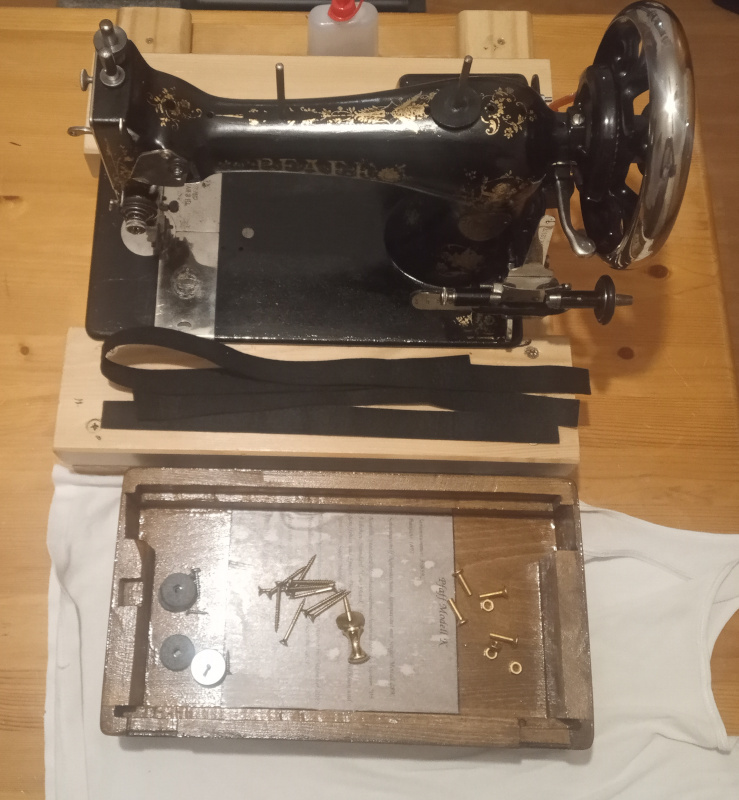 |
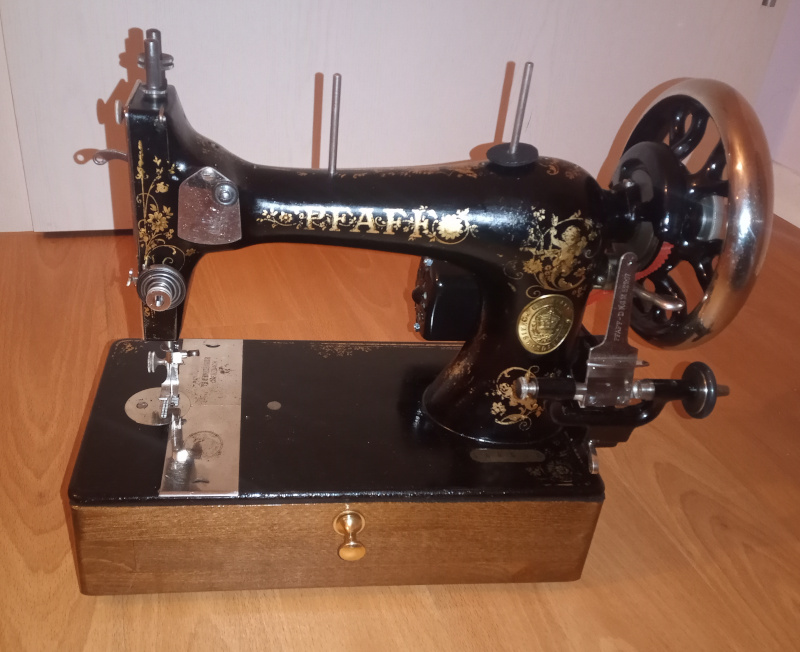
I think the shellaced faux walnut base looks pretty good under the black and gold Pfaff K.
| All done |
|---|
 |
 |
 |
 |
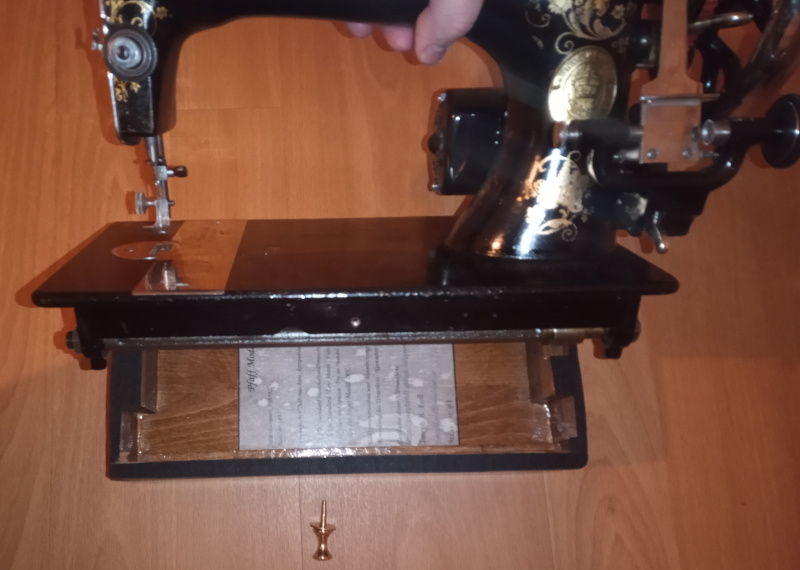 |
I put a little sheet with some basic information about the Pfaff K and its rejuvenation in the bottom of the box. It is under the shellac so it should stay put. Who knows how long it’ll be there. I think I’m getting old - I’ve begun to wonder who will find things I’ve made and what they’ll think of it after I’m gone.
I know I haven’t said much in this post, but I think the pictures are more interesting than anything I might have written about them.
I’ll write up some of the more interesting things I learned about the Pfaff model K (and by extension other vibrating shuttle sewing machines) in another post soon.
My wife and I will be delivering the Pfaff model K to its new owner in just a few days, so I need to write up what I can while I’ve still got it here to make photos.