The Pfaff 30-31 sewing machine - Refinishing the cabinet
Unlocking the beauty in an old oak veneer sewing cabinet.
Click here to see all the Pfaff 30-31 posts.
Way back when I started on this Pfaff 30-31, it was obvious that the cabinet was going to need a little work. It wasn’t badly beat up, but it had some water rings on it. I figured the only good way to fix it was to sand down and refinish the top of the cabinet - that’s really the only part that looked bad.
Before I show you how I did that, though, I thought I’d show you how to unlock a sewing machine cabinet when the key is missing. I have a key for this cabinet, but I know that they get lost - I’ve seen lots of people searching the internet, looking for replacment keys for their sewing machines. There’s also lots of old machines being sold with mention of a lost key.
First off, a look at the key for this cabinet:
| Pfaff 30-31 sewing machine cabinet key | |
|---|---|
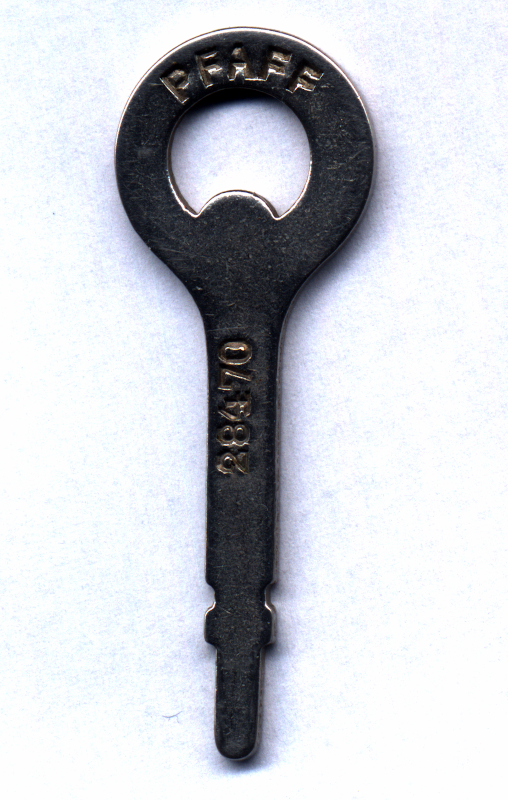 |
 |
You can make your own using the template in this SVG file. Print that out so that the key is 56 mm high, then glue it to a piece of flat steel or brass stock 2mm thick. Cut and file it to shape.
You can also get away with a plain old screwdriver.
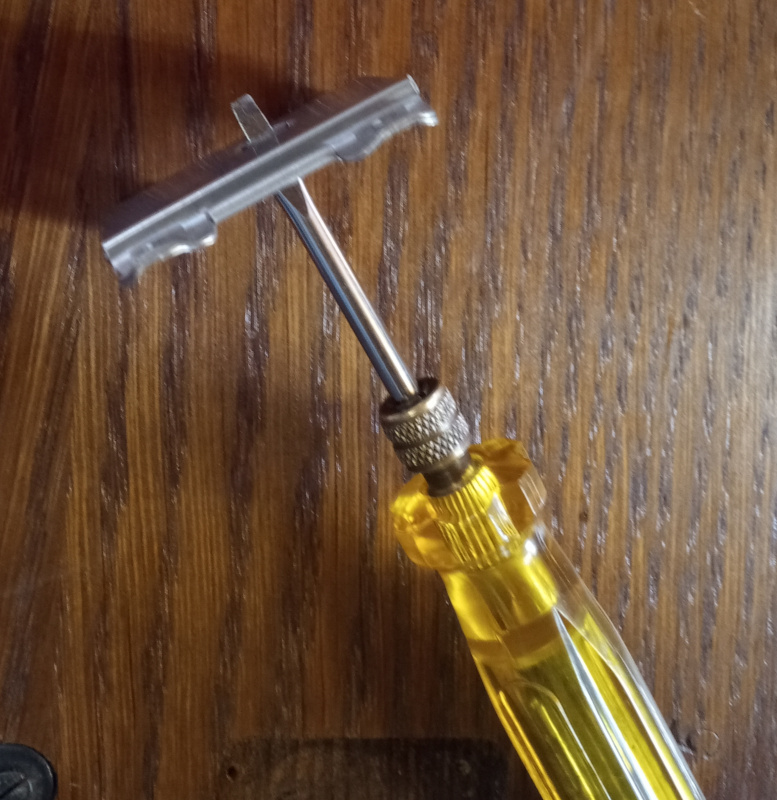
Pick a flat blade screwdriver with a tip less than 5mm wide. Stick it in the hole in the cabinet cover and turn it slowly until it goes through the slot inside the latch. Now turn it to the right (like tightening a screw) until it won’t turn anymore. Push the screwdriver towards the front of the cabinet (where you would sit to operate the treadle) and the lid will lift out.
| Remove the lid with a screwdriver |
|---|
 |
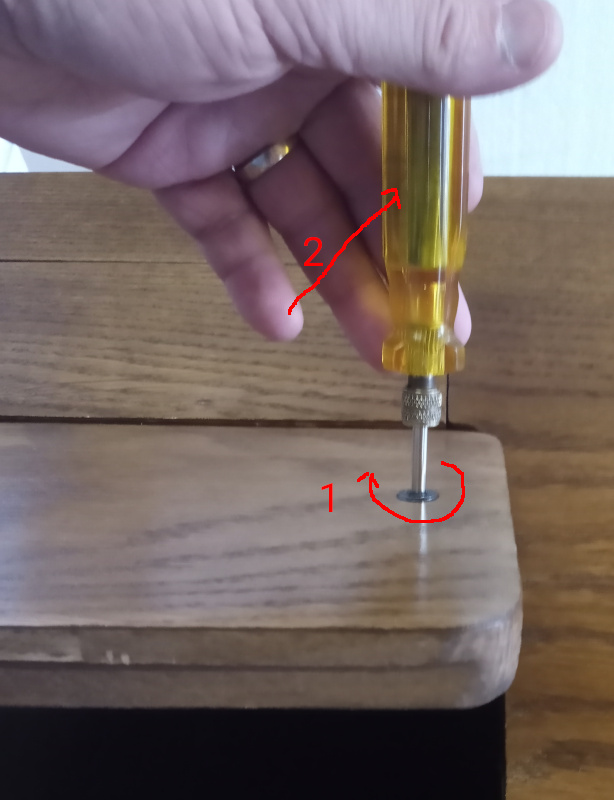 |
The same trick will work with the drawers. The latches are the same.
Here’s what the latch looks like. It is easier to see what you have to do when you’ve seen the latch.
| Latch |
|---|
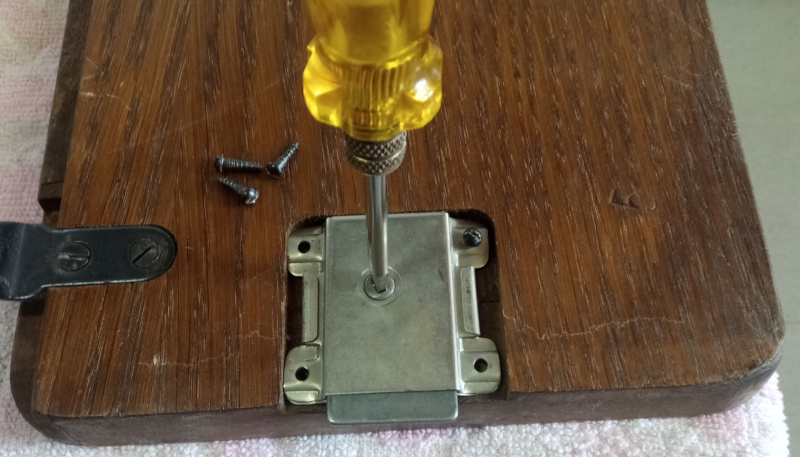 |
 |
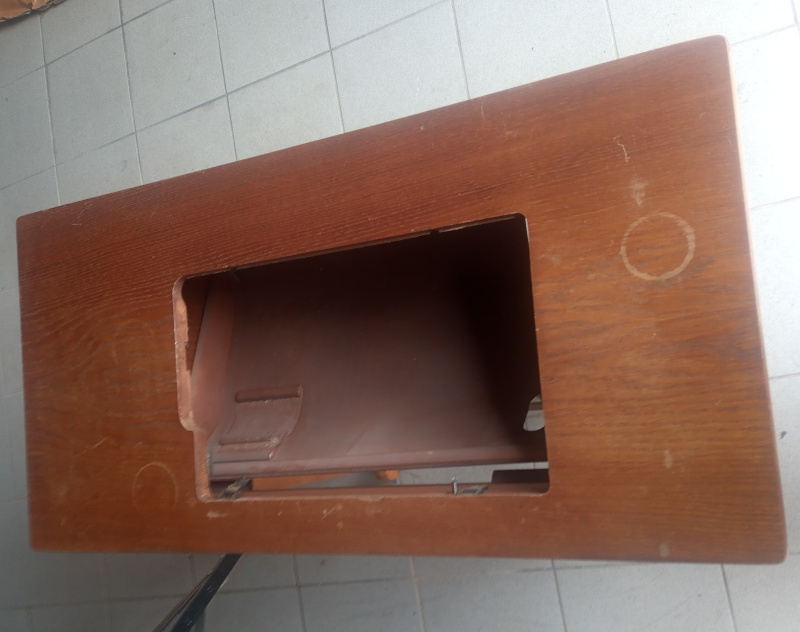
With that out of the way, let’s take a look at the cabinet itself.
| Pfaff 30-31 cabinet |
|---|
 |
 |
As you can see, there’s some water rings and other stains on the top. The rest of the cabinet is fine.
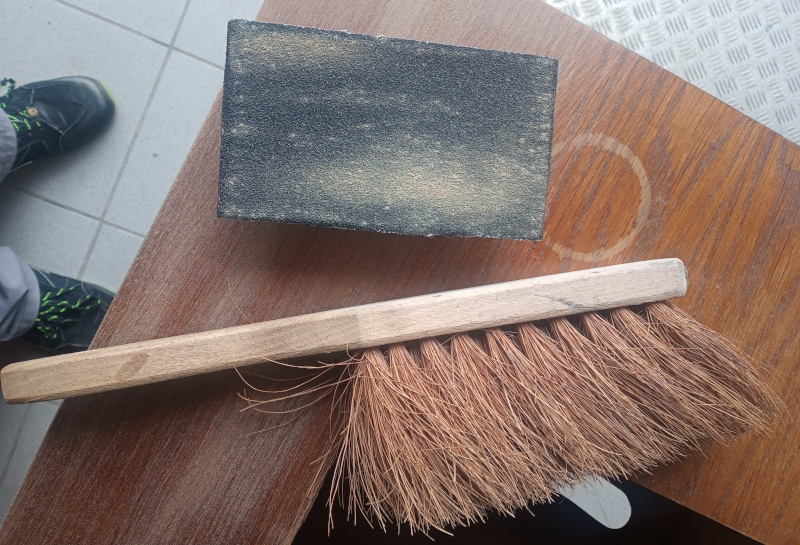
I’m going to just sand off the finish on the parts of the top and put down some new shellac.
| Sanding |
|---|
 |
 |
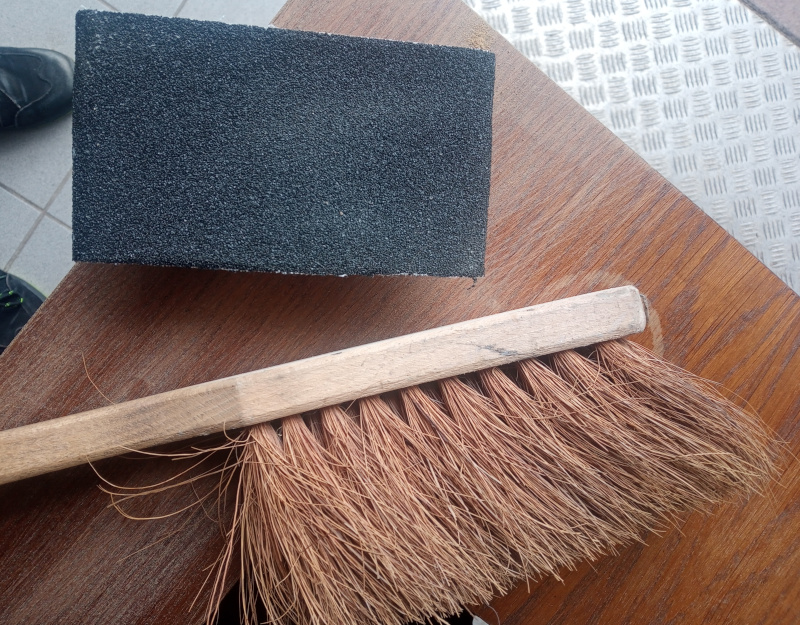 |
As always, keep the brush handy to clean off the dust from the wood as you work. Shellac melts and forms blobs if you leave it on the surface. Brush off the dust, then smack the sandpaper with the back of the brush to get the shellac dust out of it.
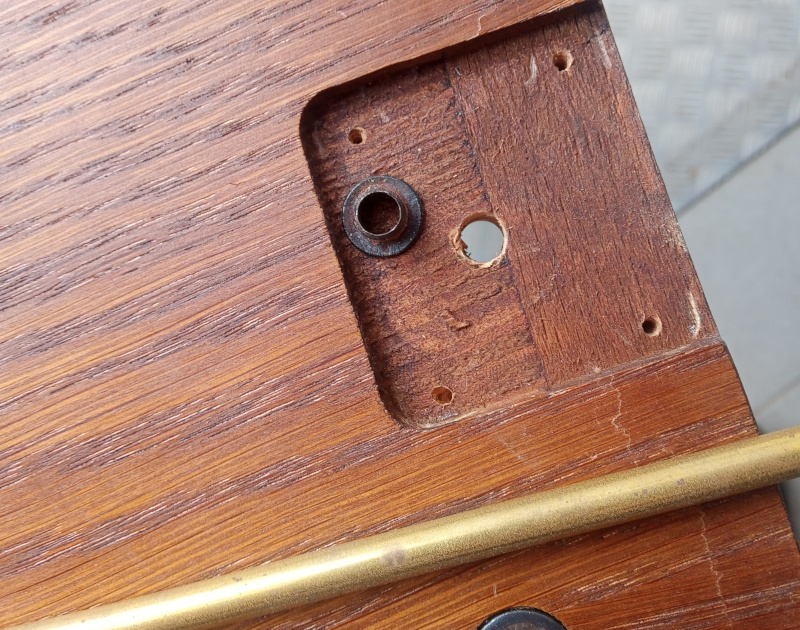
Don’t over do it when you sand off the shellac on an old sewing machine cabinet. They are often made with just a thin wood veneer on the surface. If you scrub too hard or use and electric sander, you can go right through the veneer and ruin the surface.
| Thin veneer |
|---|
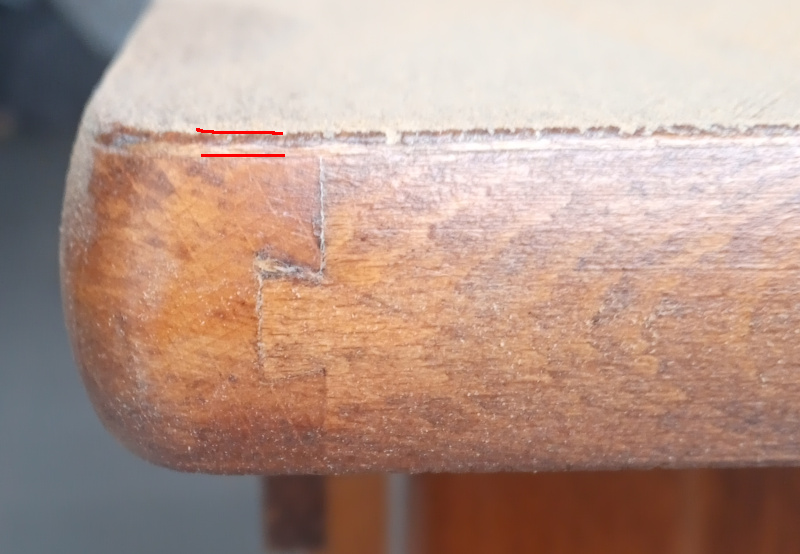 |
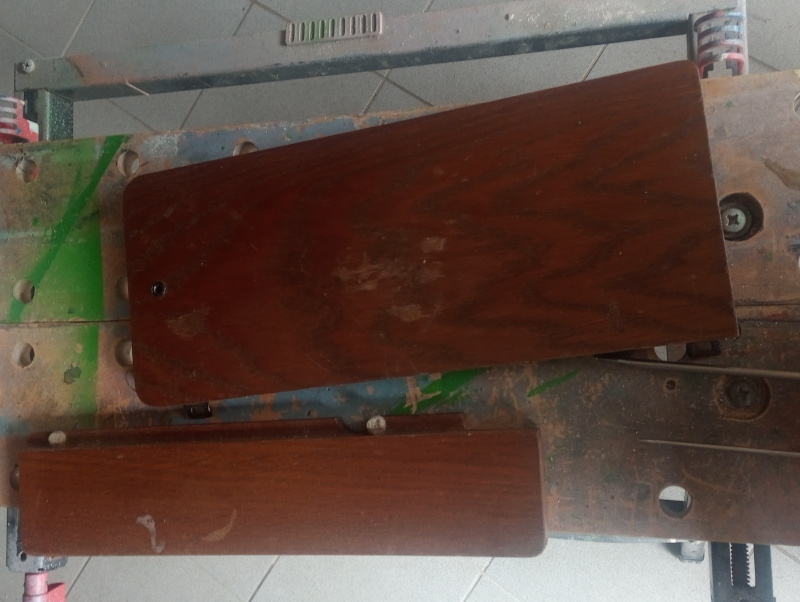
You can see that the lid itself is made up of separate pieces. There’s the veneer on the top and bottom, then there are two pieces of thick oak that are dovetailed together (the joint is on the left side.)
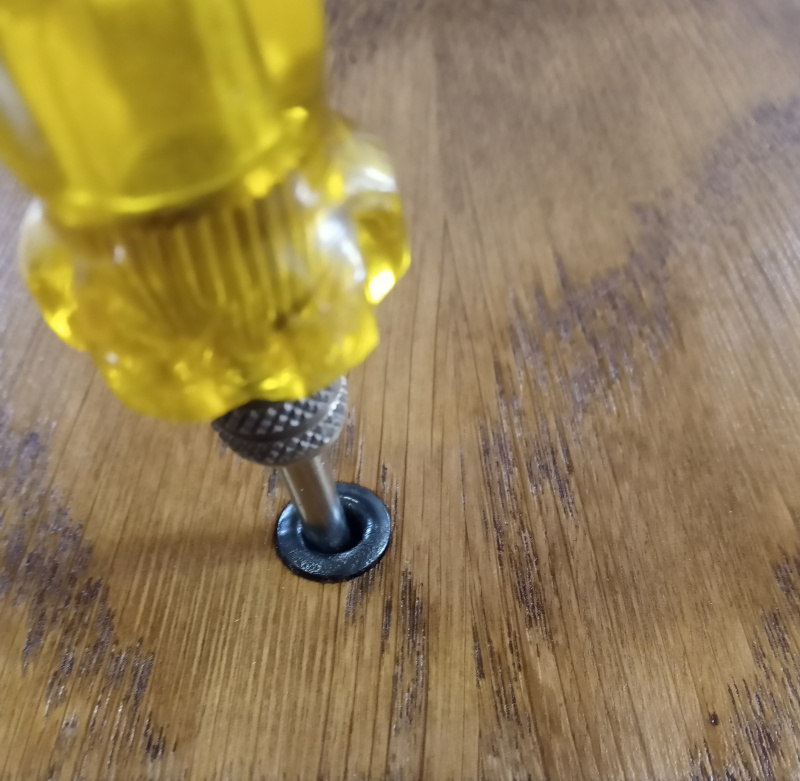
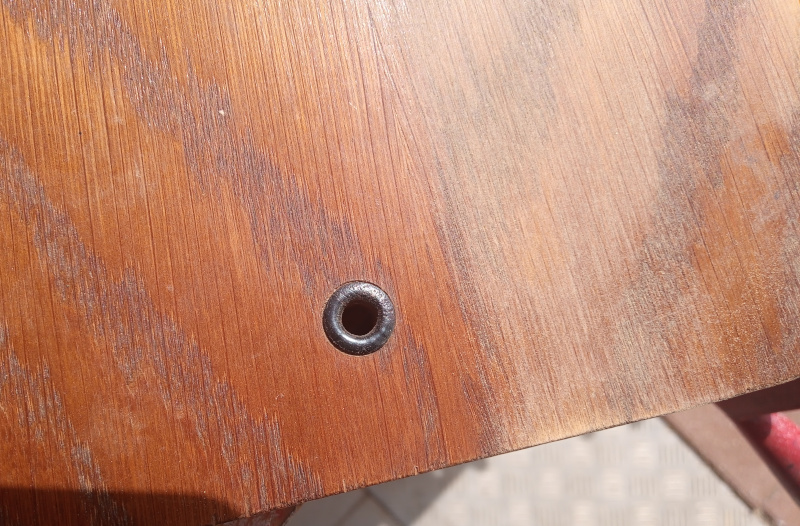
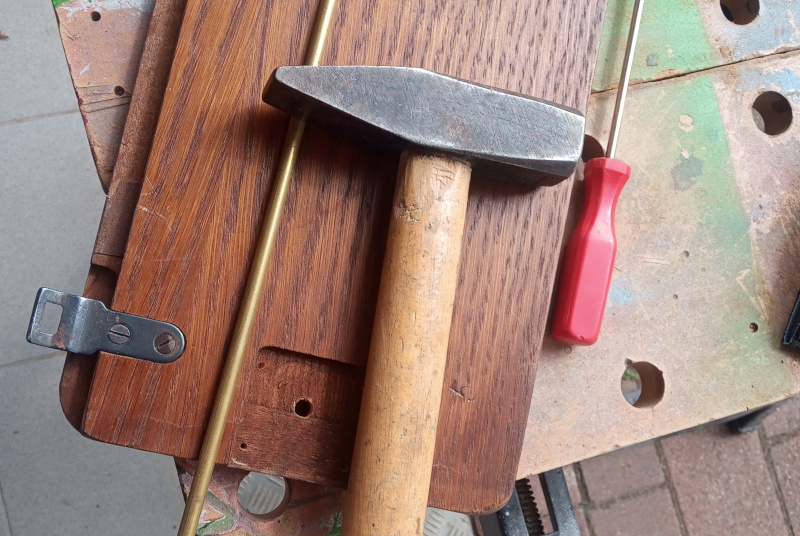
Before sanding down the removable lid, you need to remove the grommet in the keyhole.
| Remove the grommet |
|---|
 |
 |
 |
 |
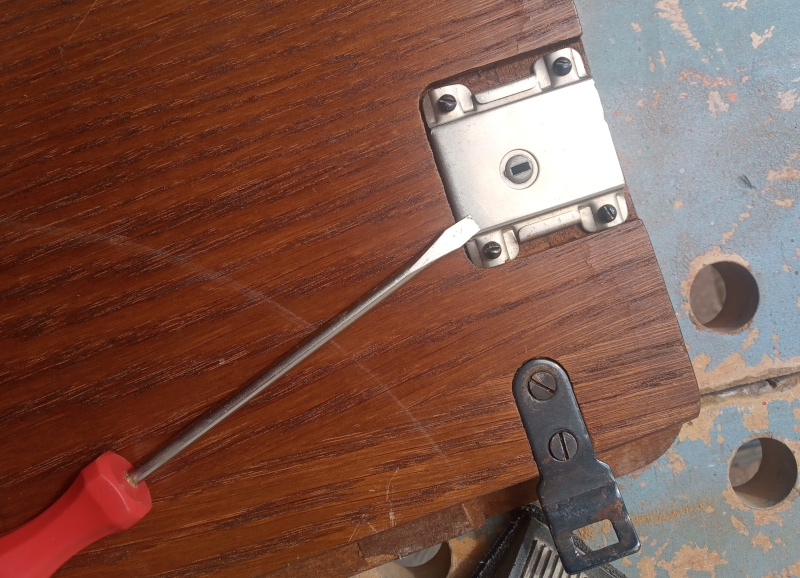
To remove the grommet, you have to remove the four screws holding the latch. With the latch out of the way, you can drive the grommet out from the latch side. I used a hammer and a piece of brass rod I had handy. Anything that is nearly the same diameter as the hole (but a bit smaller) should work.
I didn’t remove the hinge pieces from the removable lid because I only sanded down the top surface of the lid.
As usual, I’m not going to post any pictures of how I put shellac on the wood. I’m really not good at it. Anything I tell you would probably be wrong.
With fresh shellac applied and all the hardware reinstalled, the cabinet looks like this:
| All done |
|---|
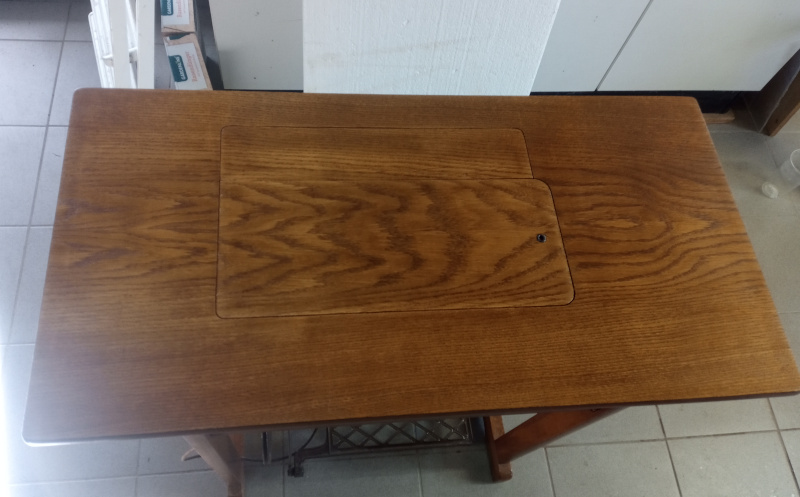 |
It’s not perfect, but it is better than it started out. The picture makes it look like there’s bright and dark areas all over the top. That’s just the lighting in the garage, though. I made the picture on a sunny day, with the sun shining through a window and an open door. The color is much, much more even than it looks in the picture.
Edit: 2025.04.26:
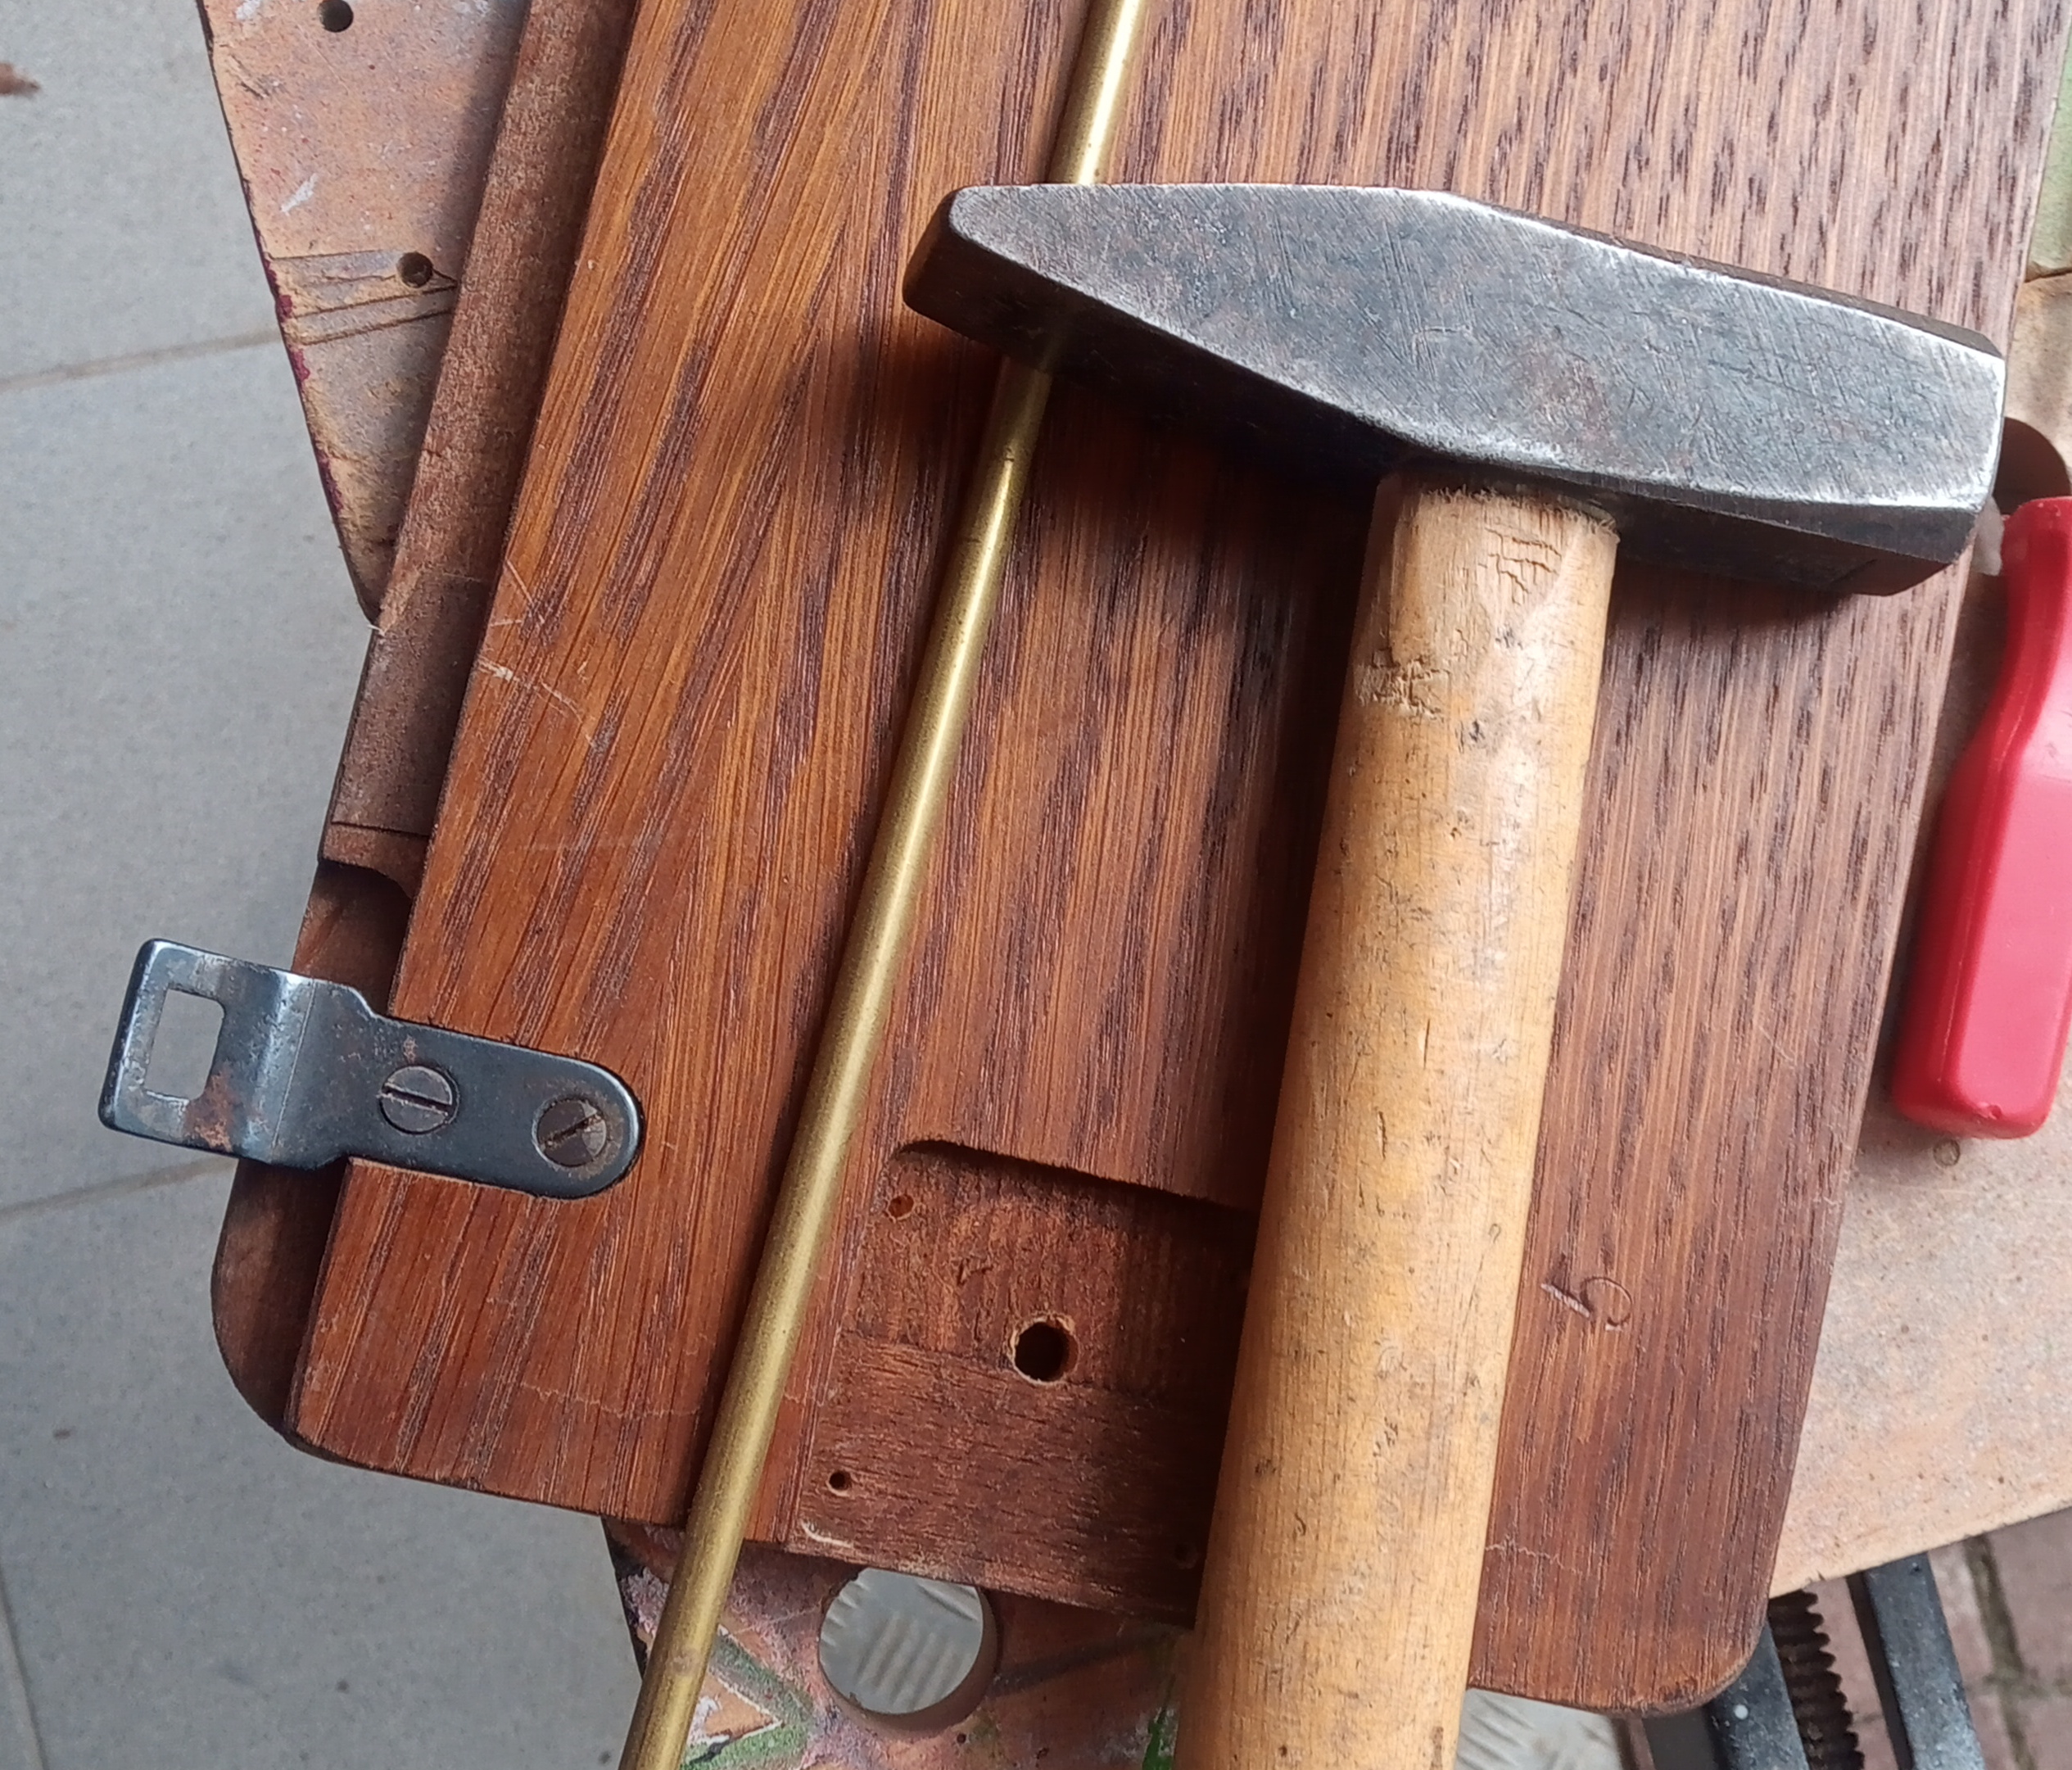
I’ve been asked about the dimensions of the hinges holding the extension panel to the cabinet. I no longer have the Pfaff 30-31 here to make measurements. Luckily, I do know that the brass rod in this picture is 5mm in diameter. I’ve traced and scaled the hinge based on that. This sketch isn’t exact to the micrometer, but should be close enough to make a workable copy of the hinge.
| Hinge |
|---|
 |
 |
Print out the hing.svg file at 100 percent. I use Inkscape for such things. Cut, file and drill a piece of 2mm flat steel to match the drawing. The hinge isn’t flat. Bend the hinge at the neck (where the long part widens) by a couple of millimeters. You may have to try a few times to get the bend correct.