The Pfaff 30-31 sewing machine - Disassembling the machine
Removing all the bits and pieces before stripping the paint.
Click here to see all the Pfaff 30-31 posts.
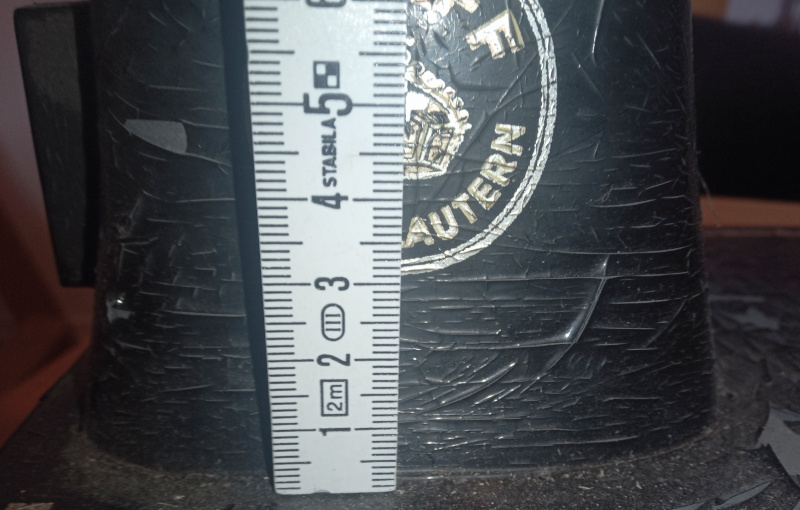
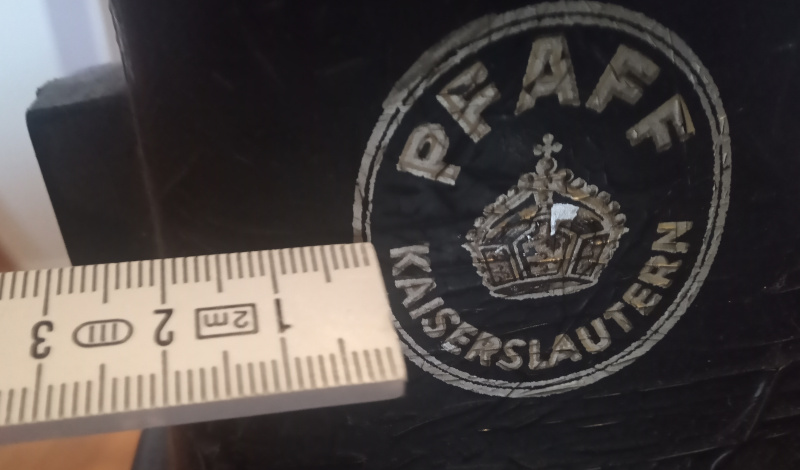
The biggest problem this Pfaff 30-31 has is that its paint is coming off. Not merely worn through so that I could put a coat shellac over it and be done. Nope. This stuff is cracked and flaking off in chunks. It looks like it has black alligator skin instead of paint.
To repaint it, I’ll have to strip it down to (nearly) bare metal then put primer on it. Over the primer goes a couple of coats of glossy RAL9005 jet black, then some new decals and finally a coat of shellac to protect the decals.
Doing all of that means I have to strip down a lot of the mechanics of the machine. I won’t tear it completely apart, but I will have to take further apart than I’ve ever done before.
To be sure I can get it back together again later, I took a good look at all the insides and made a lot of photos. This post is mostly just close-up pictures of the machine showing details that might be useful to anyone working on a Pfaff 30-31. Some of the pictures show obvious things, while others are there so that I remember which screw went in which hole - there’s several the same size with the same thread, but with different heads.
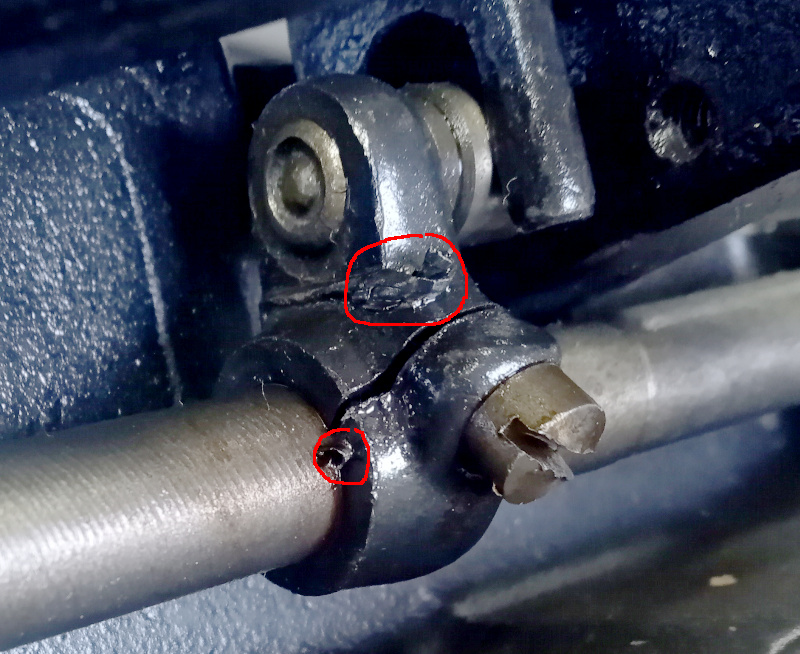
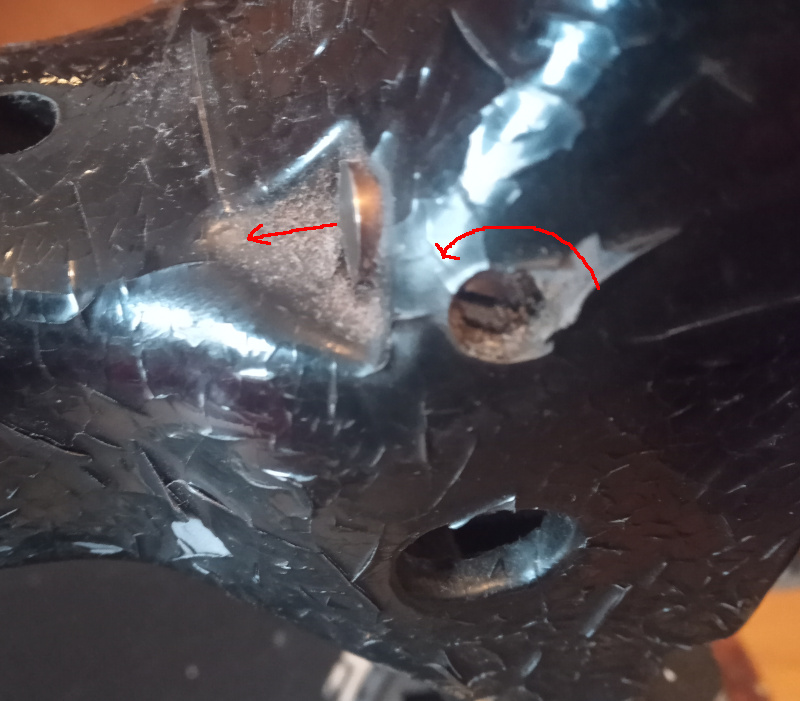
While looking at things, I discovered that Pfaff sort of fumbled the ball on this machine. Besides the lousy paint, there’s burrs left from the machining - somebody did a poor job of clean up in the factory back in 1949.
| Oops |
|---|
 |
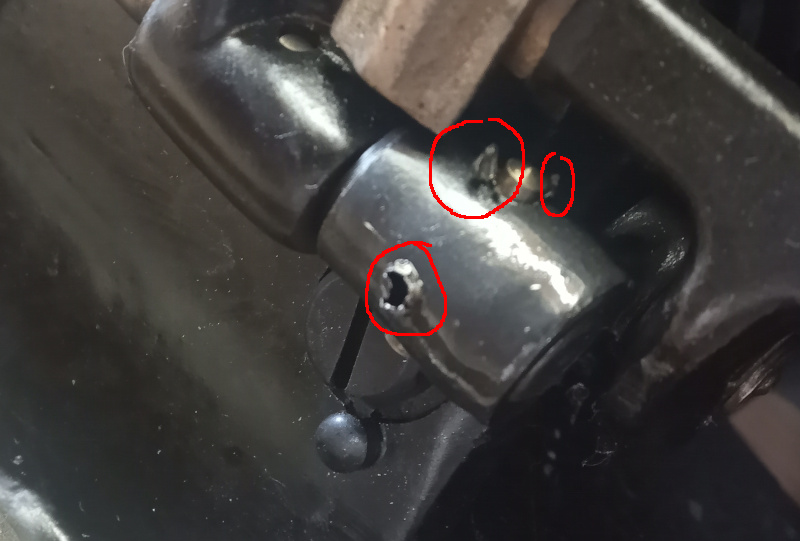 |
Pfaff has a good reputation, but this one looks bad. It doesn’t affect the operation, but you’d never have found something like that on a machine built before World War 2.
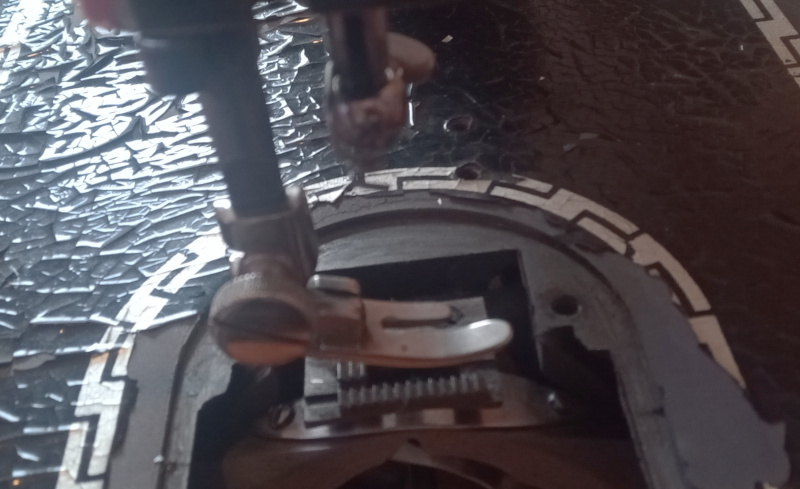
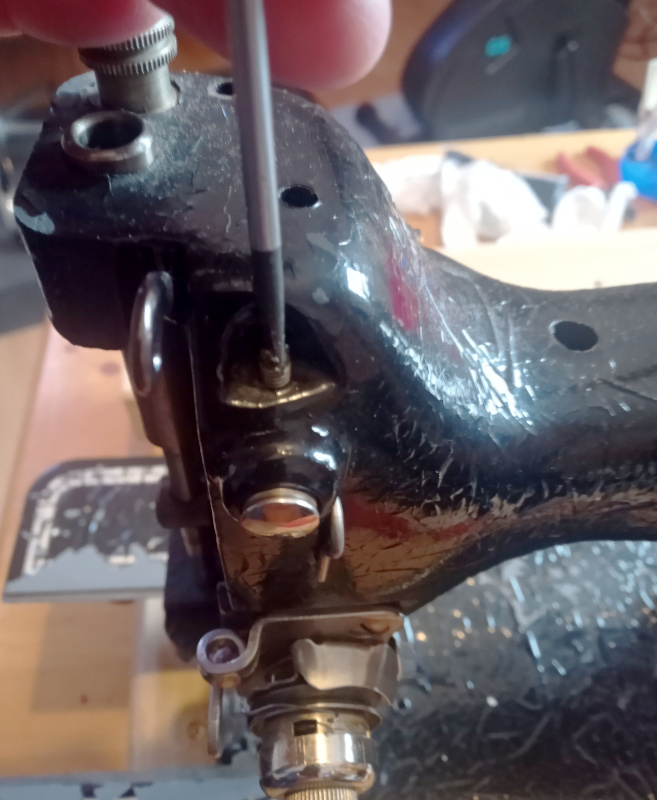
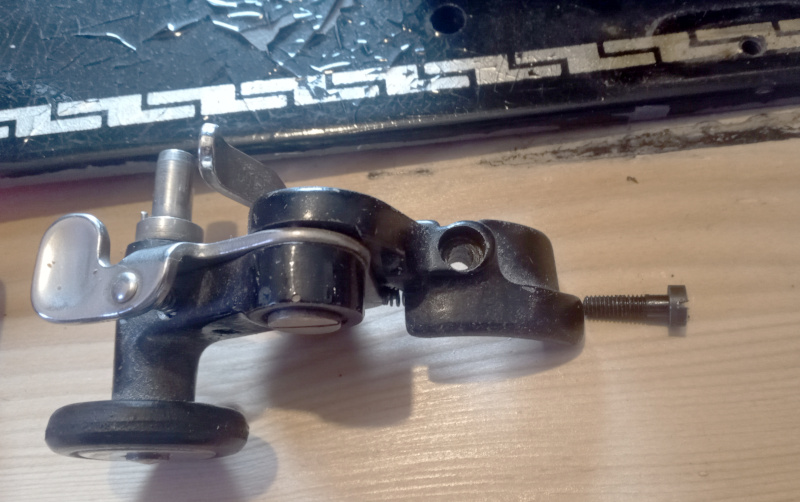
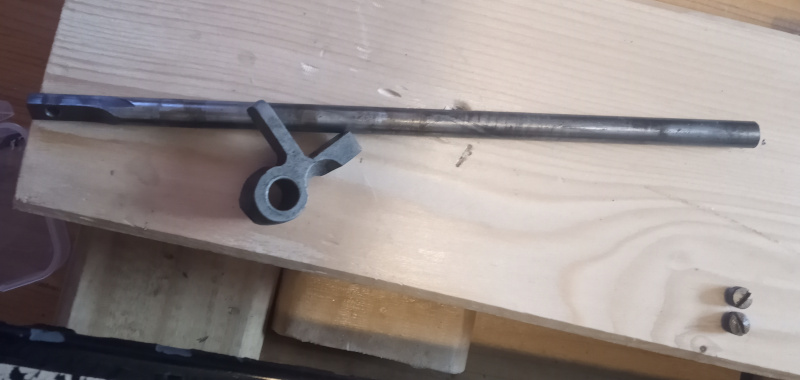
For the mechanics of the machine, I’ll start with a look at the presser foot and needle bar.
| Presser foot and needle bar |
|---|
 |
 |
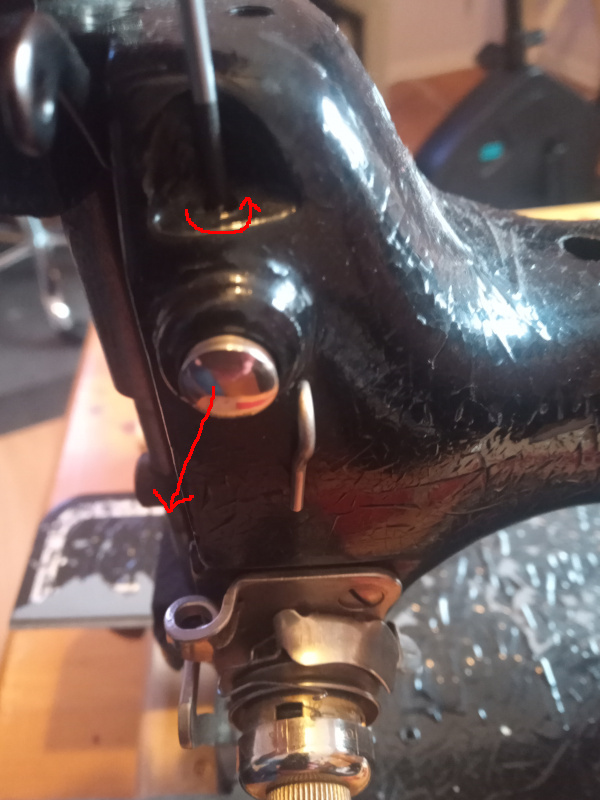
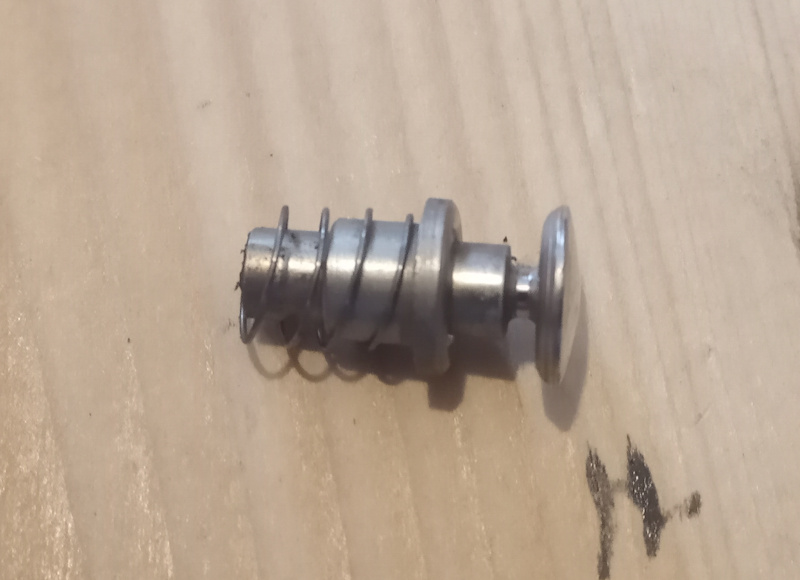
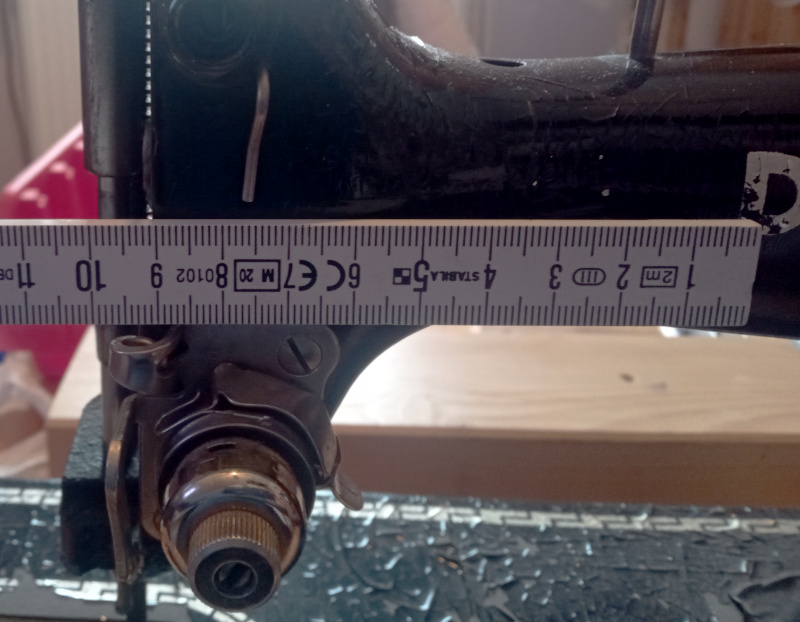
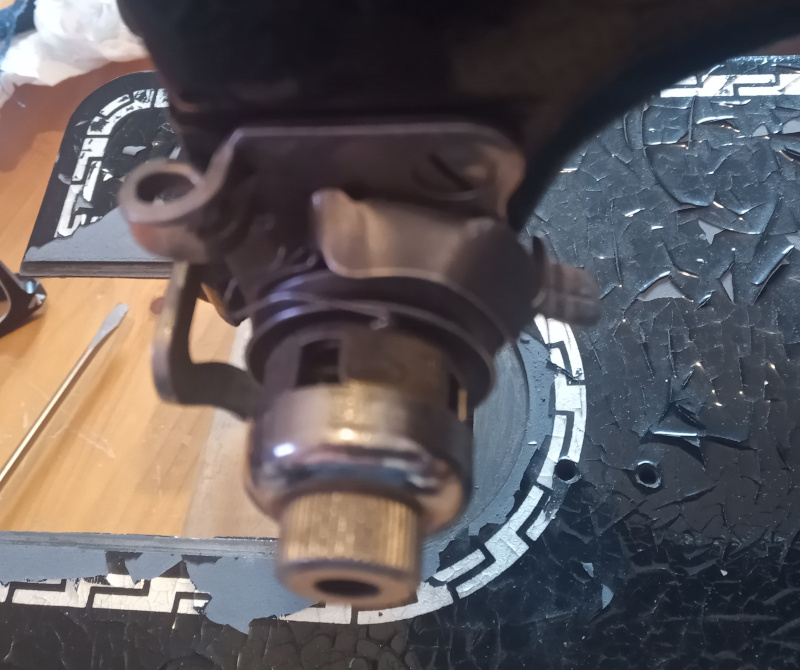
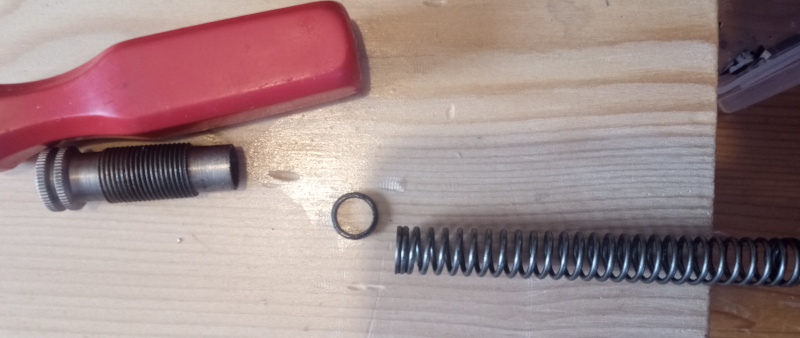
The pre-tensioner is a little bit more interesting.
| Pre-tensioner |
|---|
 |
 |
 |
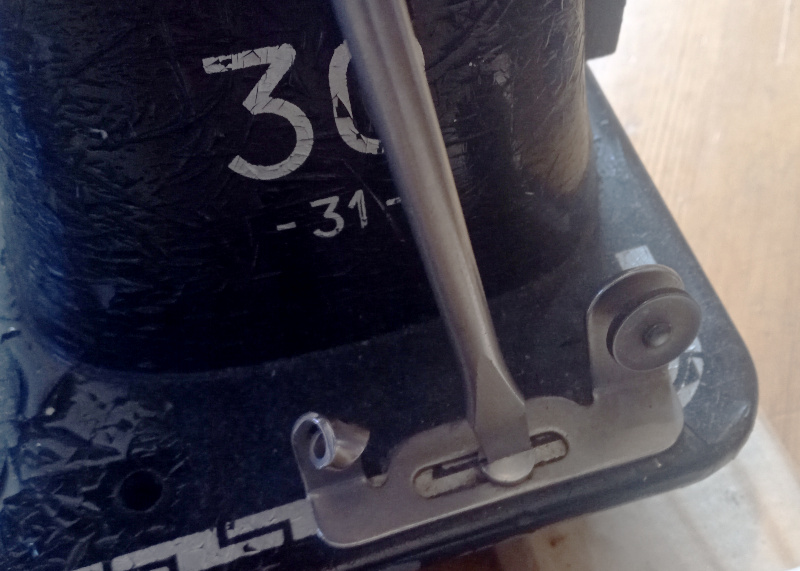
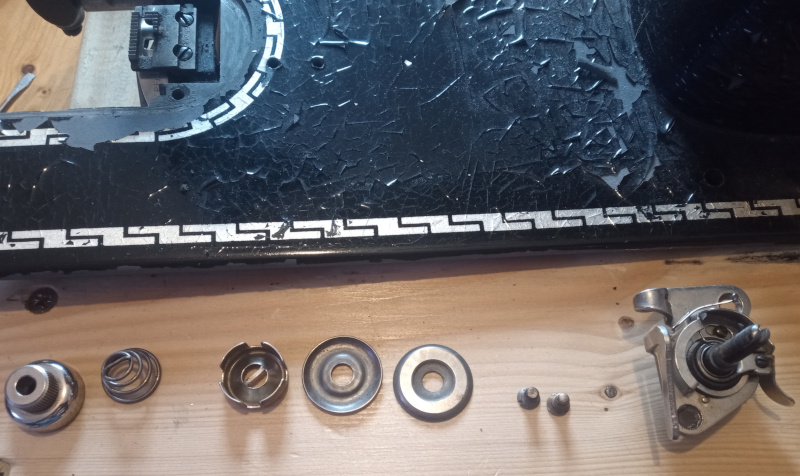
There’s not a great deal of detail to the bobbin winder and the bobbin winder tensioner.
| Bobbin winder |
|---|
 |
 |
 |
I didn’t disassemble the bobbin winder - I don’t plan on repainting it. It can be cleaned adequately without disassembly.
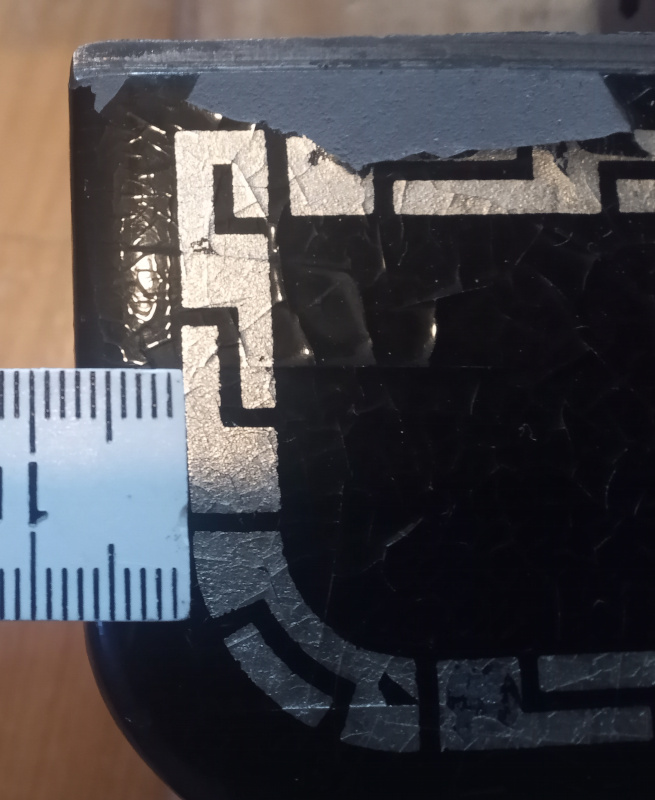
Since I’ll be repainting this machine, I made pictures of where the decals go. I bought a set of restoration decals to replace the ones ruined by the cracked paint. The new ones aren’t identical to the originals, but they’ll look better than bare black.
| Decals |
|---|
 |
 |
 |
 |
 |
 |
 |
The photos of the upper tensioner didn’t turn out so well - with the machine still in pieces, I can’t make new ones. I’ll try to make clearer photos when I put the machine back together.
| Upper tensioner |
|---|
 |
 |
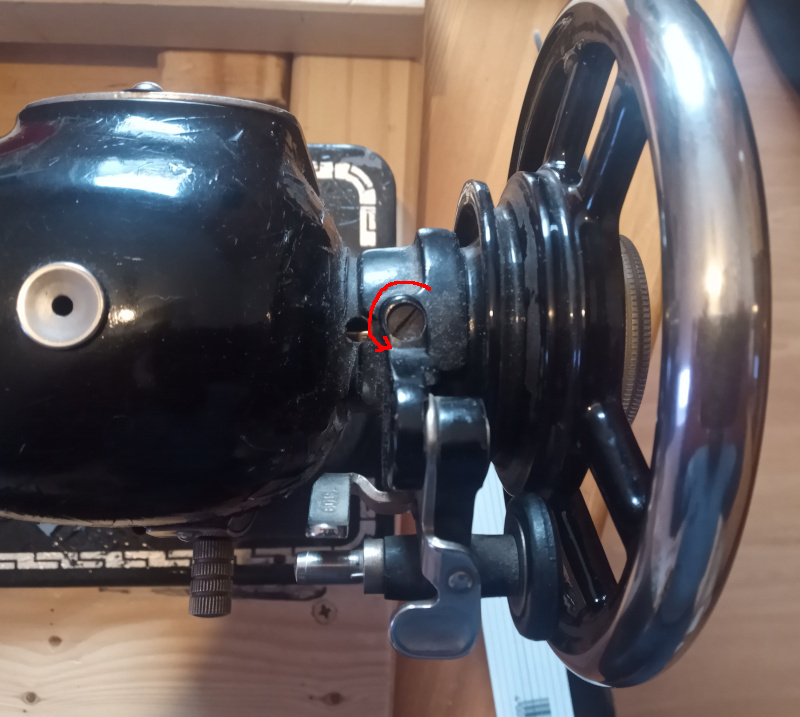
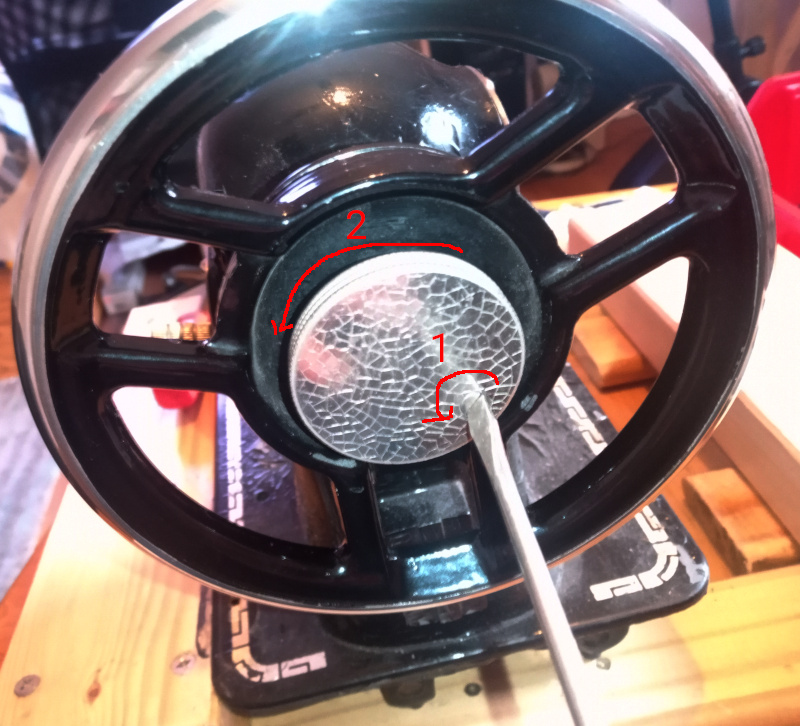
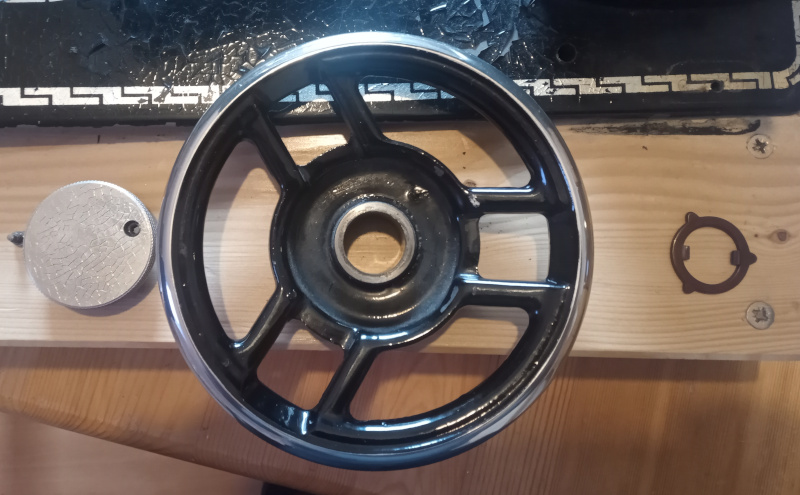
The balance wheel comes off the Pfaff 30-31 just like on nearly all the machines I’ve had my hands on. Remove a screw, then unscrew the big clutch knob.
| Balance wheel |
|---|
 |
 |
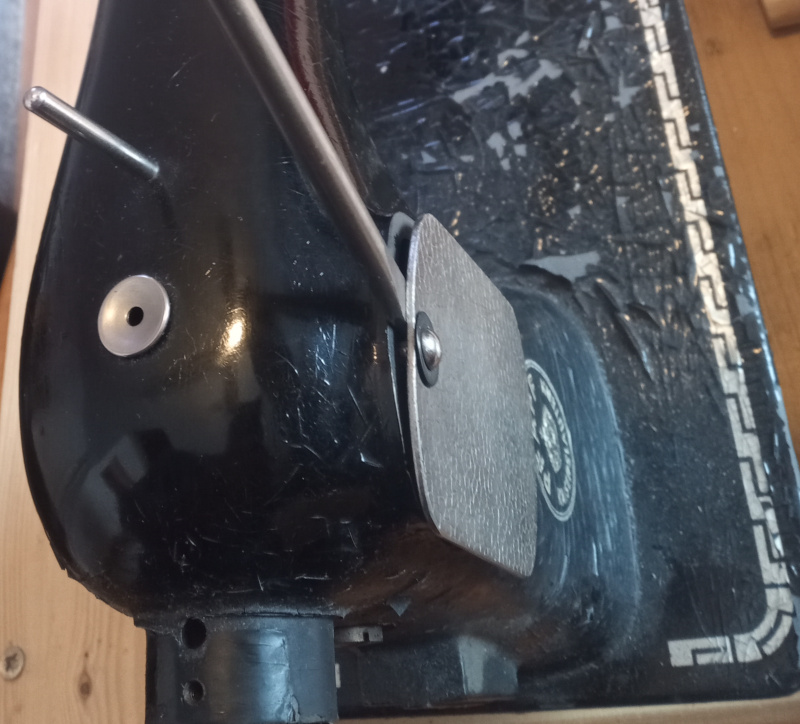
The rear cover is held on with a press-fit pin. I got it out by carefully prying on the cover itself, as close a possible to the pin. I hope it goes back in properly and stays tight.
| Rear cover |
|---|
 |
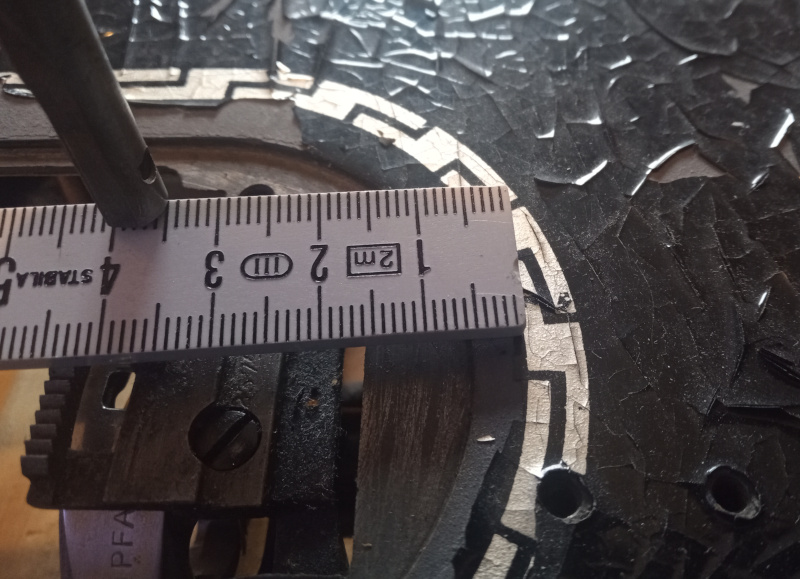
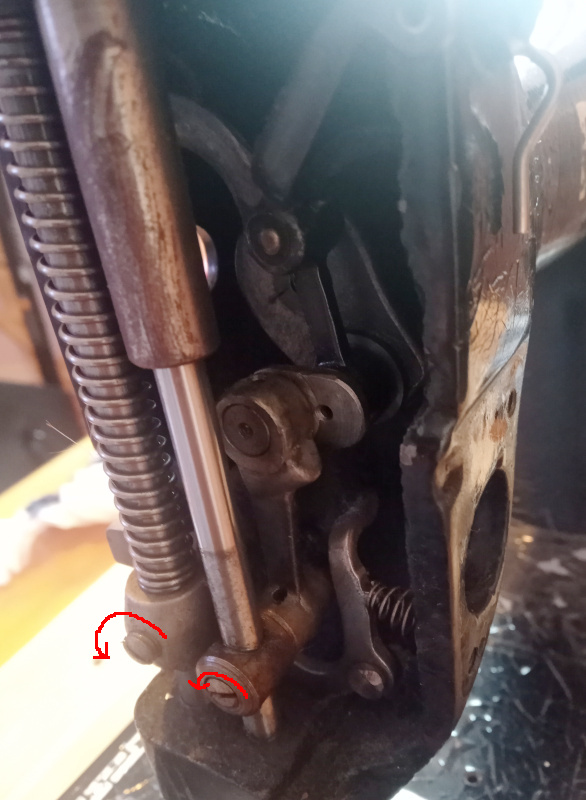
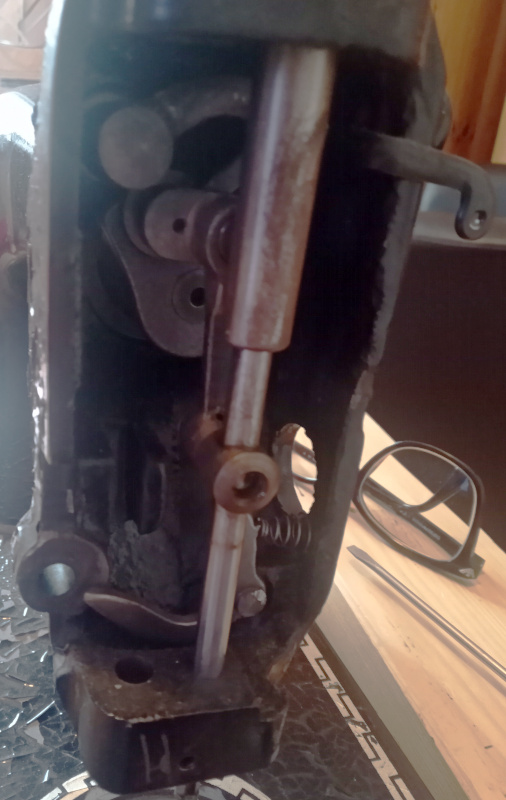
The following photos are of the mechanisms operating the presser foot and the needle bar. I probably should have made more photos - I will make more detailed photos when I put it back together.
| Needle bar mechanism |
|---|
 |
 |
 |
 |
 |
 |
If you’ve gotten through to here and haven’t found what you were looking for in the Pfaff 30-31 mechanisms, check back in a few days and look for the reassembly post - it’ll be more detailed.