A case for a Fairphone 3 - Prototype
Reconciling plans and reality.
A case for a Fairphone 3 - Table of Contents”
The last couple of months have been rather busy - I find I haven’t posted anything since April. Besides the usual yard work, we’ve renovated the upstairs bath (replaced the ceiling because we thought we had mold growing inside the paneling,) there were three meetings of the local repair cafe (and an evening spent making sure that the city was going to continue allowing us to use the room in the old court house for free,) one Saturday representing the repair cafe at a local festival (at which I ended up fixing two sewing machines,) the complete crash (and incomplete rebuild) of the MudPy soil moisture monitoring system (which I will have to describe in a post sometime soon,) and a short three day vacation in Hamburg to go see The Lion King on stage.
Somewhere in all that, I found time to cut out and assemble the parts of a prototype of my phone case. Seamstresses sometimes make what is called a muslin before beginning to sew a dress of more expensive fabrics. That’s sort of what I’ve done here - I made a mockup using Naugahyde to see how well my plan actually fits the phone.
It turns out I’m going to have to make some changes.
First off, a few pictures:
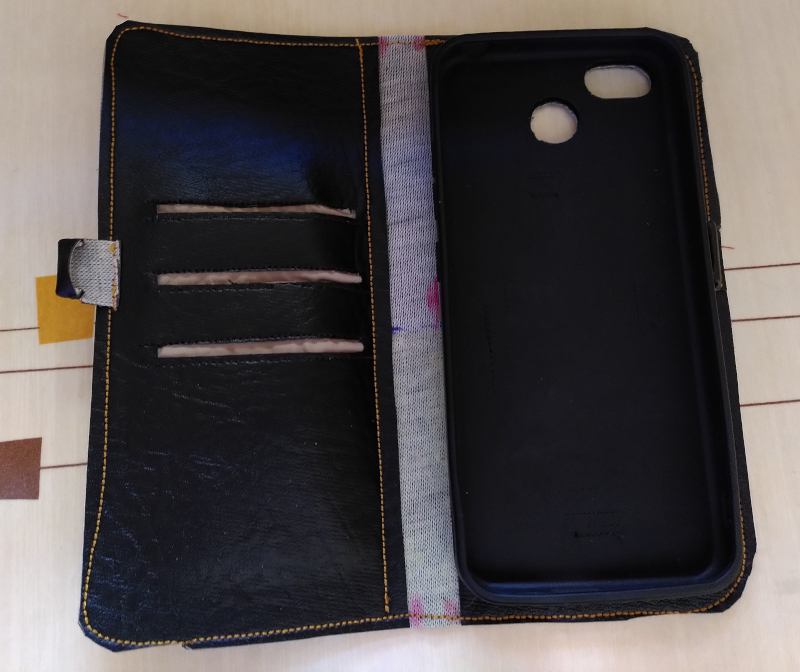
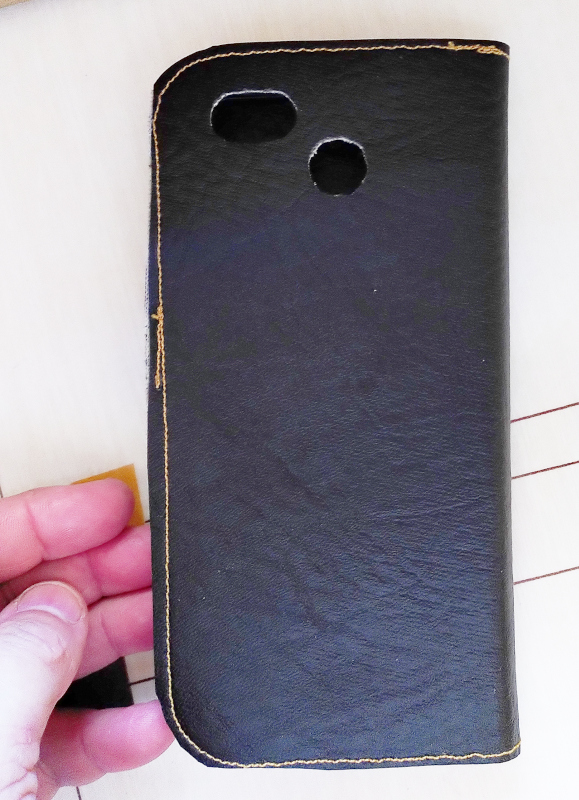
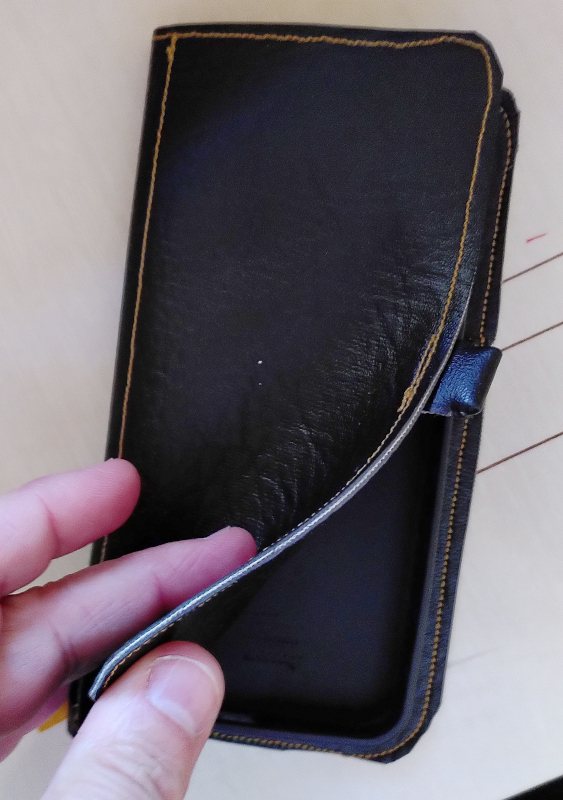
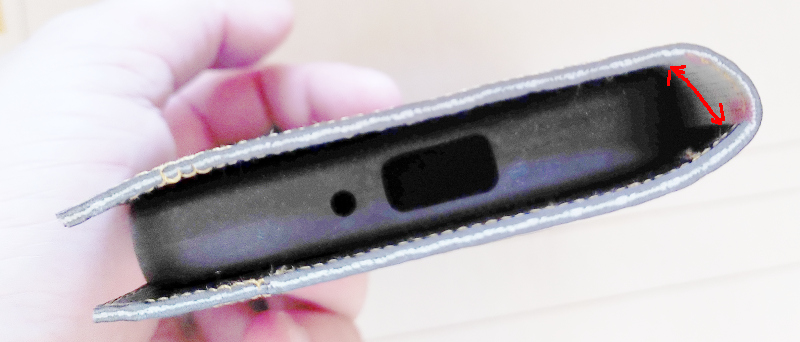
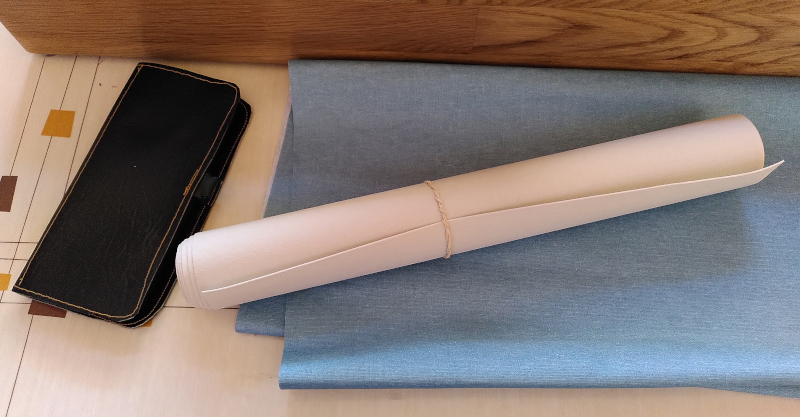
| Naugahyde “muslin” |
|---|
 |
 |
 |
 |
There’s lots to be improved there.
First off, I did a truly lousy job of following the outline while stitching the edges. I’m going to have to do some serious practice before I start on the real thing.
If you look closely at the seams, you will notice that the outside looks rather scraggly. The problem there is that the thread tension was set wrong. I changed the tension to sew some lighter stuff, then forgot to adjust it before using the heavier gold colored thread. That left the lower tension too high. The upper thread is visible on the bottom (outside) of the case.
I didn’t do a very good job trimming the border - it is all wiggly and messed up. I’ll probably use the disc sander in the garage to trim the real phone case. I get better results that way than by cutting.
I need to change some of the dimensions on the case. You can see in the last photo that the “back” of the book isn’t quite wide enough.
The credit card pockets are lined with what I think is nylon. I’ll need to make the strips slightly longer and wider to allow for not folding and things exactly to the millimeter.
Those are all down to my skills (or lack thereof.)
Material wise, there’s some problems, too.
The Naugahyde is too floppy - the covers are all wavy. The real leather that I intend to use is even floppier. Two layers glued and sewn together aren’t as stiff as I thought it’d be.
The cloth lining the credit card pockets is thicker than I wanted, and it likes to unravel.
To fix those last two problems, I bought some extra material.
I got some of what is known in Germany as “Vlieseline” to stiffen the backs of the cover. This is what is known as “interfacing” in English. Vlieseline is available in many different thicknesses. I got some that’s a bit over 1 mm thick. It’s pretty stiff stuff, while still being thin enough that it won’t make the case too chunky.
While I was at is, I bought some coated cotton cloth that the woman in the hobby shop assured me was used to make wallets. I’m not sure I believe that, but it is thinner than the stuff I had, and it doesn’t unravel while you are working on it.
| New materials |
|---|
 |
Another thing that has changed is that I’ve switched to rectangular magnets for the clasp. The round magnets I have are too large. I redesigned the parts of the clasp so that they’ll fit between the two “covers.”
That’s the current state of this project - making progress, but slowly.