Privileg 1510 sewing machine - A favor for a friend
The book is right, even when it is wrong.
My wife has been spreading stories of my sewing machine adventures among her friends. As had to happen, one of those friends had a sewing machine in need of some work.
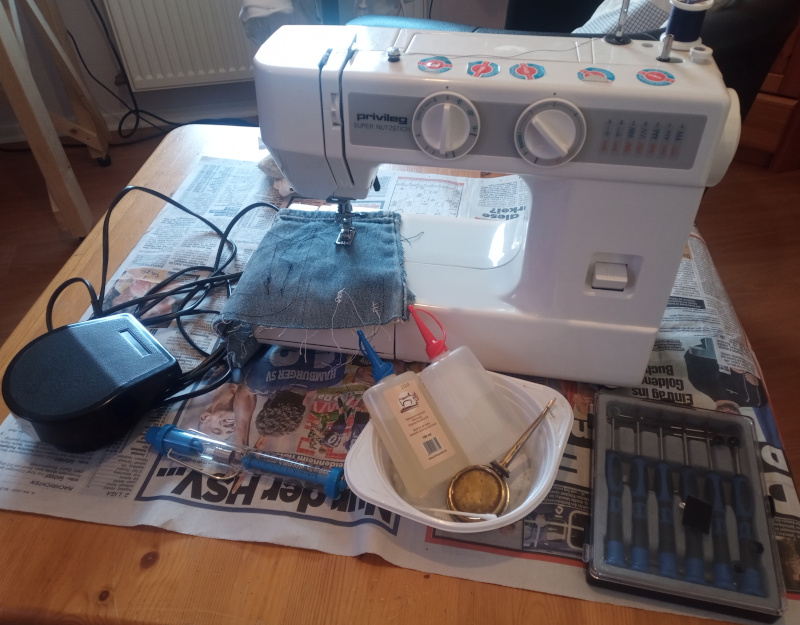
The machine in question is a Privileg 1510 Super Nutzstich zig-zag sewing machine from the early 1990s. It is electric, but not electronic. Aside from the light bulb and the motor, it is all mechanical. My wife’s friend bought it new when she was a young woman. Given how long she’s had it (it’s a good old friend) and the lack of electronic junk, I agreed to take a look at it.
| Privileg 1510 Super Nutzstich |
|---|
 |
Privileg is the brand name used by the Quelle mail order company here in Germany. The machine itself was (probably) manufactured by Janome. The “Naehmaschinenverzeichnis” (sewing machine catalog) page says that the very similar 1520 was made by Janome. Given the similarity of the mechanisms and some markings on the model number tags on the machines, I’d say the 1510 was also made by Janome.
Edit: 2023.05.27:
I found a post on a German sewing machine enthusiast site with a list of OEMs for the various Privileg models. The Privileg 1510 is the same as a Janome 1012. Replacement parts for the Janome 1012 should fit the Privileg 1510.
I was told that the 1510 kept breaking the thread - both women assumed it was a problem with the thread tension. Well, maybe.
I tried it out and, sure enough, the thread would always break after just a few centimeters (an inch or so.)
Start by looking at all the things the user’s guide for every sewing machine ever says to look at when the thread breaks.
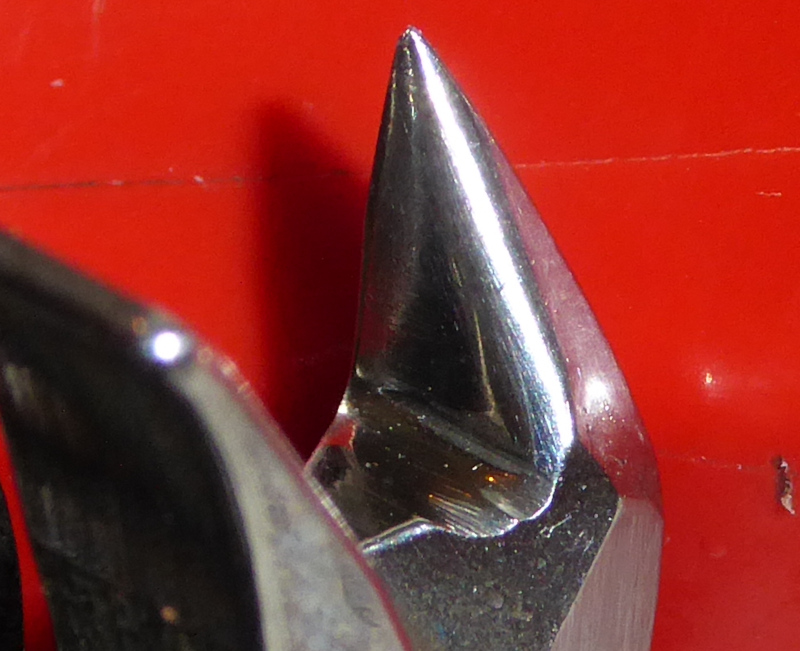
At the top of those lists is the needle - make sure it isn’t dull or bent.
Here’s a look at the needle installed in the 1510:
| Bad needle |
|---|
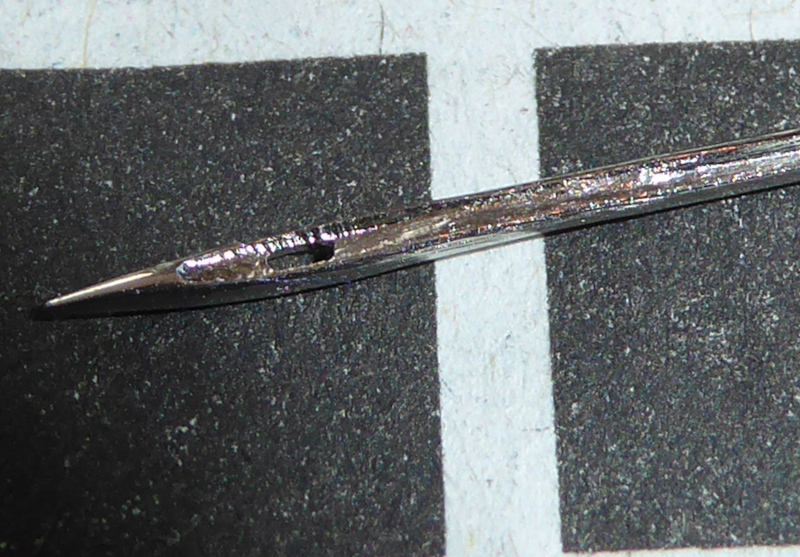 |
It isn’t bent and it isn’t strictly speaking dull, but the surface looks like a microscopic steel shredder had done a number on it.
For comparison, here’s a new needle:
| Good needle |
|---|
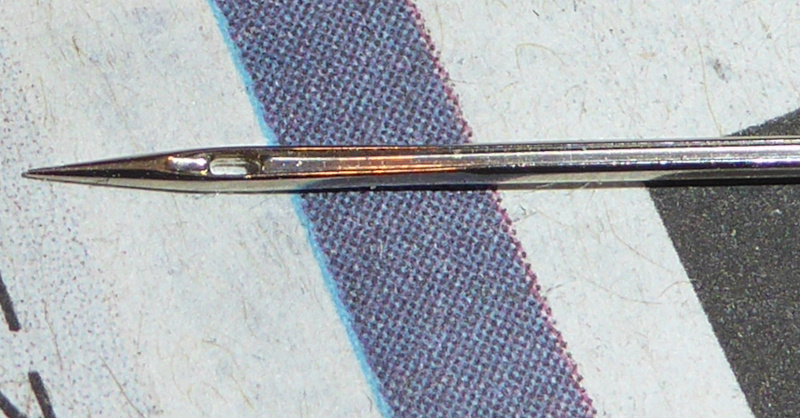 |
I had to get out the good camera with a macro setting to make those photos - it is really hard to see. It is easier to feel the difference by running the edge of a fingernail up and down the shaft of the needle. It should feel smooth and never catch on your fingernail.
I swapped out the needle, and - no dice. The thread still broke after just a couple of centimeters of sewing.
Drat. I checked all the other usual suspects with no improvement.
On to the suspected jacked up tensioning mechanism.
I first checked the tension from the bobbin holder. 35 grams - no surprise. Not as low as some of the old vintage machines can use, but worlds better than the AEG 376 sewing machine my wife had for free arm work (it was set at 50 grams.)
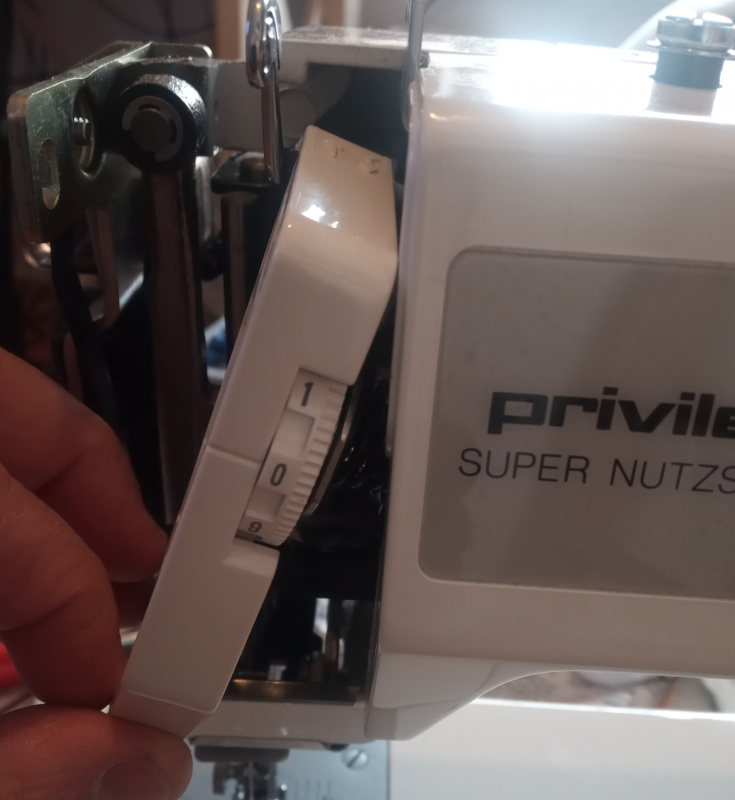
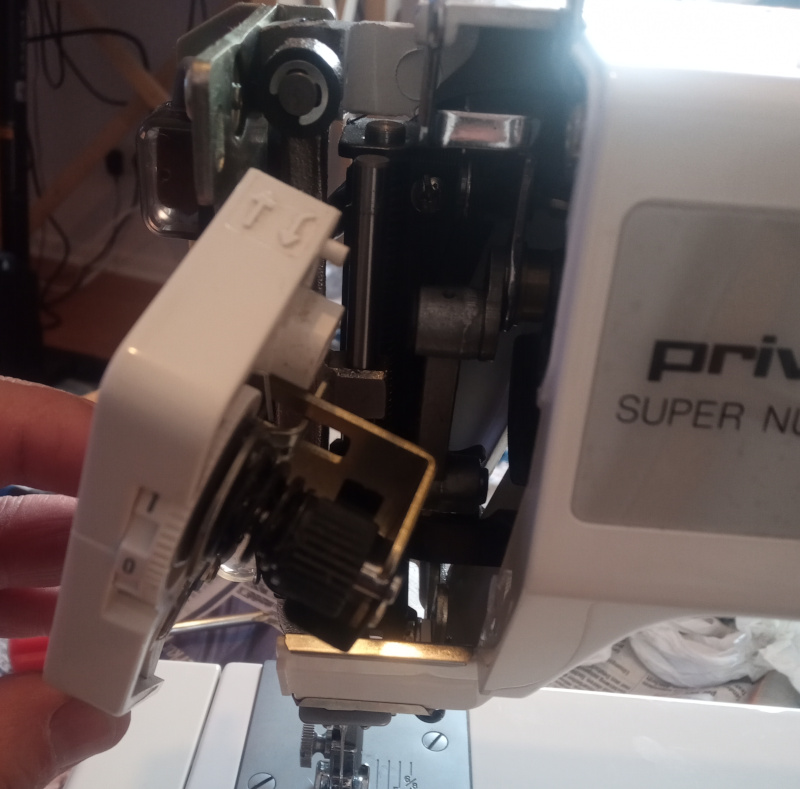
The upper tension seemed way too high, but that turned out to be because I threaded it wrong. Based on that mistake, I took apart the upper tensioner expecting to find it full of fuzzy-wuzzies.
| Upper tensioner disassembly |
|---|
 |
 |
 |
 |
 |
 |
 |
 |
It had some fuzzies in it, but nothing that would cause the tension to be drastically wrong. I cleaned out the fuzzies, then adjusted the tensioner so that it matches the lower tensioner when set to “5”.
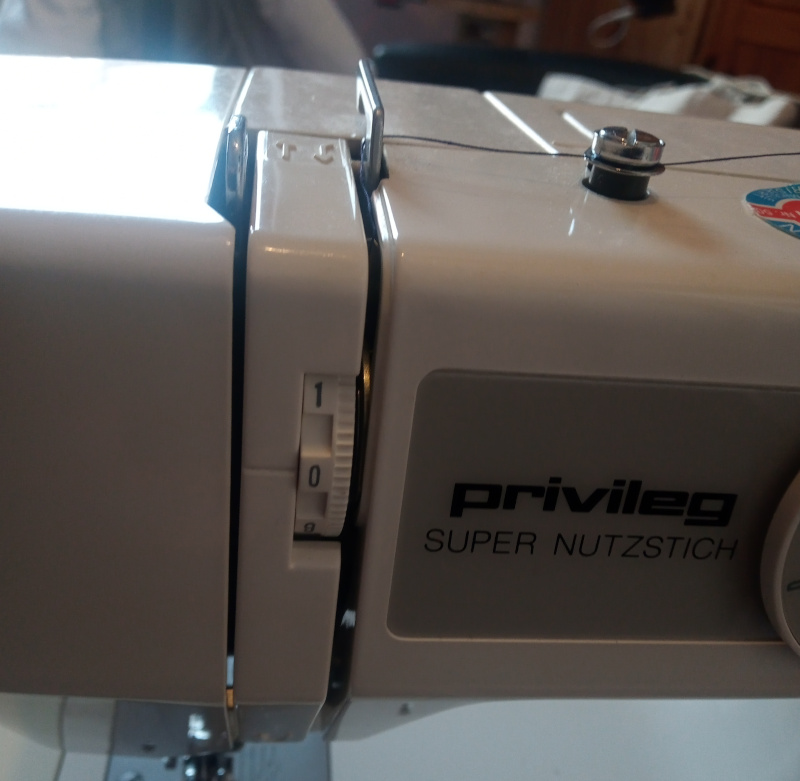
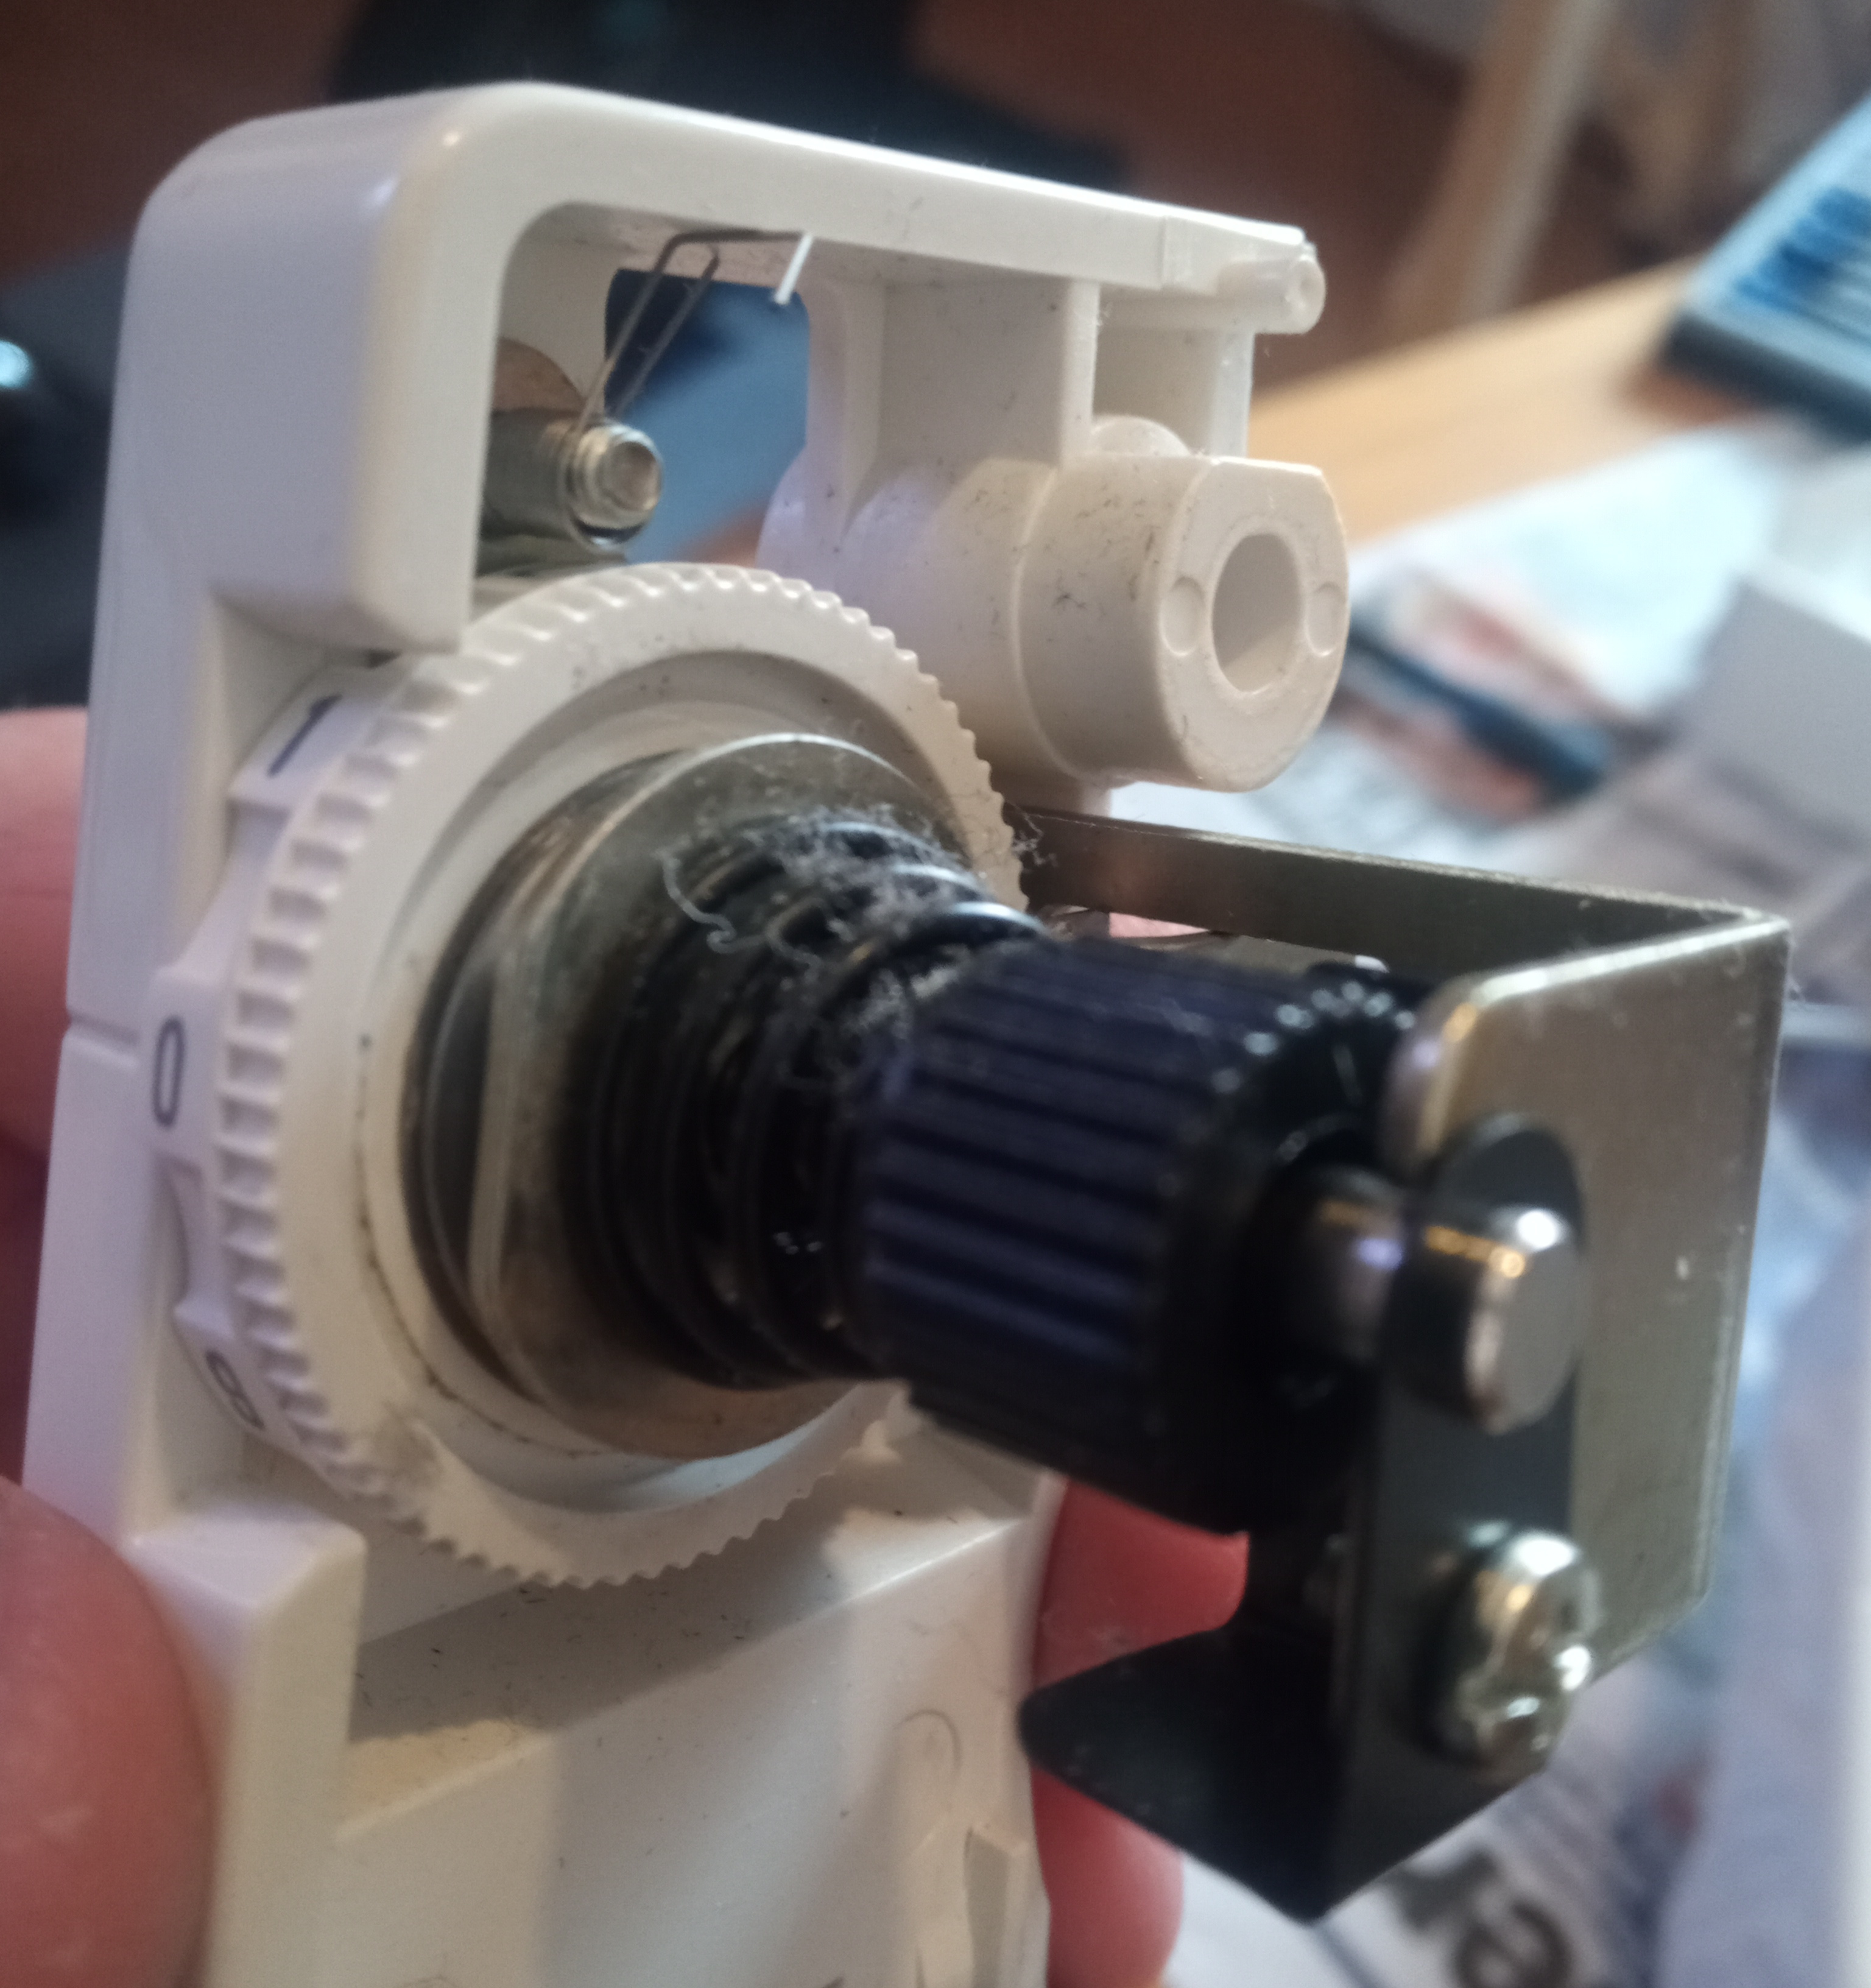
| Adjust the tensioner |
|---|
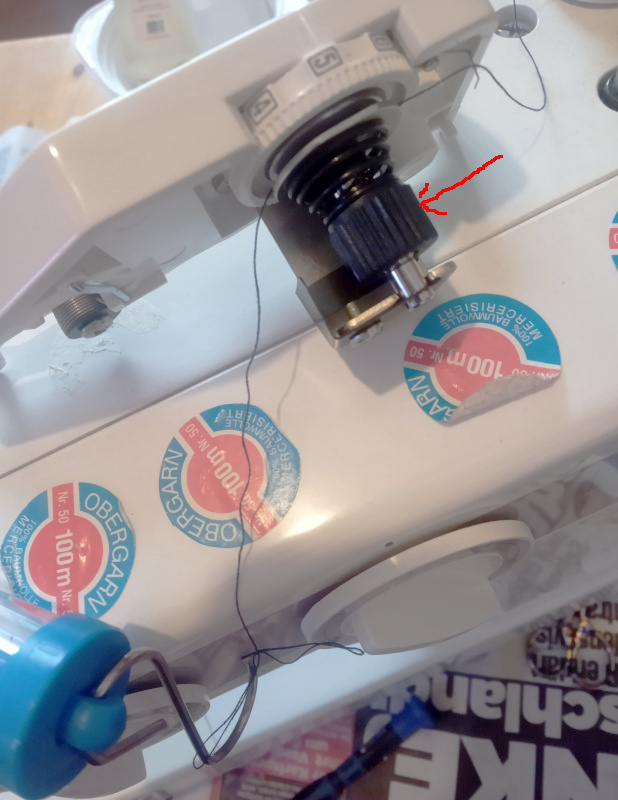 |
Set the tensioner to “5” then pull thread through the tensioner with a scale like it would normally go when installed. Adjust the knurled thumb wheel (red arrow) until you get the same tension as on the bobbin using the same thread. That’s 35 grams in this case.
That didn’t make any difference. I threaded it correctly, and measured the tension with things properly assembled - 35 grams upper and lower thread tension.
What else could be wrong?
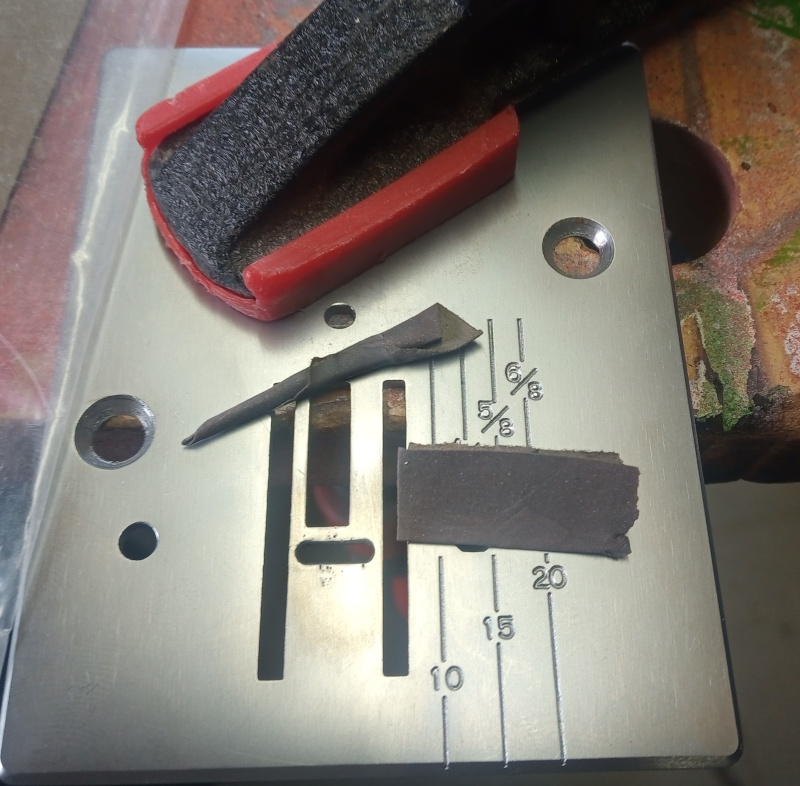
This:
| Needle plate |
|---|
 |
It has holes all over it from the needle, and there’s a groove worn in the left side where the thread passes through.
I took it out in the garage and polished the needle plate. 600 grit to remove the dings and grooves, 1200 grit to polish things really smooth.
| Polish the needle plate |
|---|
 |
That didn’t fix it - the thread still broke in just a couple of centimeters.
I checked everywhere the thread has to pass and found more scratches and grooves in the hook:
| Grooves in the hook |
|---|
 |
Polishing the hook took some creativity. It’s hard to hold or to clamp. I ended up using a scrap of wood with some holes and a couple of clamps to hold it still.
| Polishing the hook |
|---|
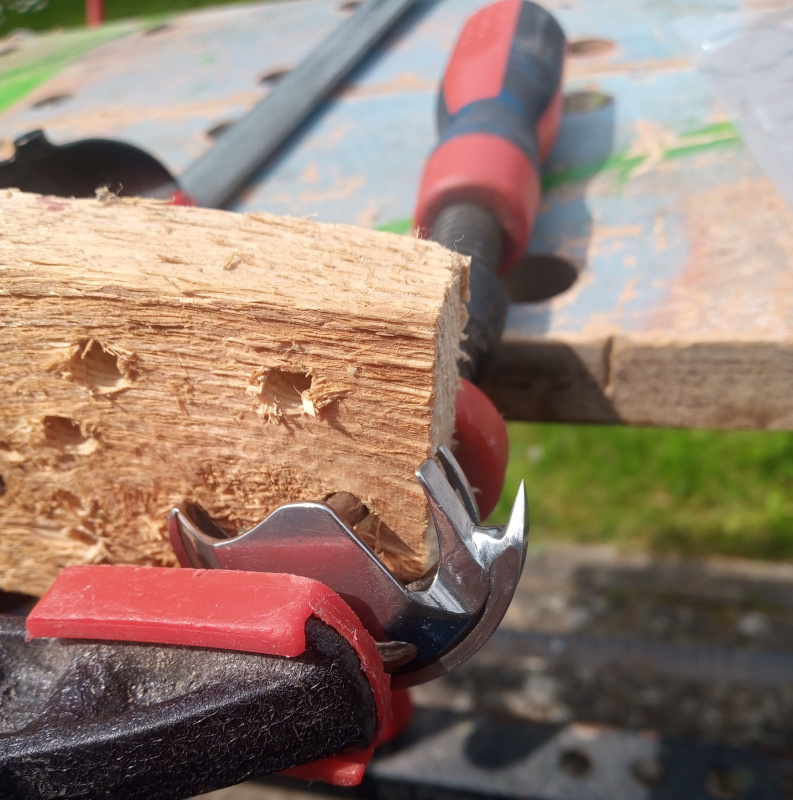 |
I ran my fingernail over every place that the thread runs. It turned out that this spring on the driver was full of dings:
| Dingy springy |
|---|
 |
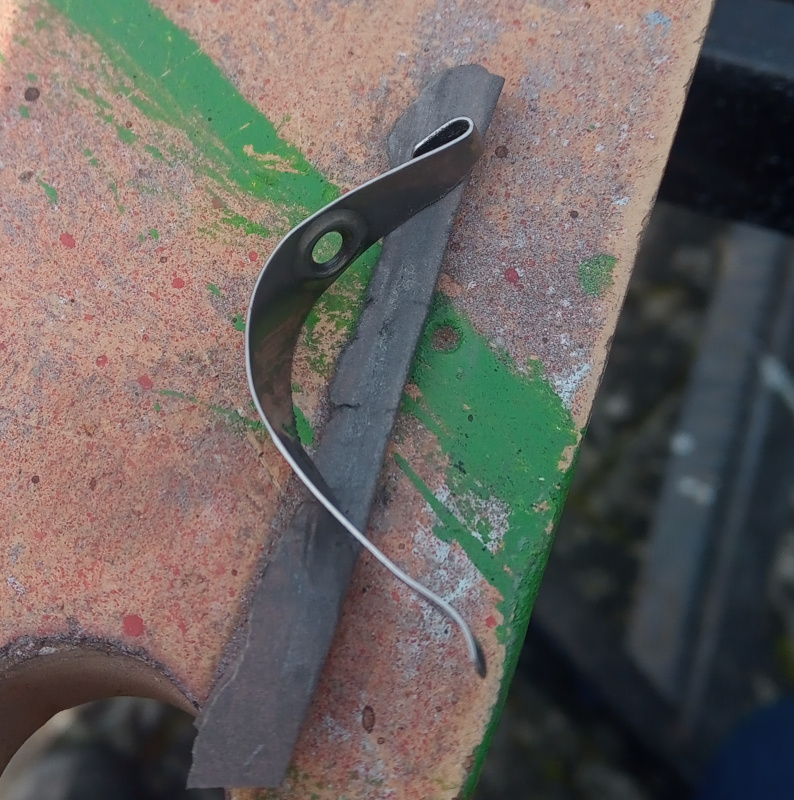 |
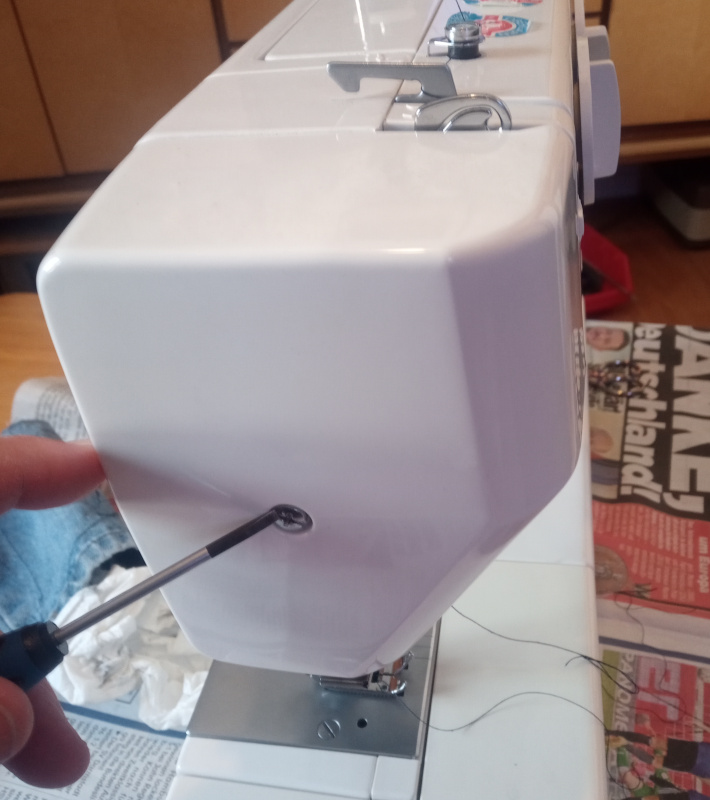
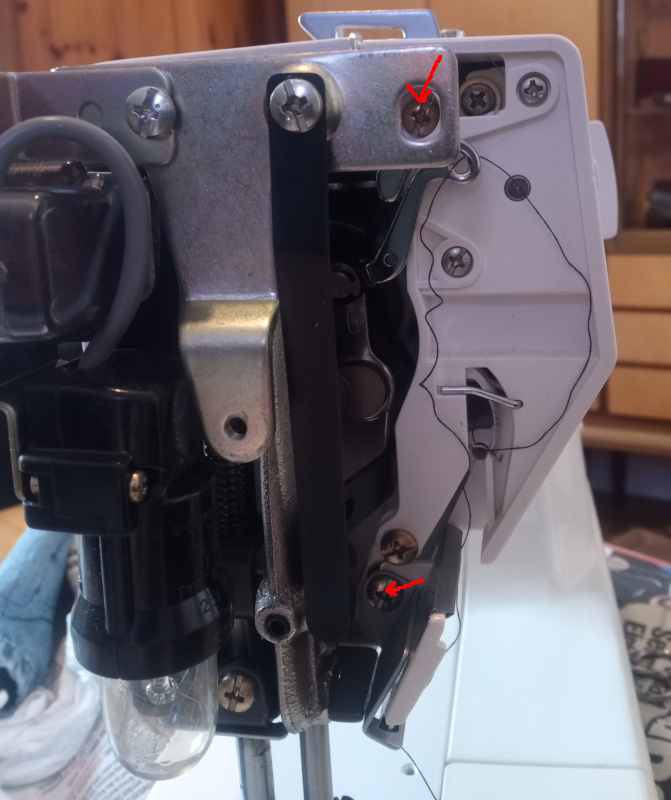
Getting the spring in and out was a bit tricky. You have to rotate the hand wheel until the screws are lined up so that a screwdriver can go by the feed dogs. That’s the only way to get the screwdriver in to put the screws in straight.
| Reinstall the spring |
|---|
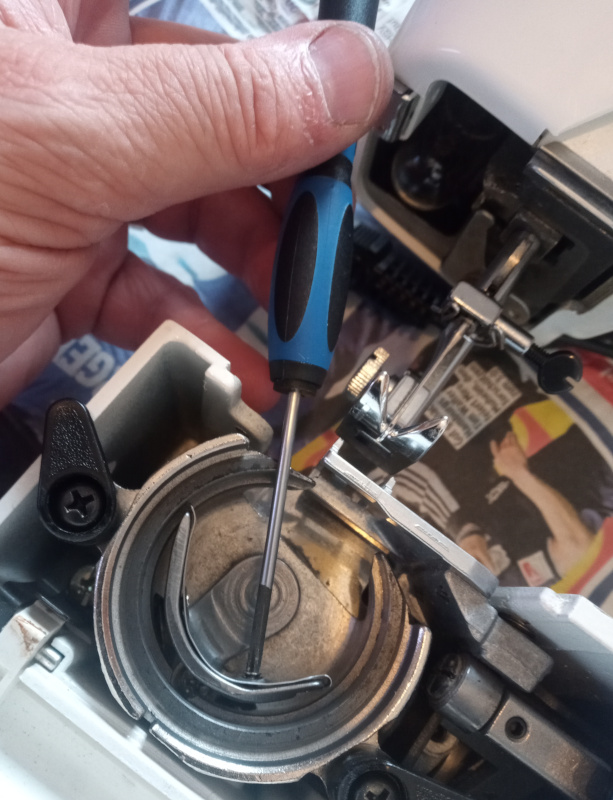 |
With it polished inside and out, the 1510 stopped breaking the thread. I oiled it according to the (crummy) pdf user’s guide I found on the internet.
It runs smoothly without breaking the thread - provided you use a new needle. I sewed circles on a scrap of denim until I got tired of doing it - no more breaks.
Sometimes doing it by the book isn’t enough. Doing what it says won’t hurt, but it doesn’t always tell you the right thing to do. By the book, this machine was destined for the junk pile. Now it’s got a new lease on life, and may just last my wife’s friend for the rest of her life.
I wasn’t just going by the user’s guide, of course. I have a reprint of Der Nähmaschinen Mechaniker (The Sewing Machine Mechanic) by August Kraft (first published in 1929.) It tells you (amongst a great many other things) to check the entire thread path for sharp edges when the thread keeps breaking.