Making the base for the salt block lamp
A crooked base for a crooked salt block.
The salt block lamp - Table of Contents
I’ve been working on the lamp again. In truth, I’ve been working on it on and off ever since the last post. I just haven’t taken the time to write about it - the intermediate steps aren’t interesting by themselves.
I finished the base this afternoon, so I figured it was time to post an update. The lamp itself is finished - the salt block mounted in its base, and the light installed and wired.
The whole thing looks like this:
| Salt block lamp |
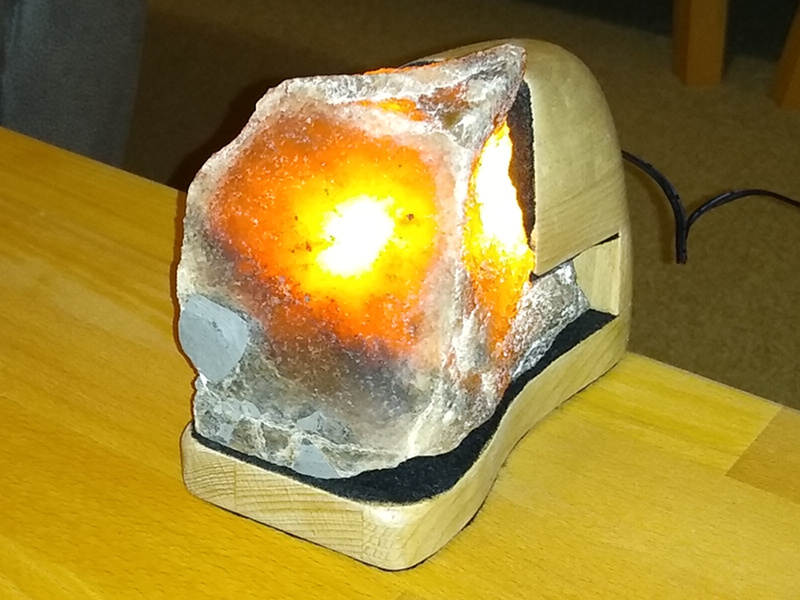 |
All that’s missing is a carved image on the front. I still haven’t decided what to put on it, or how to transfer a drawing to the face of the salt block.
At any rate, here’s what it took to get it to where it is.
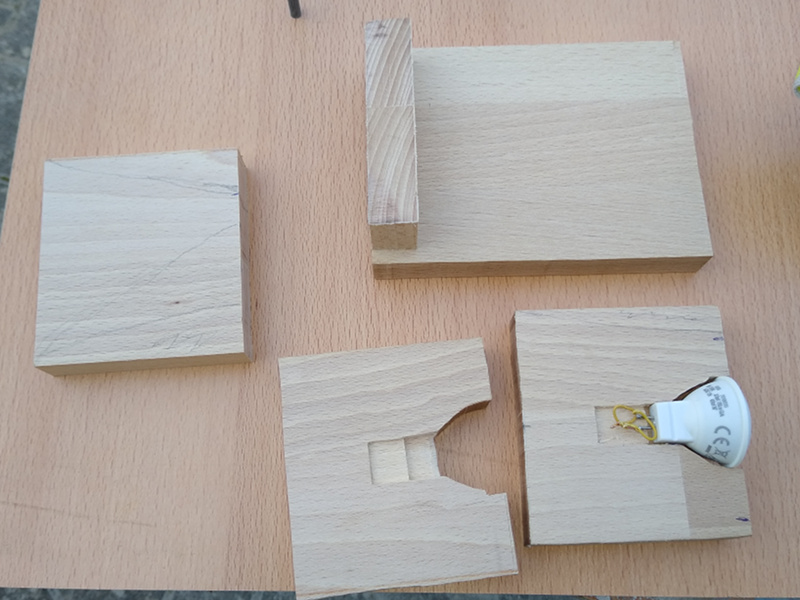
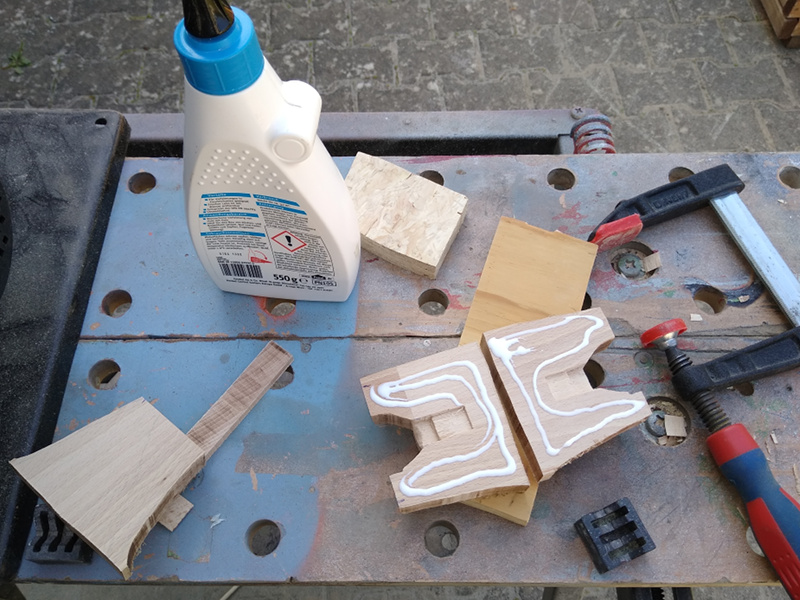
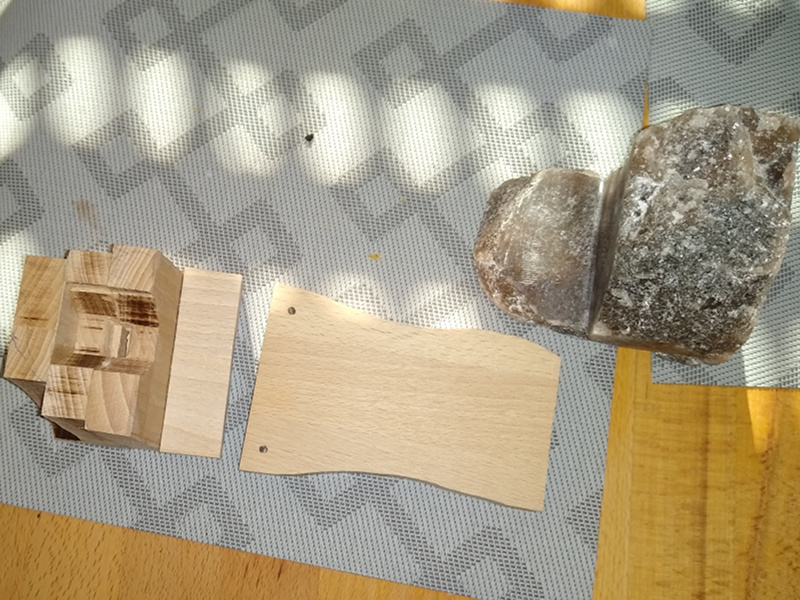
I’ve had a fair idea what I wanted the lamp to look like every since I bought the salt block. To make the base, I made a few measurements and then sketched things out. The plan was always to make the base out of beech. Most of the furniture my wife and I have in the house is made of beech, and I use a lot of what’s known as beech “leimholz” here in Germany. It’s made of strips of beech about 4cm wide (maybe two inches) that are glued, clamped, and planed into sheets in various lengths and widths.
| Beech scraps and sketches |
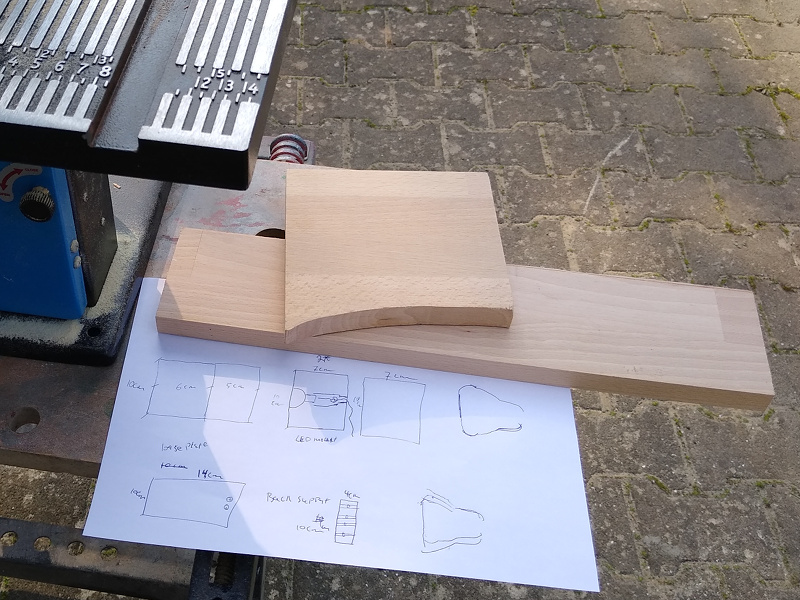 |
Those are really just scraps I had in the scrap box out in the garage. I catch a lot of flack for never throwing things away, but I use the junk that piles up around here. It might take 20 years for the right project to come around for a particular piece of junk or scrap, but it does get used.
I used a bandsaw to cut the parts. I’m weird. I find it easier to cut a straight clean line by hand on a bandsaw than to cut it properly on a table saw.
| Base parts |
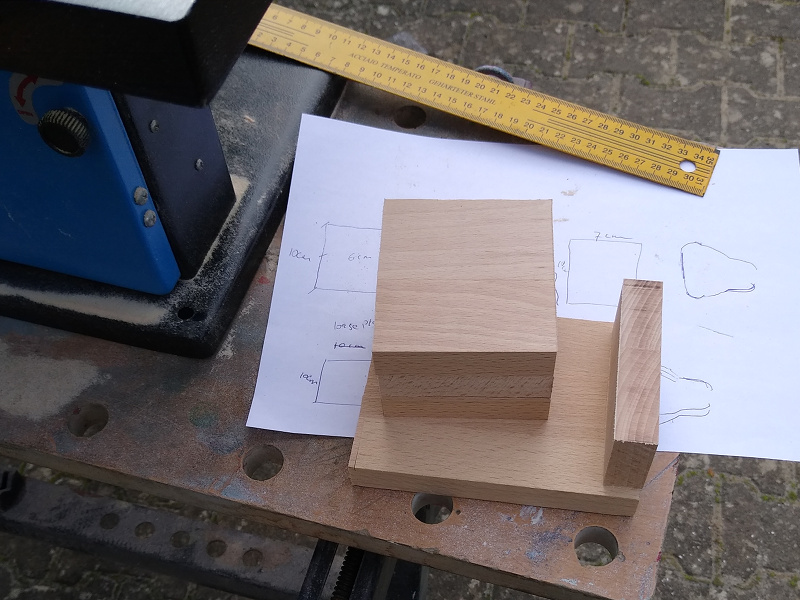 |
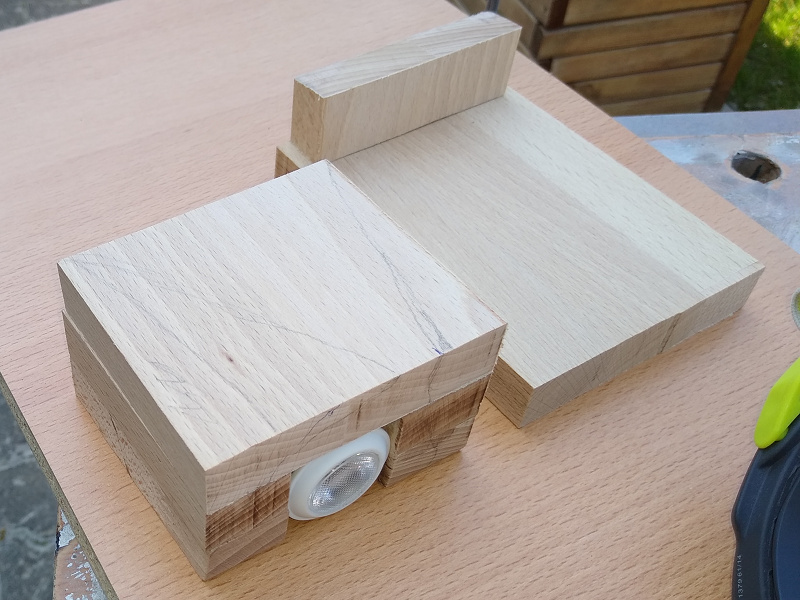
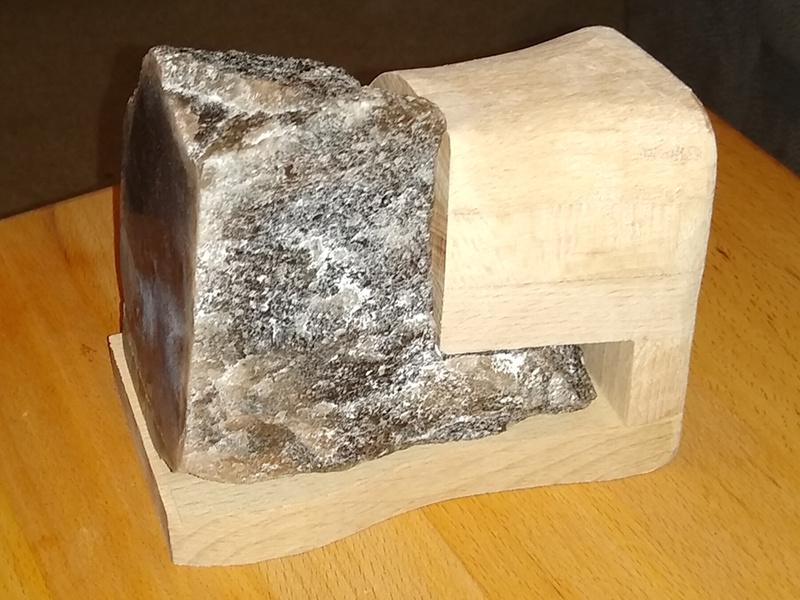
Now I can get a first preview of this thing I’ve been seeing in my mind’s eye for the last six months.
| Base preview |
 |
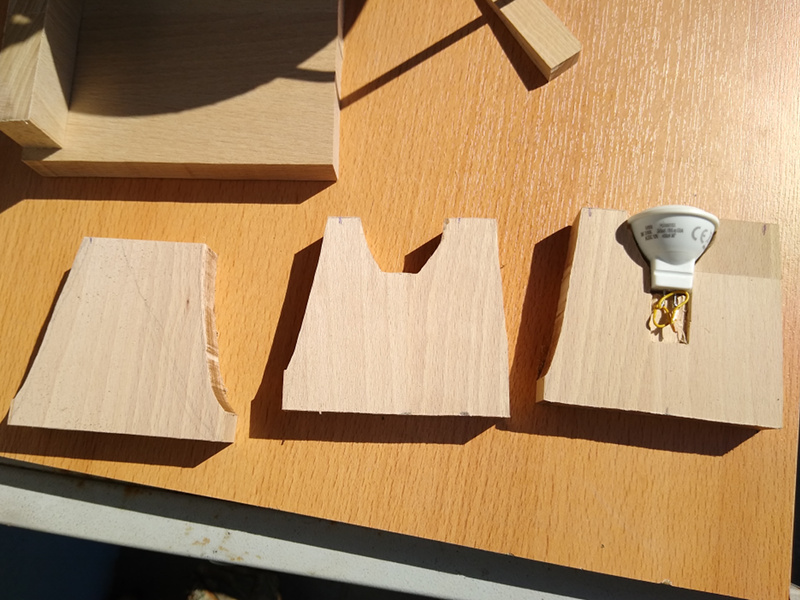
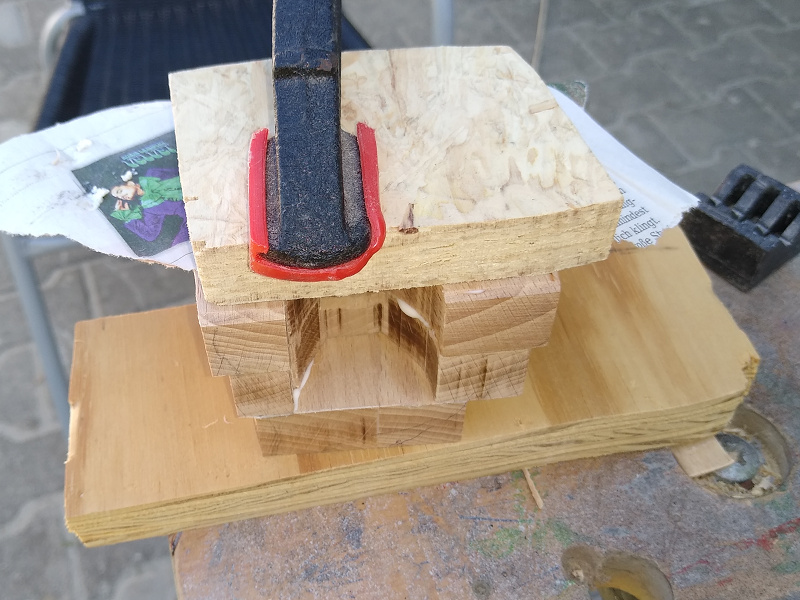
Rather than try to drill a hole for the LED light in the completed base, I went ahead and made cutouts in the parts. I used a wood chisel to make space for the base of the LED bulb. There’s no other mounting for the LED - it’s just a press fit in the cut and chiseled space in the base.
| LED mounting |
 |
 |
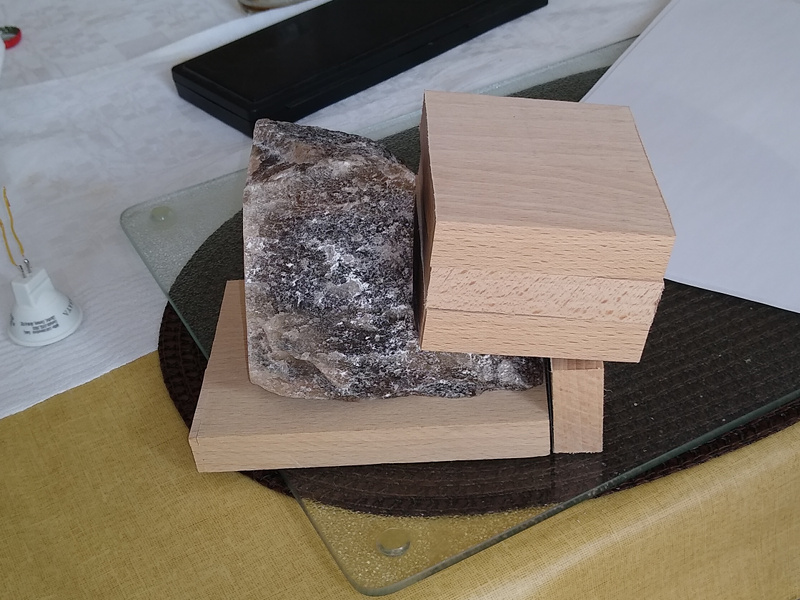
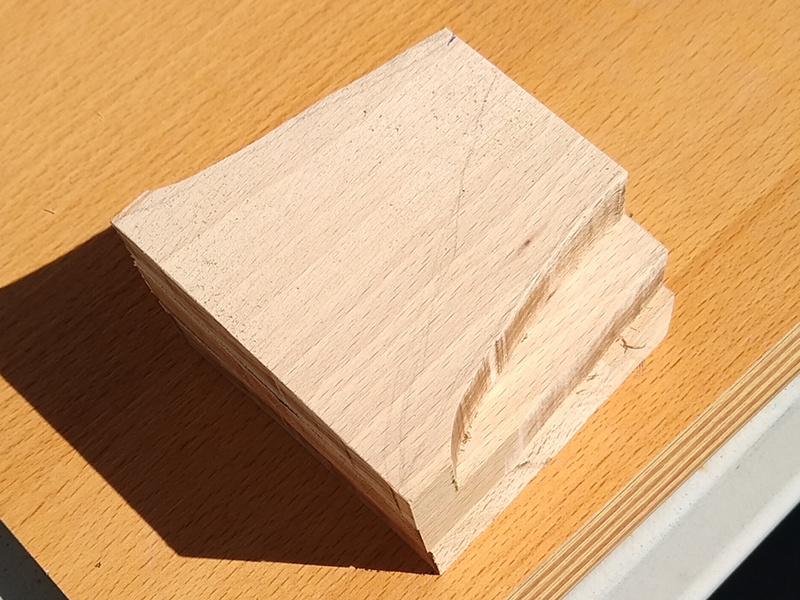
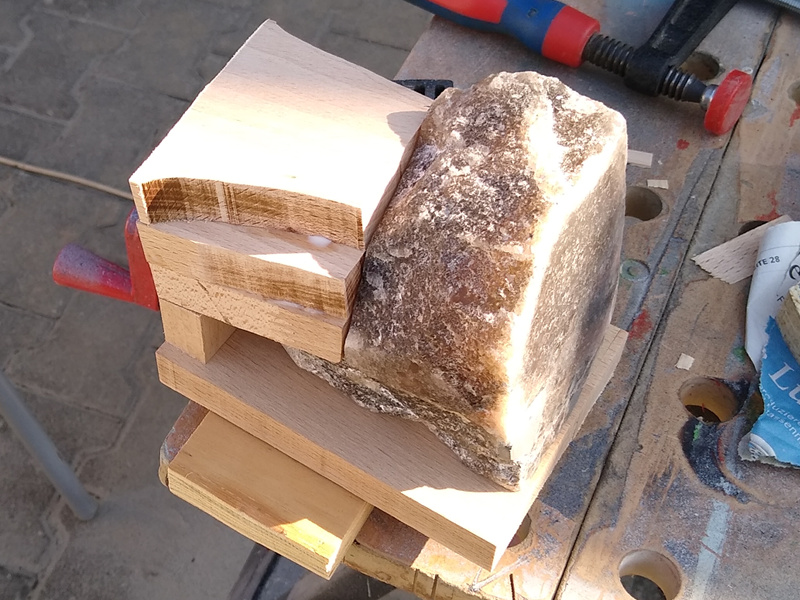
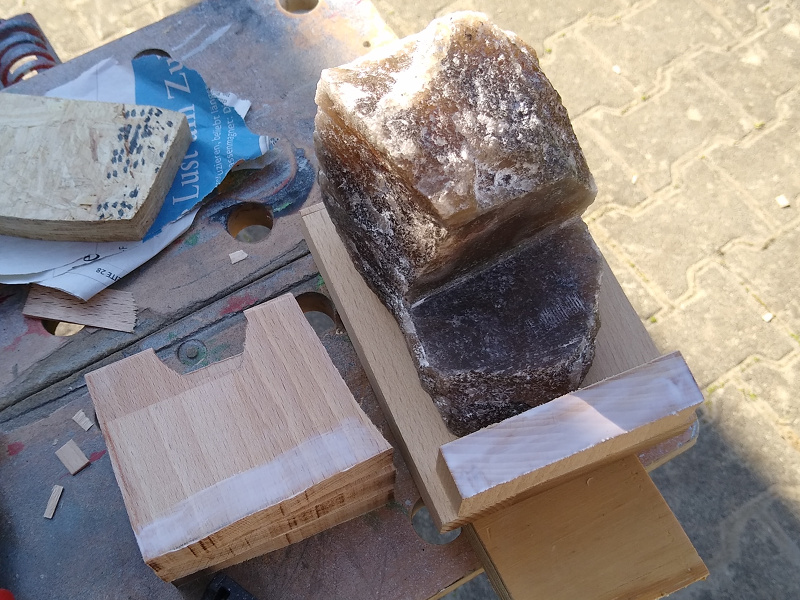
I cut the parts to roughly follow the shape of the salt block.
| Rough cut |
 |
 |
Most of the base is glued together. Only the foot is screwed to the base.
| Assembling the base |
 |
 |
 |
 |
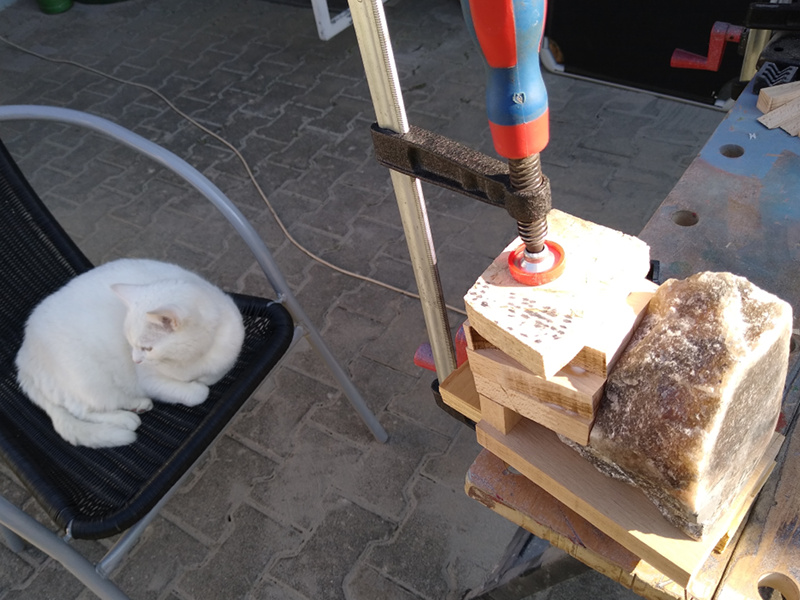 |
| (That’s our imaginatively named cat “Snow” watching to make sure I do everything right.) |
 |
The screw on foot is how I’m going to clamp the salt block into the base.
There was a lot of tedious work with a rasp after that. I didn’t make any pictures. It was just mind numbing back and forth for hours at time on various days when I could find time.
Here’s what it looked like after I got rid of the stair-steps on the outside.
| Smoothed base |
 |
 |
After I got rid of the stair-steps, I went to work on it with a belt sander. I used a belt of 40 grit sandpaper on it to shape the base how I wanted it. That was lots more mind numbing work. Again, no photos. There’s not much to show when doing that kind of stuff, just the finished results.
After shaping the base, I sharpened up my pocket knife and used it as a scraper to remove the scratches in the wood from the rough sand paper.
With the scratches gone, I used some 240 grit sandpaper to smooth the surface before varnishing the base. “Varnish” might be the wrong word. What I actually used is a sealant for hardwood parquet floors. It’s tough, it’s waterproof, it dries fast, it doesn’t stink, and I can wash the brush clean with soap and water. Pretty decent stuff. It even sands nicely to a very clear, transparent satin finish.
I’ve got nothing against regular varnish, but the floor sealant works really well for me.
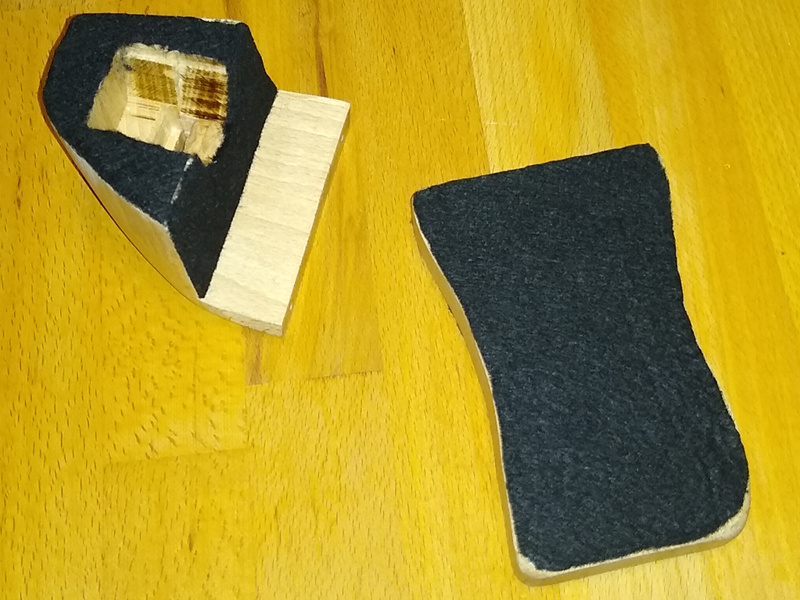
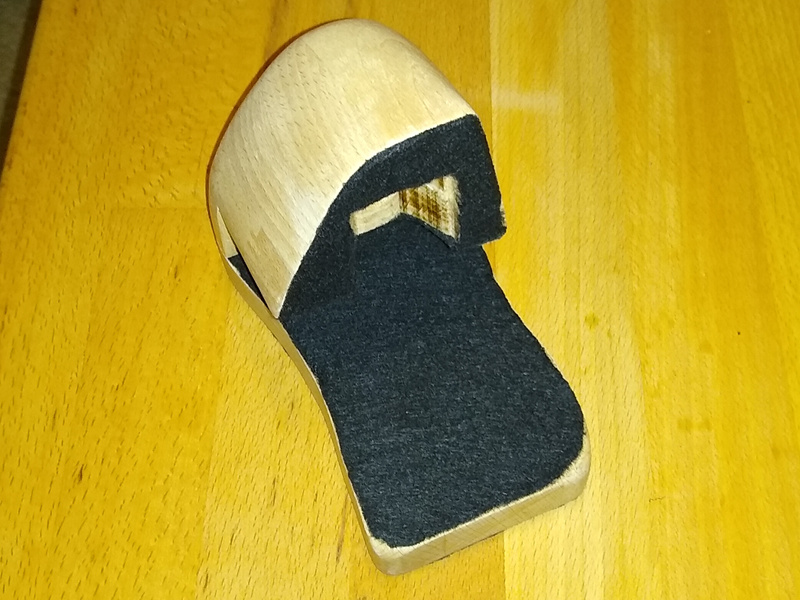
This is what it all looks like after sanding and varnishing. I’ve also put black felt on it so it doesn’t scratch other furniture or crush the salt block.
| Finished base |
 |
 |
The hardest part was getting the felt to follow the contours. I ended up using a propane torch to flame the fuzzies off of the edges. That’s tricky. If you know a good way to cleanly cut felt to follow strange contours, I’m all ears.
That’s all for now.
One of these days I’ll figure out what I want to carve on the face of the salt block and how to do it and then I’ll post some pictures of the finished lamp.
Rough Cut
“Rough Cut” is the title of a not too bad detective novel published in 1994. I mention it because of a strange coincidence. I found a copy of that book on top of the trash in a trash can in a train station in Germany in about 1997. That’s not weird. What’s weird is that I share a name with the main character of the novel. The detective in the story is named Rayford Goodman. The “R” up there in “JRE’s Project Blog” stands for Rayford. It’s not a common name in the United States (where I was born.) It’s unheard of here in Germany where I’ve been living for over thirty years now. It was just so bizarre to walk past that trash can and see a book cover with my name on it staring back at me. I’ve often wondered how that book got where it was. I mean, I walked by, and there’s a book on top of the trash - that’s weird. It’s in English, but I’m in a train station in Germany, so that’s odd. On closer look, the front cover says “Rayford something or other” and that’s just too far out. I still have that book here somewhere. Maybe I ought to dig it out and read it again.
For an even more bizarre thing, I found while writing this post that a new copy of “Rough Cut” can be bought for a mere $499, or you can splurge and shell out over $1000 - for a 26 year old detective novel that was not bad but certainly not $1000 worth of good. I do not understand how this kind of thing works.