Returning to the salt block lamp
Preparing the salt block for mounting and lighting.
The salt block lamp - Table of Contents
Some time back, I wrote a post about driving a bright LED with a simple voltage booster.
When I wrote that, I had already started working on the salt block. Today, I finally got around to working on the salt block again.
Since it wasn’t quite clear in the last post just what I had already done with the salt block, I’ll start with a review.
When I started today, the salt block already had a flat bottom and I had flattened and polished the front surface. The rest of it will stay rough just the way I bought it.
It looked like this:
| Salt block |
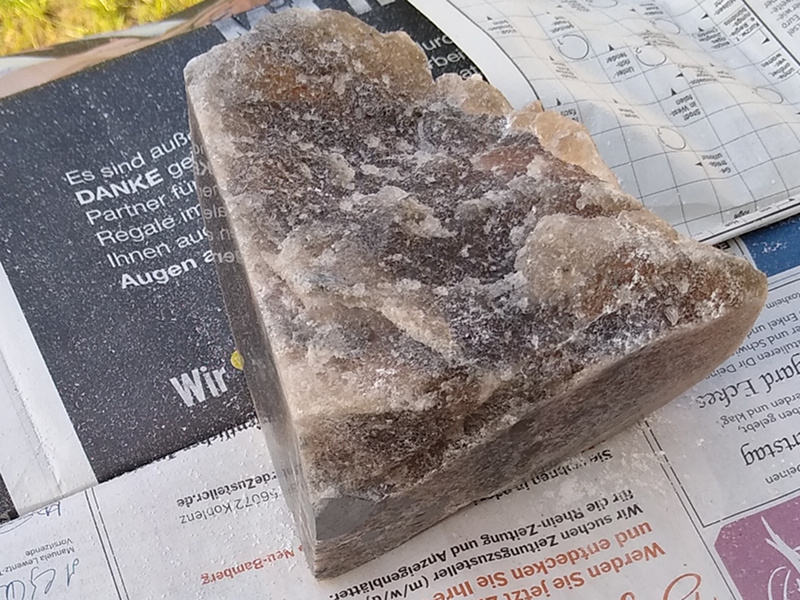 |
| Salt block bottom |
|---|
 |
| More or less flat and definitely not smooth. |
The base doesn’t need to be perfectly flat let alone smooth. It’ll be clamped to a wooden base with black felt between the salt and the wood. It just needs to be flat enough to sit on the base.
| Salt block front |
|---|
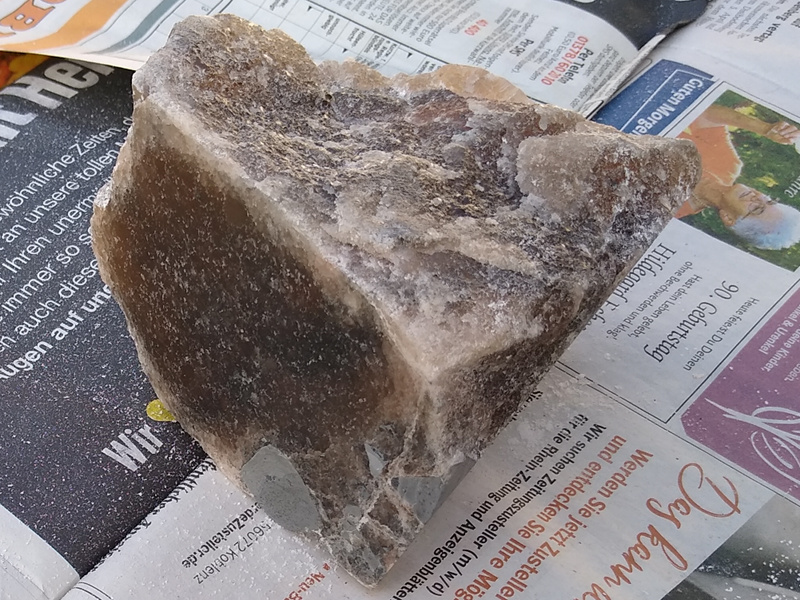 |
| The front is flat and smooth as glass. |
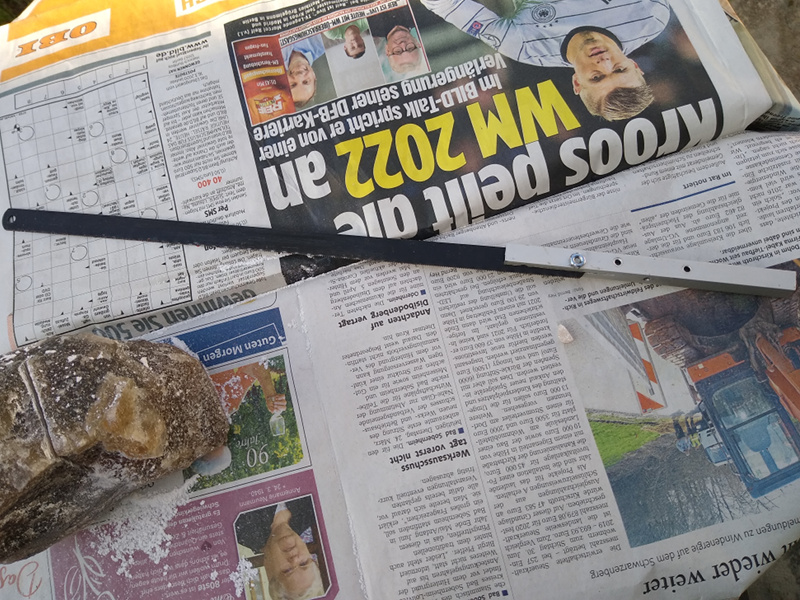
To flatten those sides, I clamped a hacksaw blade in my portable workbench with the teeth pointing upwards and just above the surface of the bench. Rubbing the block back and forth across the teeth smoothed and flattened it pretty well.
I polished the front of the block to a mirror finish on a sheet of 1200 grit sand paper glued to a piece of plexiglass.
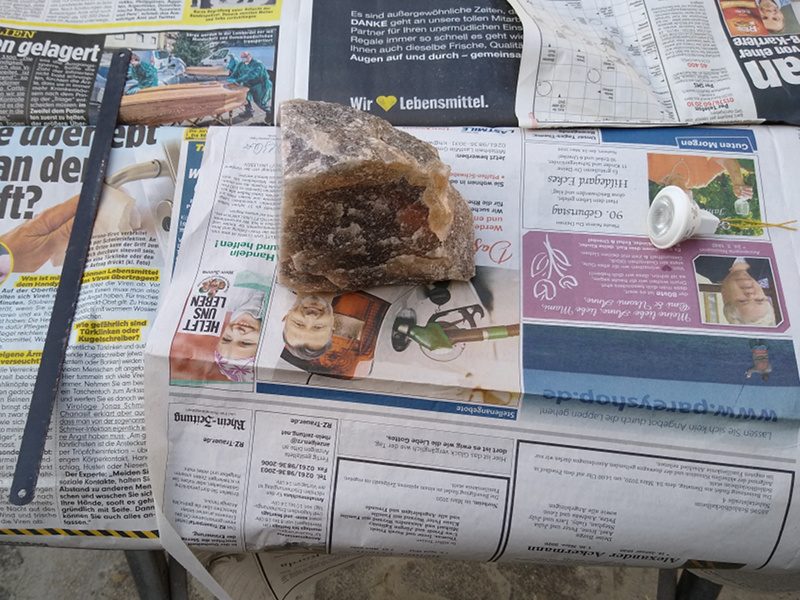
That’s where things stood as I got back to work on it this afternoon.
For today, I planned to cut a notch out of the block to get a flat back side for the light to shine through. I intend to clamp the salt block between the lamp holder and the base. The back side also has to be polished so the light can shine through.
I’m just going to use a hacksaw blade to cut the notch. I try not to use any good tools while working on the block. Salt pretty much instantly ruins any tool surface. Hacksaw blades are cheap.
| Ready to cut |
|---|
 |
The first problem was deciding where to make the notch. It has to be close enough to the front for the light to shine brightly through. It has to be far enough back that the light can diffuse in the salt. It has to be close enough to the front that I have enough space for a clamp to hold it to the base.
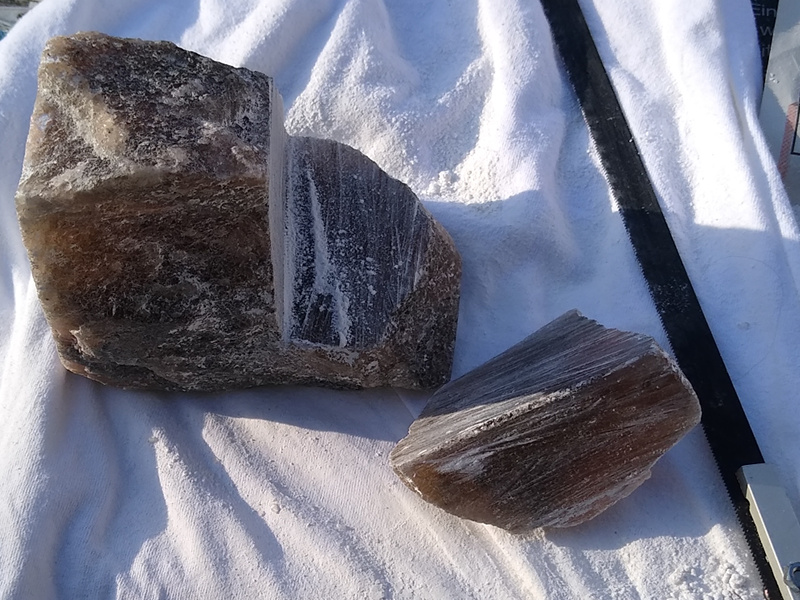
I just kind of eyeballed it and started cutting. I cut a further back than I thought I needed to, with the intention that I could always remove more salt from the notch. It worked out pretty well, though, and I didn’t have to make a second shot at it.
| Starting the cut |
|---|
 |
After a little while, I found it too hard to hold the blade by hand and went and made a handle for it out of a piece of scrap aluminum tubing. It was much easier to work after that.
You can’t see it in that picture, but the blade is mounted to cut on the pull stroke. If you try to cut on the push, the blade will often flex. The saw blade can pop a chunk out of the salt when it flexes. The blade can’t flex on the pull stroke, though. Just make sure to not put any pressure on the blade when you push it - you can still jam the blade and make it flex while pushing it back.
| Saw handle |
|---|
 |
After a couple of hours of careful sawing, I had my notch made.
It looked like this:
| Notched salt block |
|---|
 |
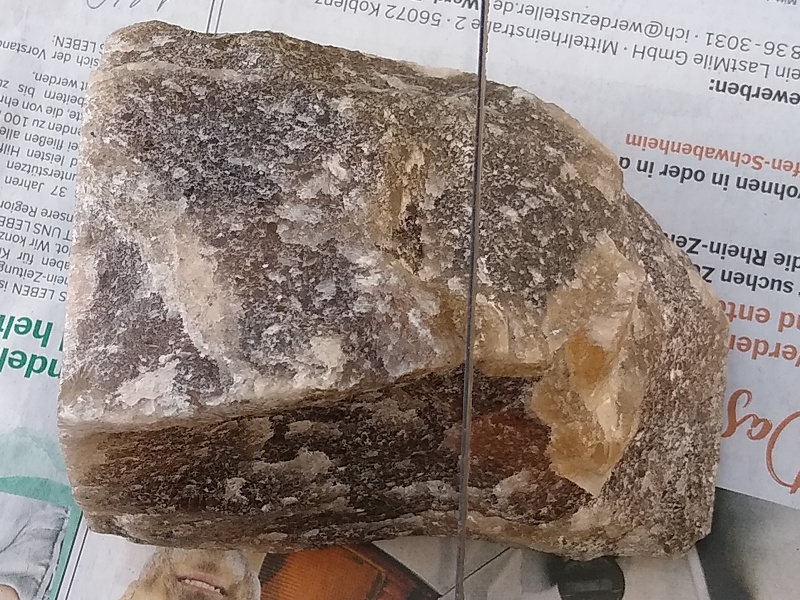
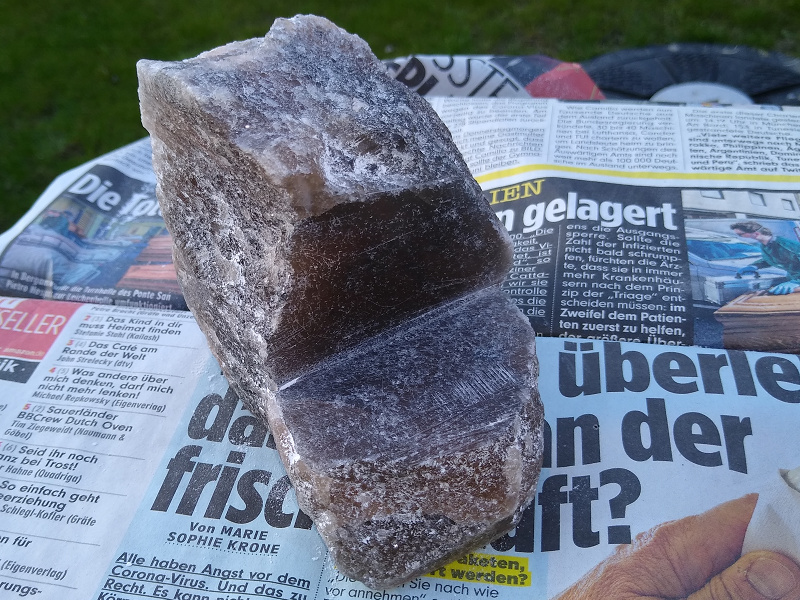
I used the saw blade some more to smooth both surfaces of the notch, then smoothed the front surface to a near mirror finish. There are still some scratches in it, but it only needs to be smooth enough to admit the light from the lamp.
| Smoothed notch |
|---|
 |
With the notch made, I took the block in the house to my workroom and tried out the light. I decided the notch is good as it is. The light is bright enough, and it diffuses so that the whole front is lit up.
| LED |
|---|
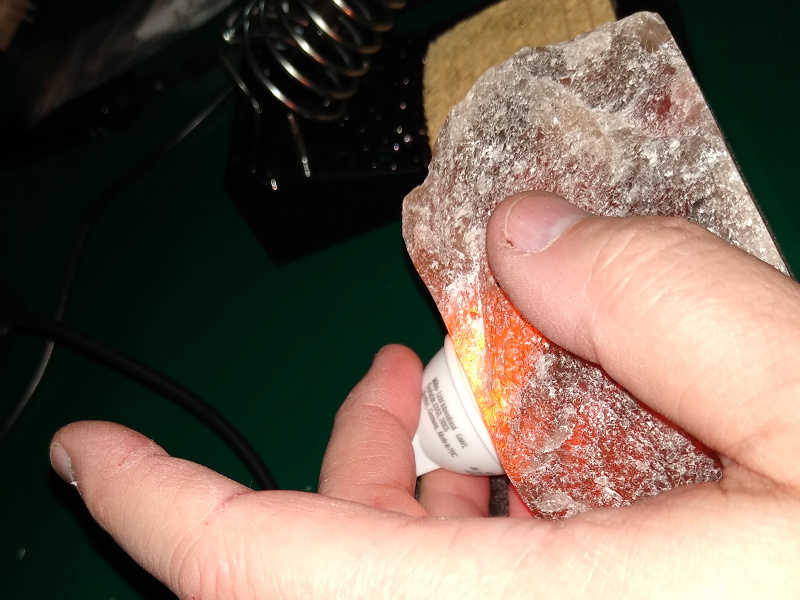 |
The LED lamp goes in the notch. It’ll be held in place with a carved wooden block when it’s done, but for now I’m just holding it in place by hand.
| Lighted salt block |
|---|
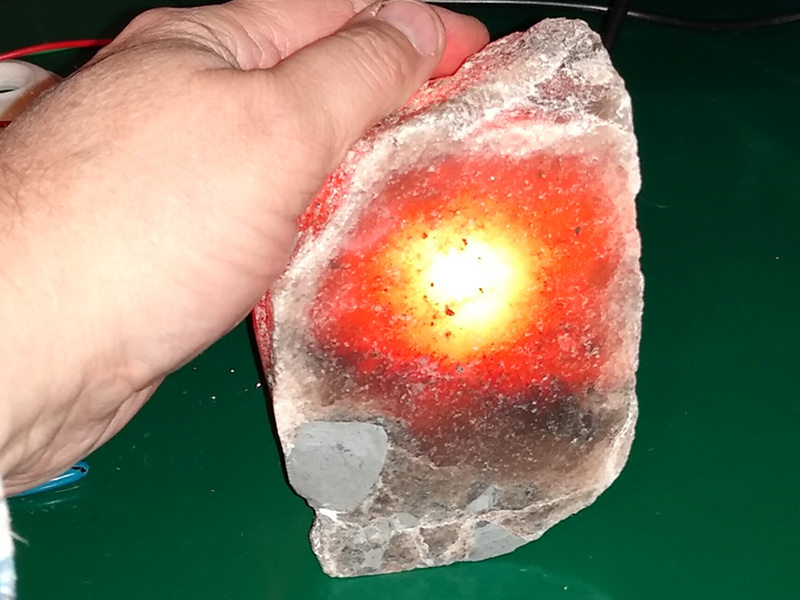 |
The photo makes it look like there’s a really bright spot where the LED shines through. It isn’t that intense in real life. The light is far more diffused than the photo makes it appear.
You can see some dark spots in the salt in the photo, and in real life you can see even more. The light doesn’t penetrate to the lower part of the block because the composition changes towards the bottom. There’s a lot more dirt and grunge embedded in the salt down there. You can even see some gray rock like things there on the front side.
Looking at it, I might carve a flower in the face of the lamp. The photo makes it look like the light shines through in a sort of (sun)flower shape.
I might not though. I might take advantage of the dark band across the bottom of the lighted area and carve a bunny sitting on the ground.
Plenty of time to decide that later. There’s still the base and the lamp mount to make.
That’s all for today.