HowTo: Solder by hand - Flux and lead-free solder
When supposedly simple tasks turn complicated.
HowTo: Solder by hand - Table of Contents
I got an unexpected visit from my son this weekend - he needed some help with a project for one of his university classes. The project itself is pretty well in hand. He and a couple of other students were assigned to rebuild an existing demonstration setup for measuring stresses in steel bolts. They’ve rewritten the software and corrected some problems in the electronics so that the system now works properly.
The final step is to clean up the wiring and install all the electronics in a custom 3D printed housing so that the system can be easily used.
The wiring was the problem.
My son knows how to solder, but was having some trouble - to the point that he was so frustrated that he took a three hour train ride to get here, with another three hour train ride to get back to school the next day.
The first problem was a simple lack of a desoldering pump. That was easy to take care of (I’ve got two here.) In a half an hour he had the eyelets from the PCBs cleaned to install some new connectors.
After that, things got hairy.
I’m going to tell this in a different order than it happened because it’ll make more sense that way.
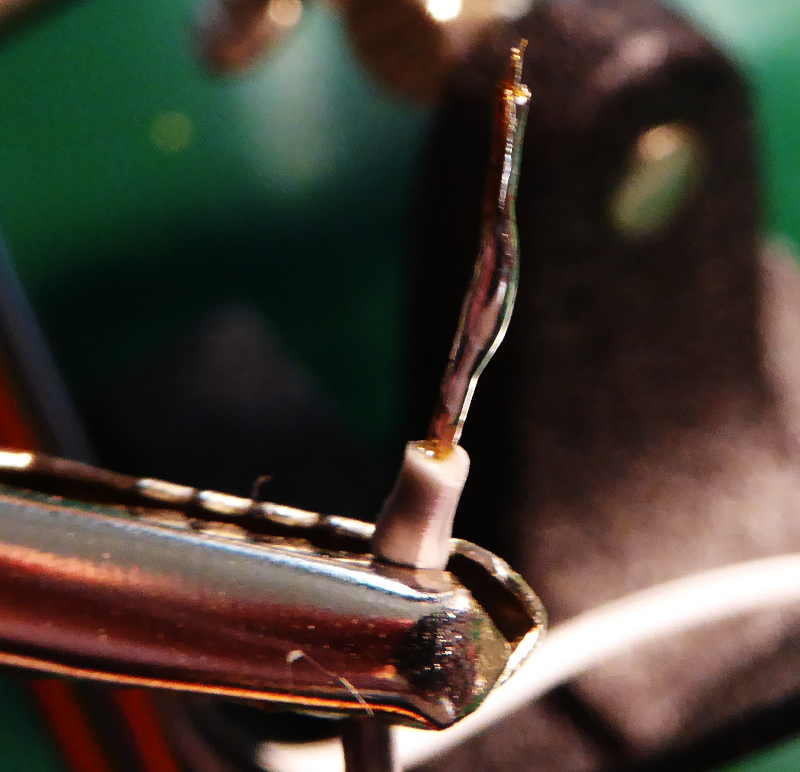
He needed to solder a cable with an RCA plug on it to the strain gauge that was already installed in a bolt. The wires from the strain gauge are fine “magnet wire” - copper wire insulated with lacquer.
The easy way to remove the lacquer from the wire before soldering it is to turn up the temperature on the iron, then use a blob of hot solder to burn off the lacquer.
That worked (like it usually does,) but the wire was noticeably thinner where the hot solder had been in contact with the bare wire. I didn’t make a photo of that wire, but I did some experimenting later and made photos of that.
Here’s a picture showing a piece of magnet wire that has been eaten away at the tip:
| Dissolved copper |
|---|
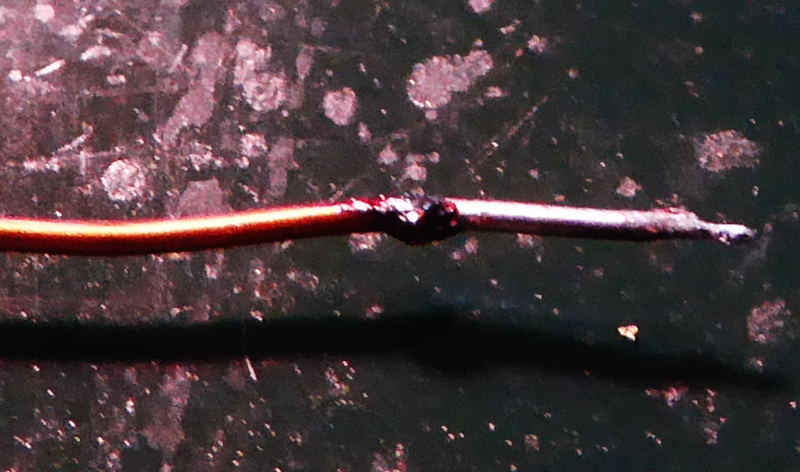 |
Over to the left is the lacquer insulated wire. In the middle is a section of wire that has been stripped of insulation using hot solder, and over to the right is the tip of the wire. I held the tip in the hot solder for a bit longer than normal. You can see that there has been copper removed from the wire.
This is the cause of some other problems that we had.
To connect some of the modules inside the housing, he wanted to use some existing jumper wires. The ones he had were all male-to-female while he needed female-female jumper wires. The standard jumper wires were also too long - like 30 centimeters while he only needed wire from 10 to 15 cm.
Since I don’t have so-called “Dupont” connectors here or the tools to crimp them, the plan was to simply clip the male ends off of some female-male jumper wires, then solder the female pieces back together in appropriate lengths.
Here we hit another snag - the stripped wires simply would not accept solder. He couldn’t tin the stripped wires. After some experimenting, we found he could tin the wires using a roll of 60/40 tin/lead solder I had here. While experimenting, I found that I could not tin those wires using his solder, or the roll of lead-free solder that I have here.
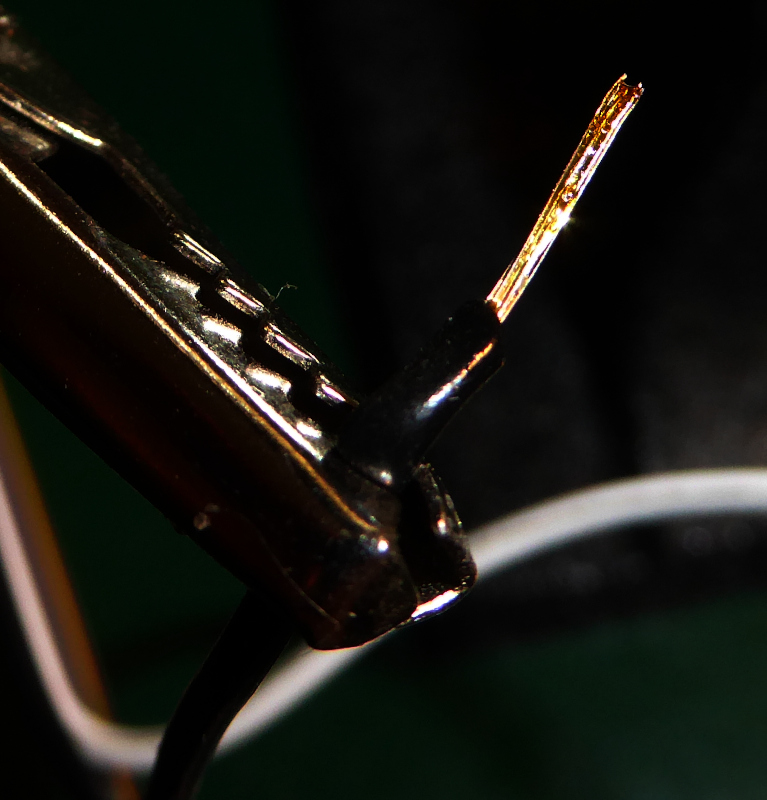
We finished the jumper wires using my 60/40 solder, then went on to tin the bare ends of the cables on some RCA plugs that he will use to attach other strain gauges to the test system.
Again, a simple task that turned out to be far more difficult than it should have been. The pure copper wire of the RCA cables (and some plain stranded wire from a roll I had at hand) would not accept solder from the roll my son had brought with him. My lead-free solder worked perfectly as did the 60/40 solder - his solder simply could not “wet” the wire to make the solder flow.
My son used my lead-free solder to finish tinning the RCA cables, then had to pack his stuff to catch the train back to the university town.
What has gone wrong here?
The obvious first thought is that there’s something wrong with our technique. My son hasn’t got much experience using a soldering iron, but I used to earn a living with a soldering iron - I most certainly know how to solder a simple wire.
After careful examination of the wire and the solder, I have discovered the causes of our difficulties.
Our inability to tin what appeared to be simple copper wire had two causes:
- Some of the wire is not simple copper wire.
- Some of the solder has a really poor flux.
The first problem is that the jumper wires are not made of copper. They are made of this horrible, cheap crap known as copper clad aluminum (CCA.)
Remember that picture I showed you of the “eaten” magnet wire? That is a side effect of lead-free solder.
Copper dissolves a little bit in solder. With lead-free solder, copper dissolves faster. In trying to tin the ends of the jumper wires with lead-free solder, we had simply dissolved the very thin copper coating from the aluminum wire - you cannot solder aluminum wire with normal solder or flux.
| CCA tinned with 60/40 solder | CCA tinned with lead-free solder |
|---|---|
 |
 |
Lead-free solder simply cannot stick to CCA. The lead-free solder dissolves the copper cladding faster than the solder can tin the copper. The longer you try, the worse it gets. The picture labeled “CCA tinned with lead-free solder” shows a piece of stripped CCA where the copper has been removed from the aluminum. There’s no solder on the strands. The strands are silver colored from the aluminum, with a darker coating from the burned flux (I used my lead-free solder with rosin flux when I made that picture.)
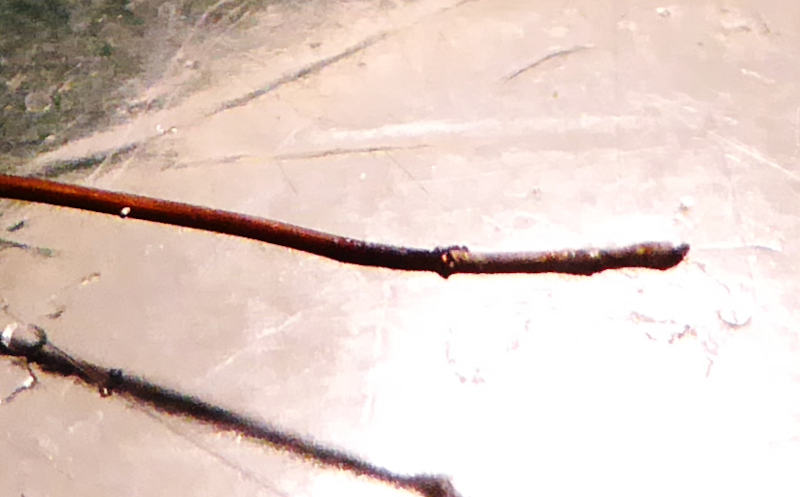
Standard 60/40 tin/lead solder doesn’t dissolve copper like lead-free does. It will do it, but it takes much longer. You can actually tin and solder CCA with plain old 60/40 tin/lead solder.
| Magnet wire with 60/40 solder | Magnet wire with lead-free solder |
|---|---|
 |
|
I exposed the magnet wire to the 60/40 solder for much longer than for the lead-free solder. Despite this, the 60/40 solder dissolved far less of the copper.
That explains most of the problems, but not why we couldn’t tin plain copper wire with the solder my son bought.
The obvious suspect here is that he bought bad solder - except that he didn’t.
He actually bought a roll of solder from the same manufacturer I prefer (German made Stannol) with the same lead-free alloy as the lead-free solder I use.
The difference is in the flux.
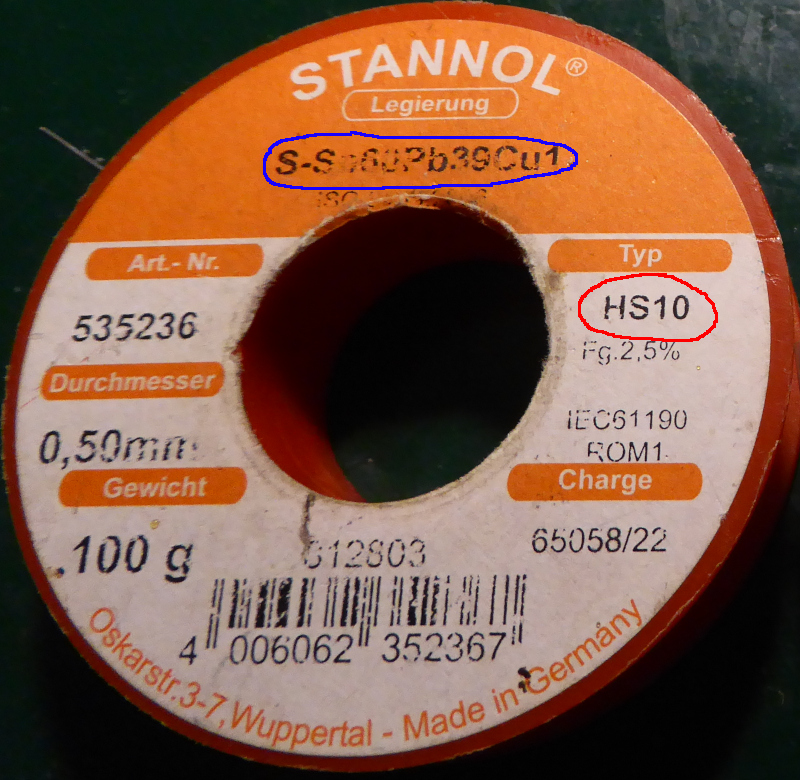
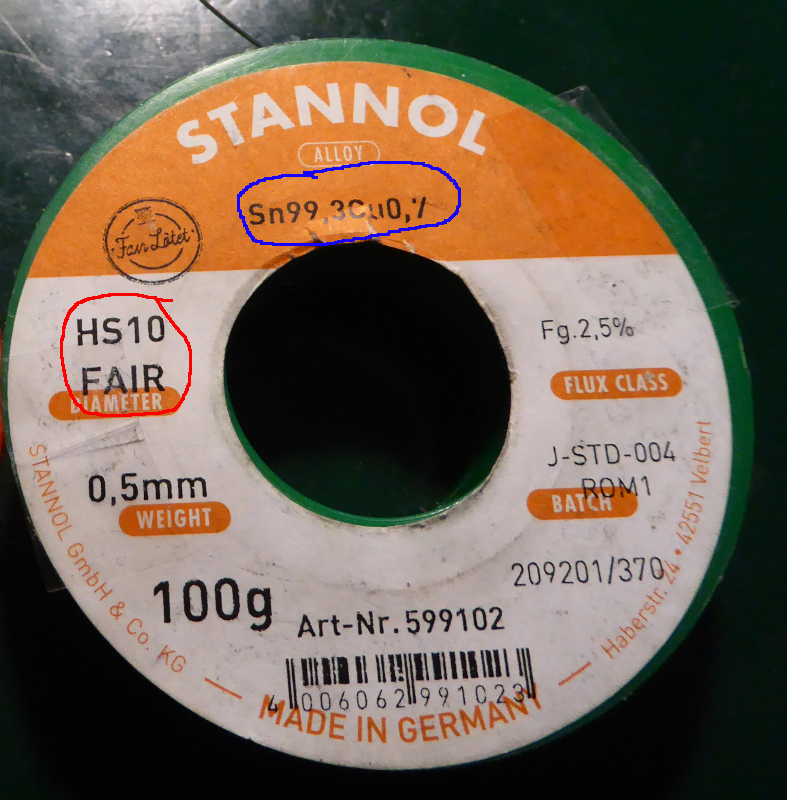
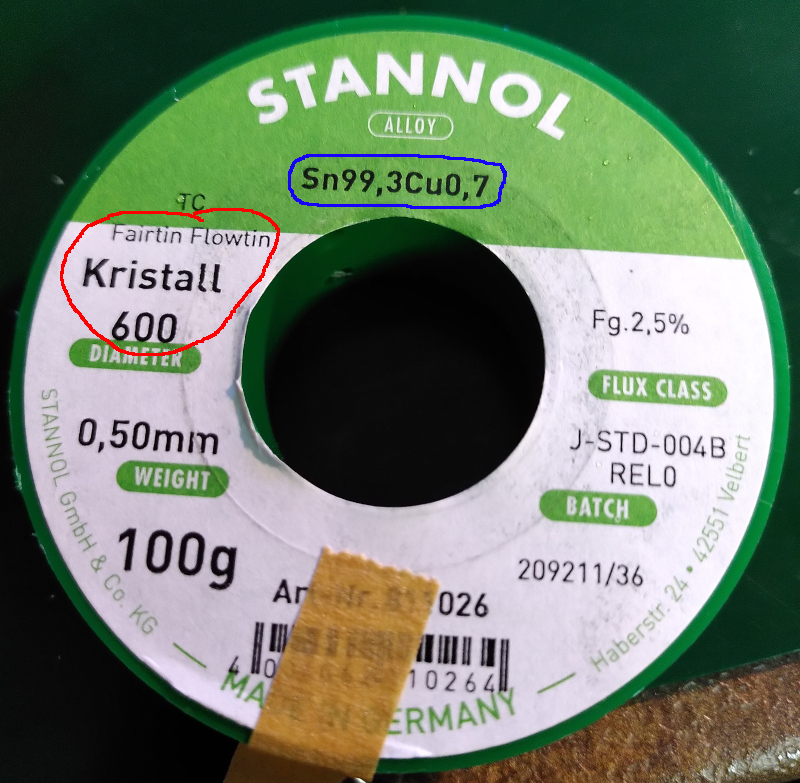
Here’s the label from all three rolls of solder:
| 60/40 tin/lead | My lead-free 99.3/0.7 tin/copper | Son lead-free 99.3/0.7 tin/copper (you’ll need extra activated rosin flux to use this stuff) |
|---|---|---|
 |
 |
 |
What I’ve been calling 60/40 tin/lead is actually 60/39/1 tin/lead/copper.
The two lead-free rolls use the same alloy of 99.3/0.7 tin/copper. The only difference is in the flux.
My 60/40 and lead-free both use the same flux (Stannol HS-10.) The solder my son bought uses Stannol “Kristall 600.”
Kristall 600 flux is apparently not as active (aggressive) as activated rosin flux. That makes it difficult to solder even simple junctions - such as simple, plain copper wire. The no-clean flux simply cannot remove the oxides and other contaminants from the copper surface as well as the rosin based flux.
This finally explains something that I’ve noticed a lot when people talk about soldering with lead-free solder. Folks always recommend flooding everything with extra flux. Jars and tins of flux as well as flux pens often contain rosin flux.
It isn’t that you really need so much flux as it is that you need a better flux than is in the no-clean solder that is often recommended.
It isn’t that lead-free solder is hard to use, it is that solder with non-rosin flux is hard to use.
There you have it, the final lesson learned from this weekend of doing easy things the hard way.
- Lead-free solder aggressively dissolves copper.
- You can’t solder copper cladded aluminum (CCA) wire with lead-free solder because the lead-free solder eats the copper cladding off of the aluminum.
- Use a solder with lead content when soldering CCA.
- Be very careful when soldering fine copper wire with lead-free solder because the lead-free solder can dissolve the strands and make them thinner and more susceptible to breaking.
- No-clean flux is often not aggressive enough to solder even simple copper wire.
- Use solder with an activated rosin core.
- Alternatively, use extra flux which contains activated rosin.