The Pfaff 30-31 sewing machine - Reassembly
Putting back all the things I took off.
Click here to see all the Pfaff 30-31 posts.
At the end of the post about repainting the Pfaff 30-31, I promised to post pictures of the reassembly. I also mentioned that it would take a while because I had a lot of photos to sort. I ended up with over 70 photos. Brace yourself, here they come:
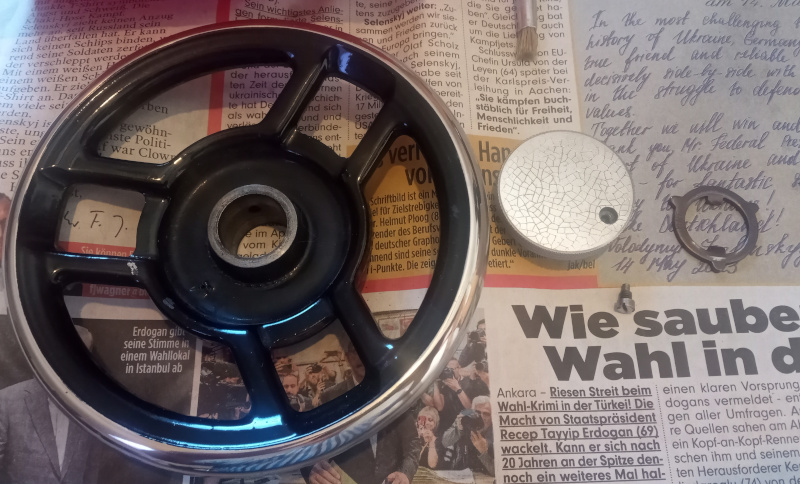
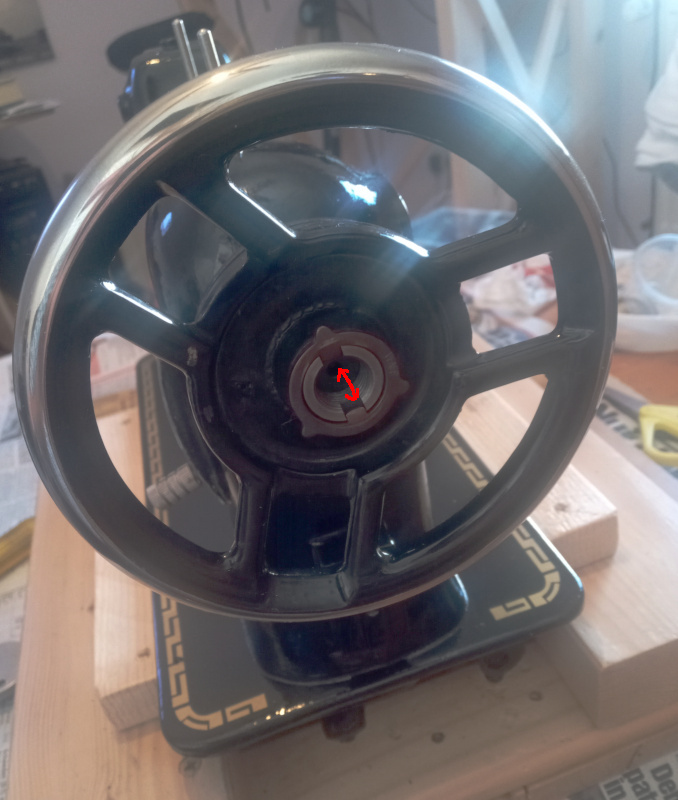
| Balance wheel |
|---|
 |
 |
 |
The tabs on the star-shaped washer are bent a little - the washer isn’t flat. The tabs go in the machine, not out to the balance wheel.
Once you’ve got the balance wheel reinstalled and oiled, turn the clutch knob to the left to loosen it (the balance wheel should turn without the machine running) then spin it a few times to distribute the oil and make sure the balance wheel spins freely. If the machine runs (the needle goes up and down) when clutch knob is loose then you need to take the balance wheel off again and clean the inside of the wheel and the axle on the machine.
| Needle bar |
|---|
 |
 |
 |
 |
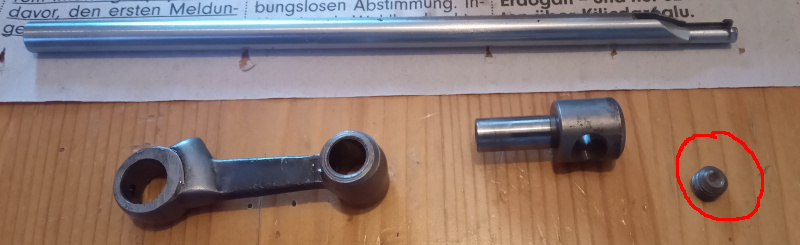
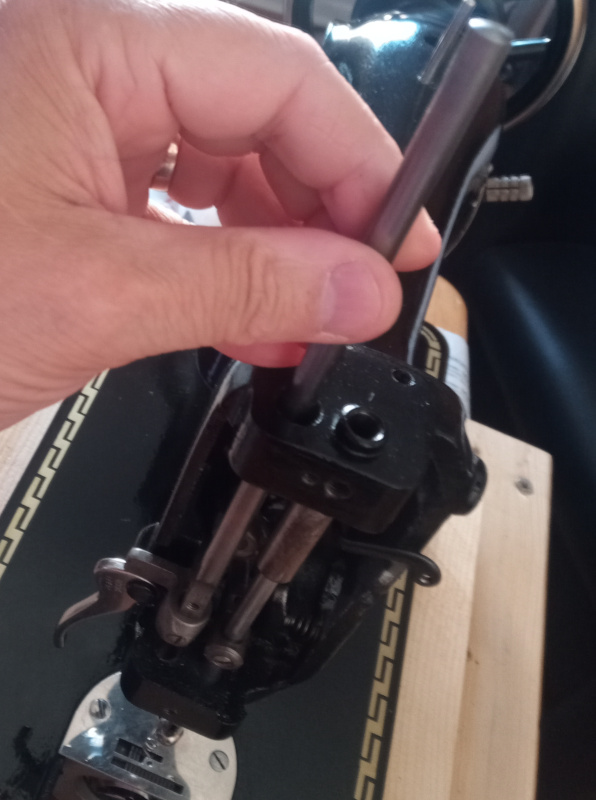
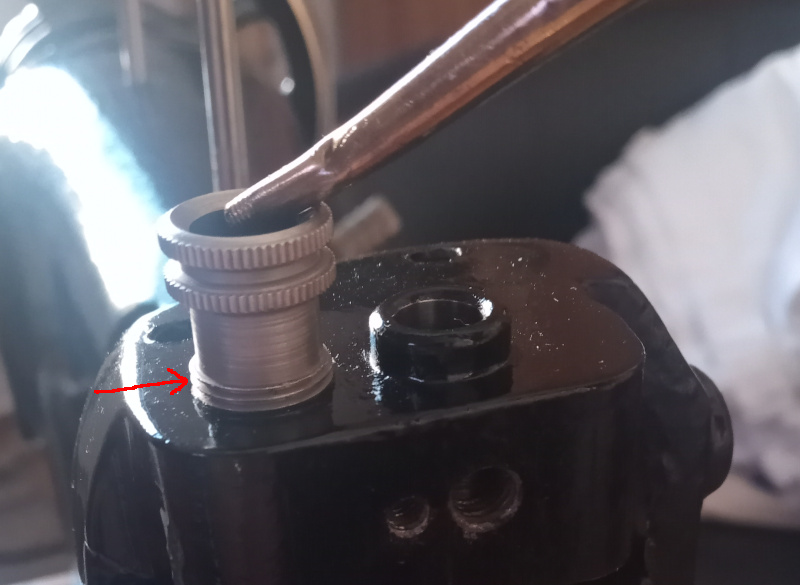
There are several small set screws in the Pfaff 30-31. They are all very similar, but they aren’t identical. If one won’t go in the hole then you’ve probably got the wrong screw. Make sure you are using the correct set screw.
The slit in the needle bar for the needle should be facing you as shown in the picture.
The actual height of the needle is critical to proper sewing. For right now, just install the needle bar. I’ll describe setting the height later.
| Needle clamp and thread guide |
|---|
 |
 |
 |
 |
There’s nothing complicated here. Just assemble the parts as shown then put a needle in the holder.
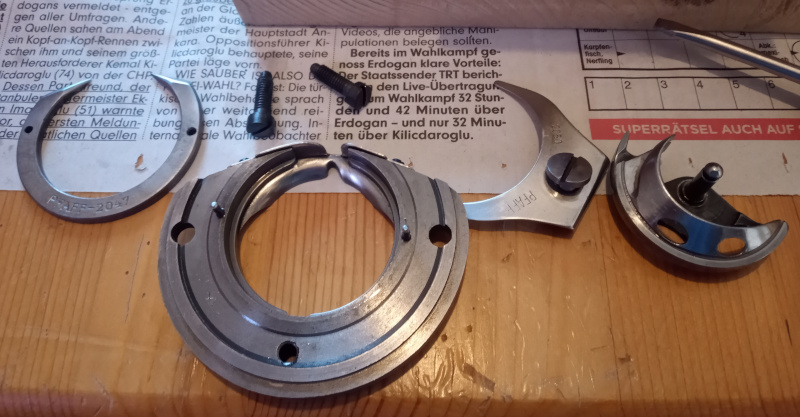
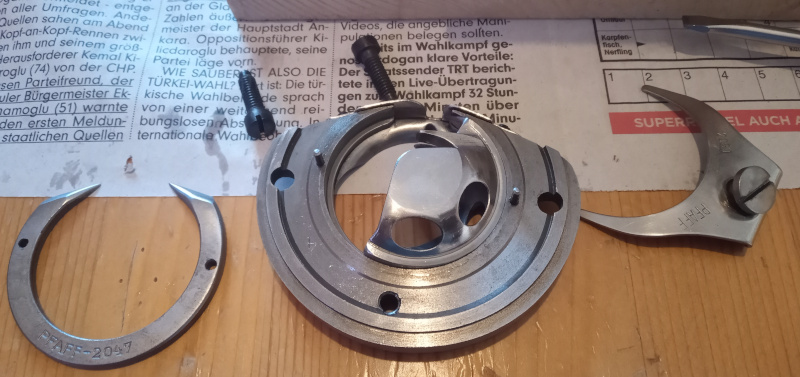
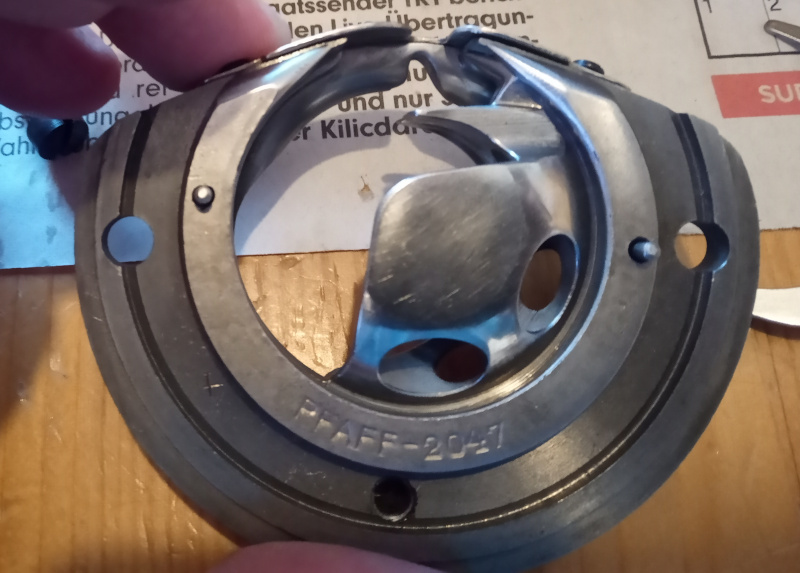
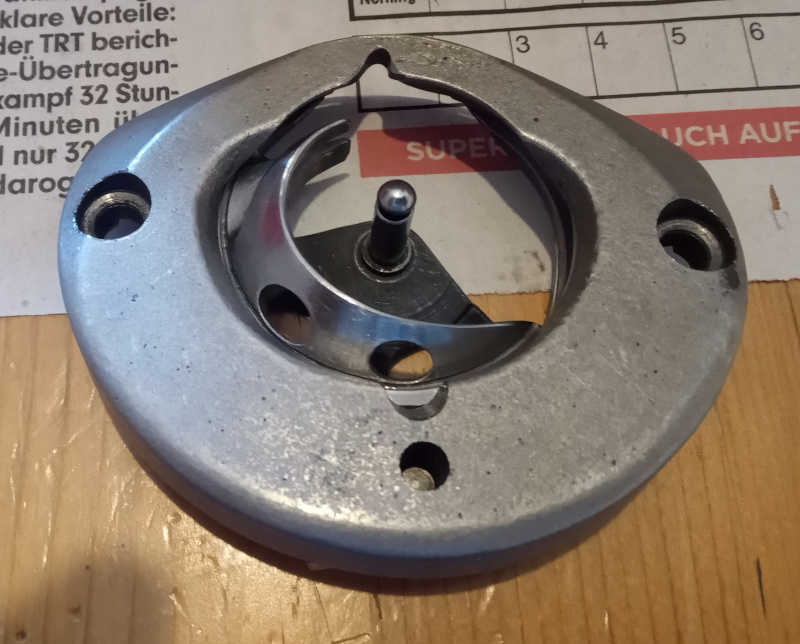
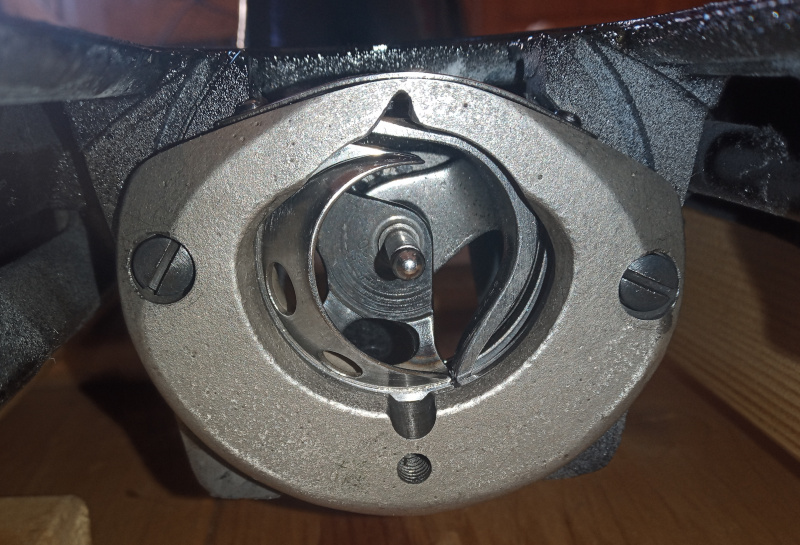
| Shuttle race and shuttle |
|---|
 |
 |
 |
 |
 |
 |
Put the pieces together as shown and install the assembly in the machine. Put a drop of oil in the shuttle race and crank the machine a few times to work the oil in between the race and the shuttle.
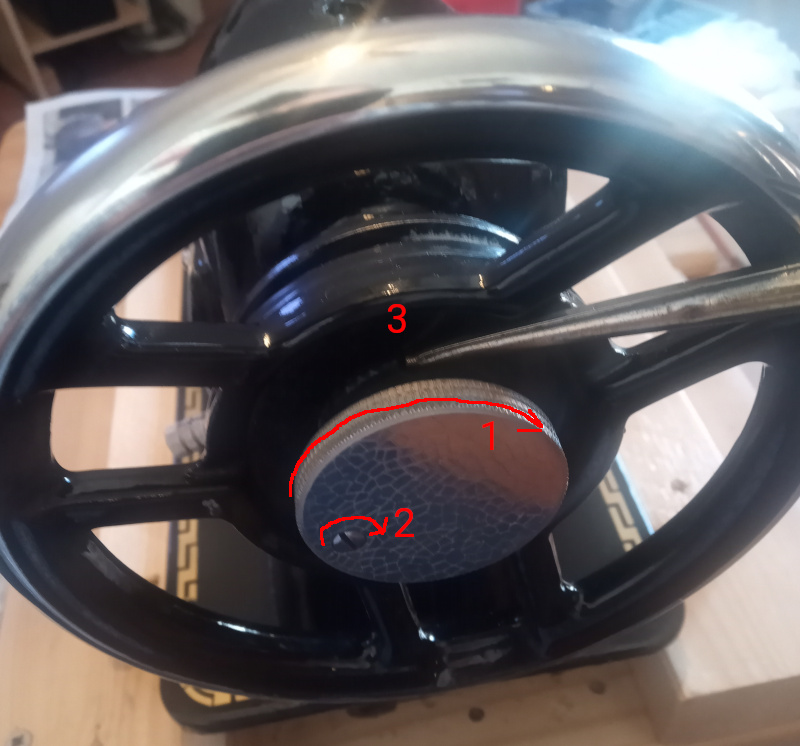
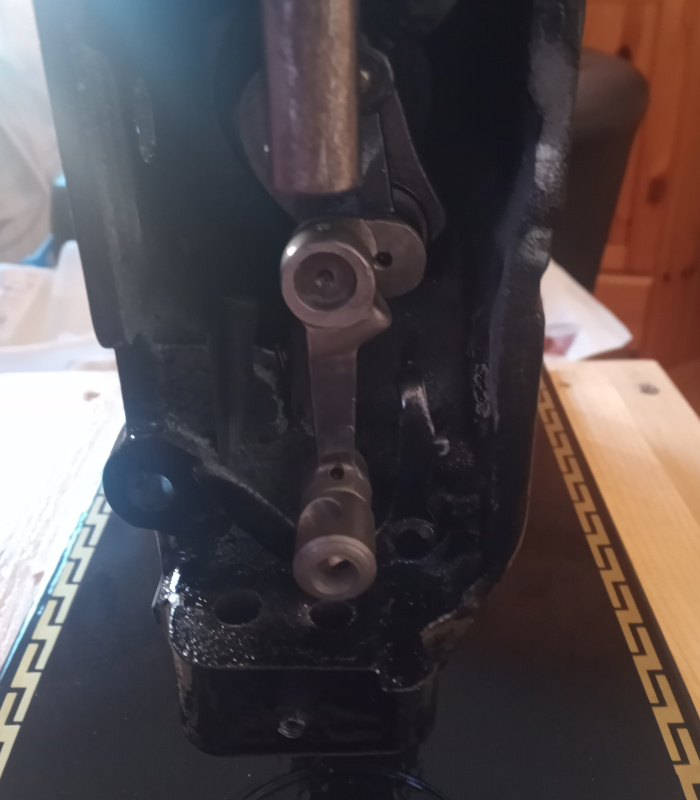
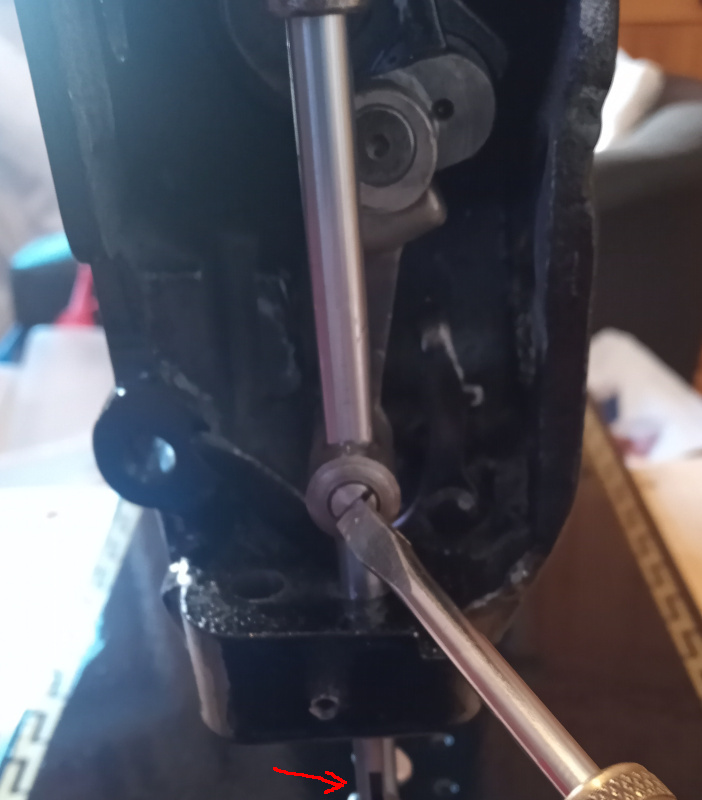
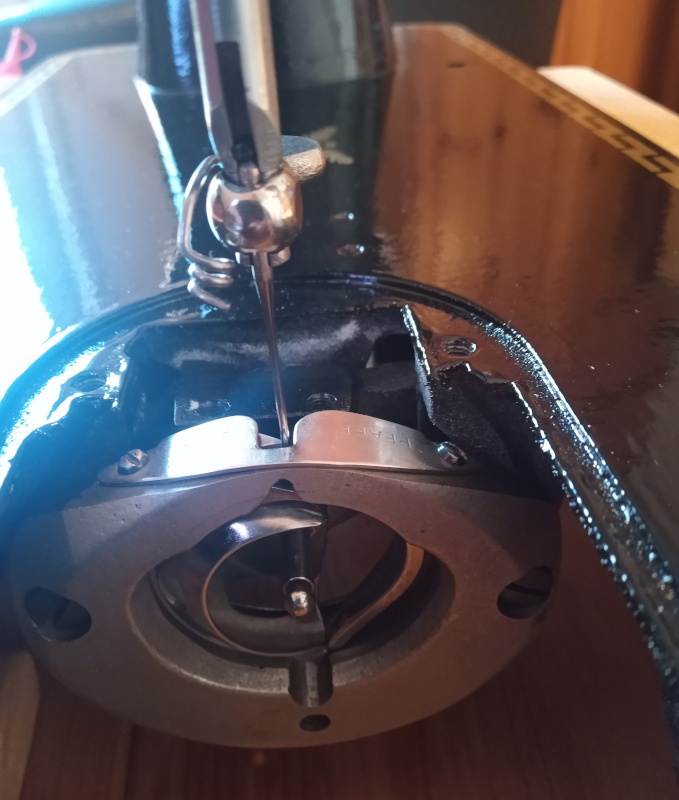
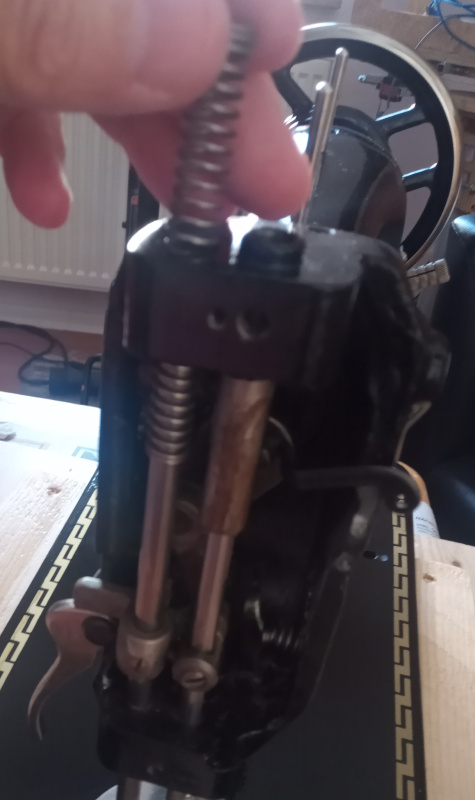
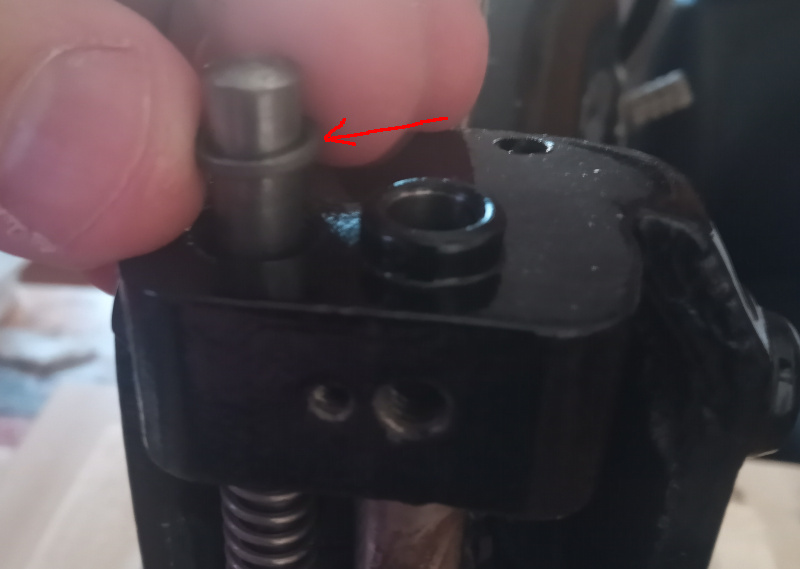
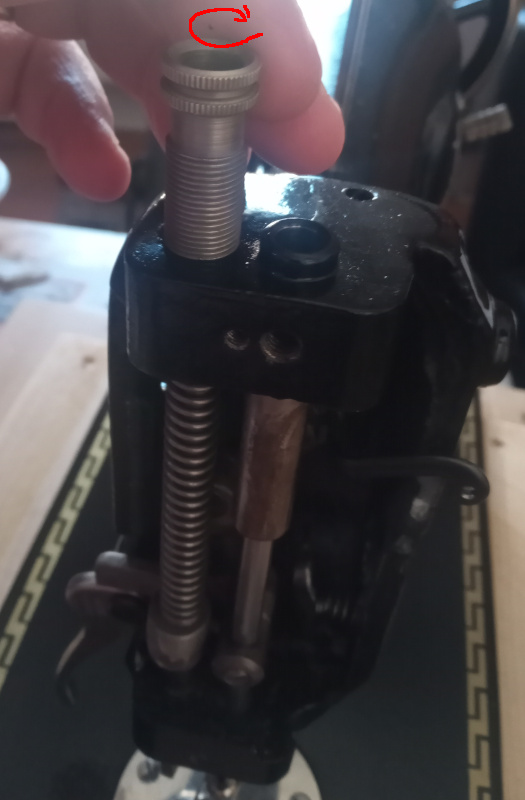
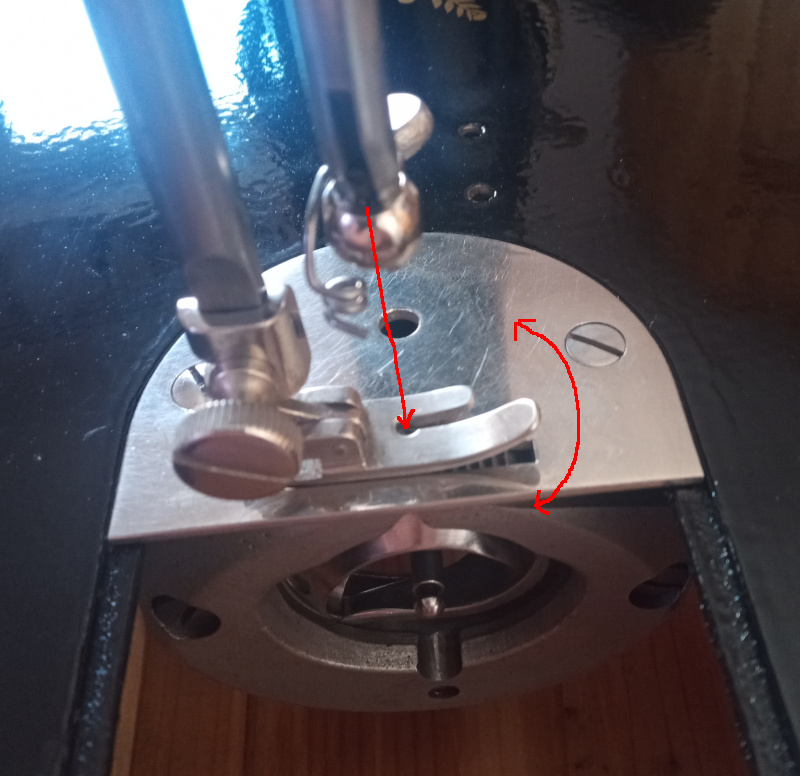
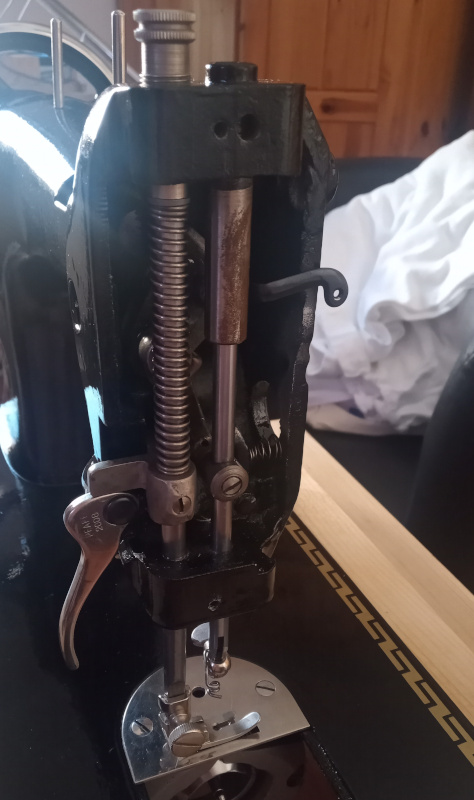
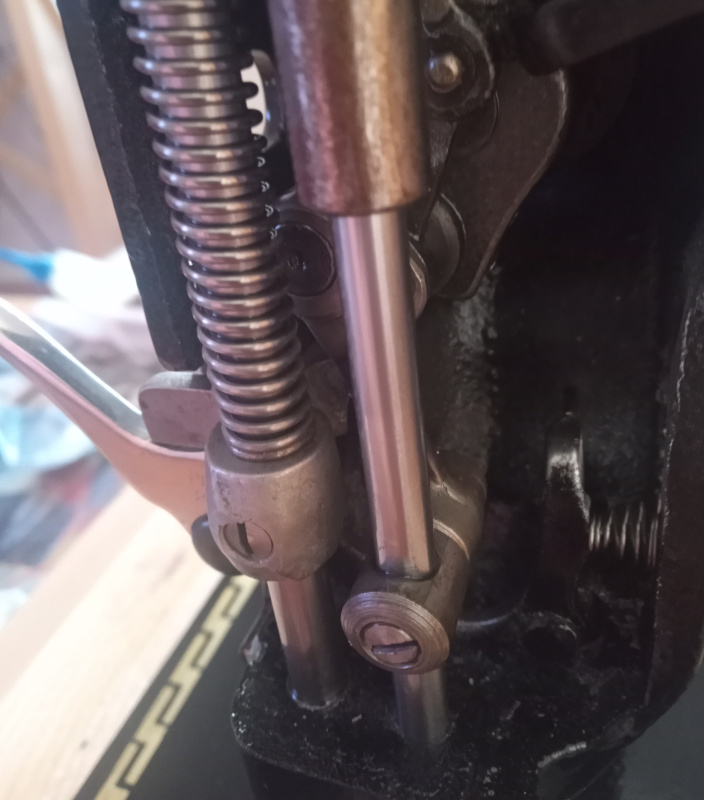
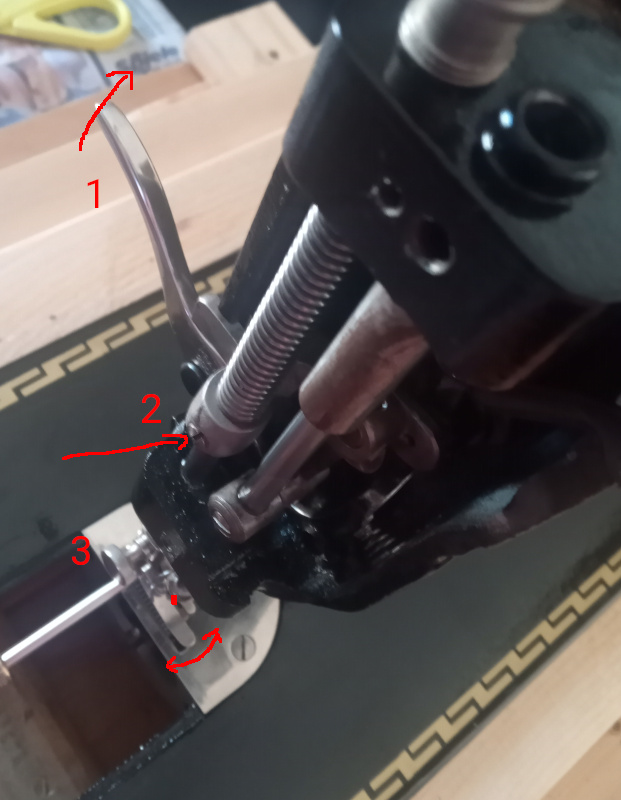
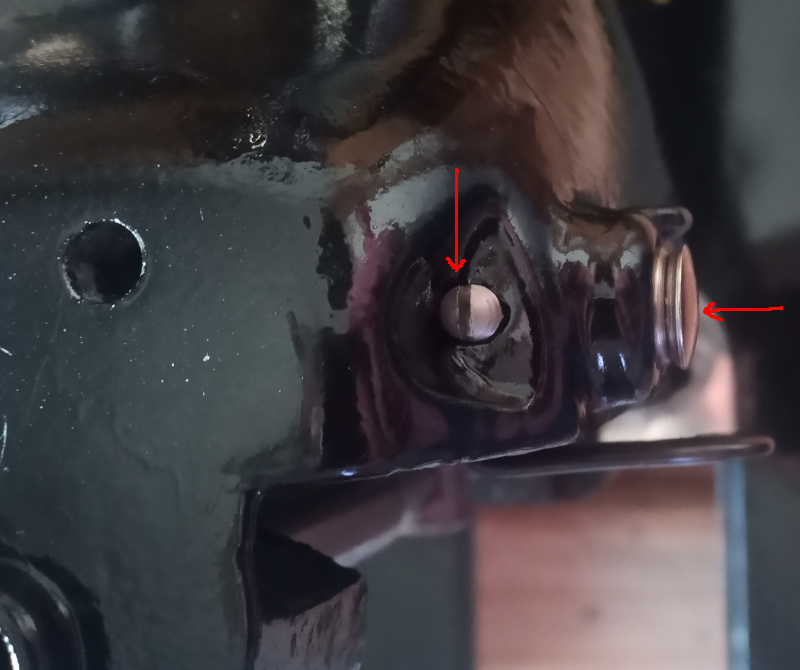
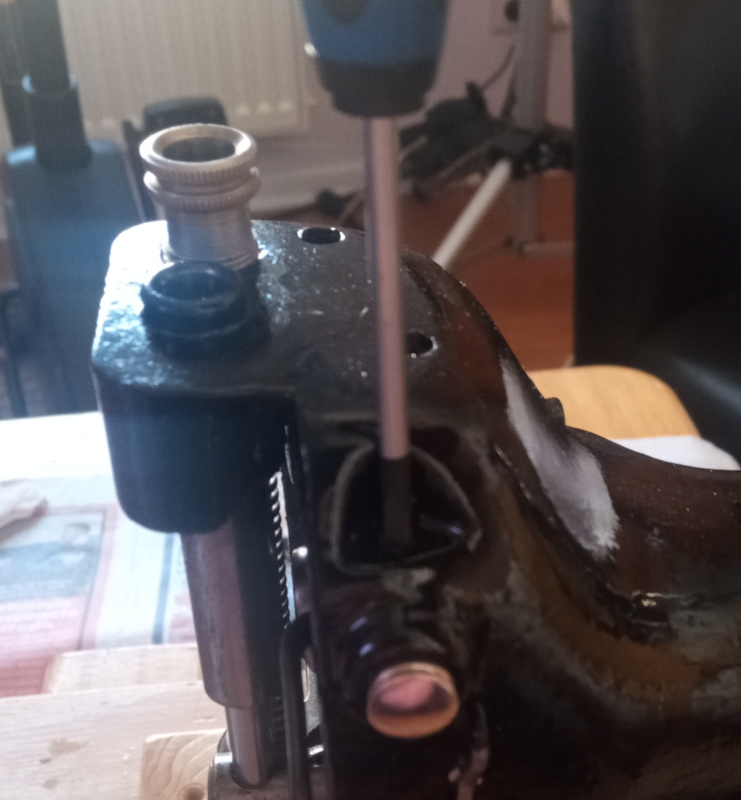
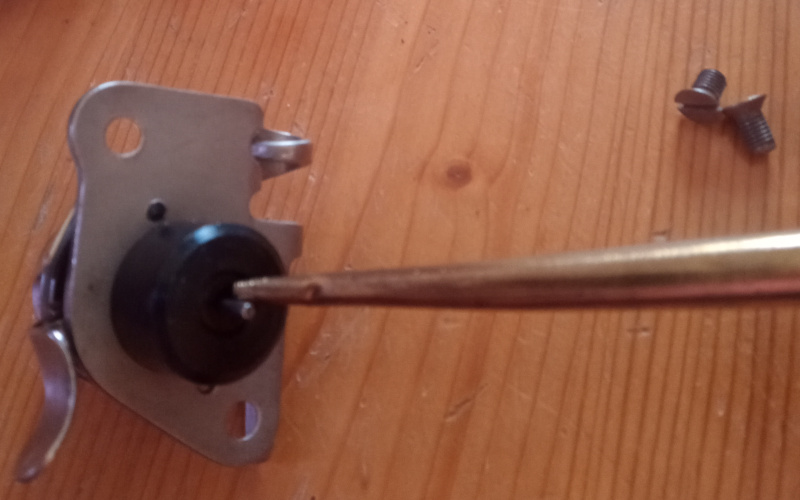
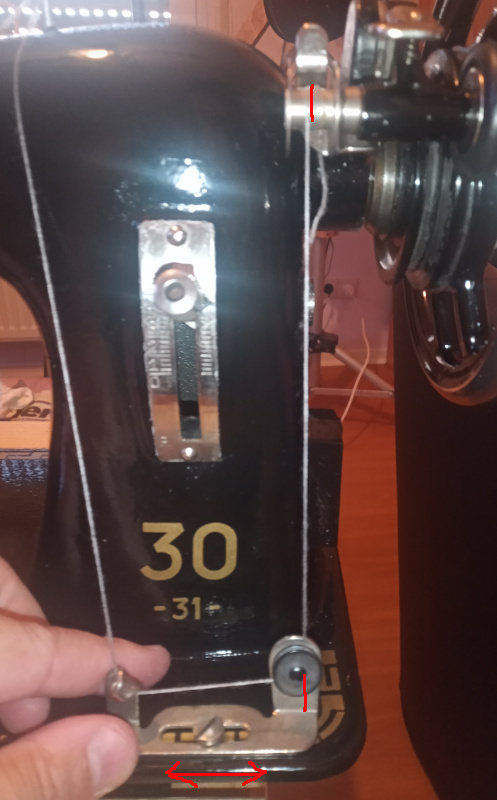
| Adjust the needle height |
|---|
 |
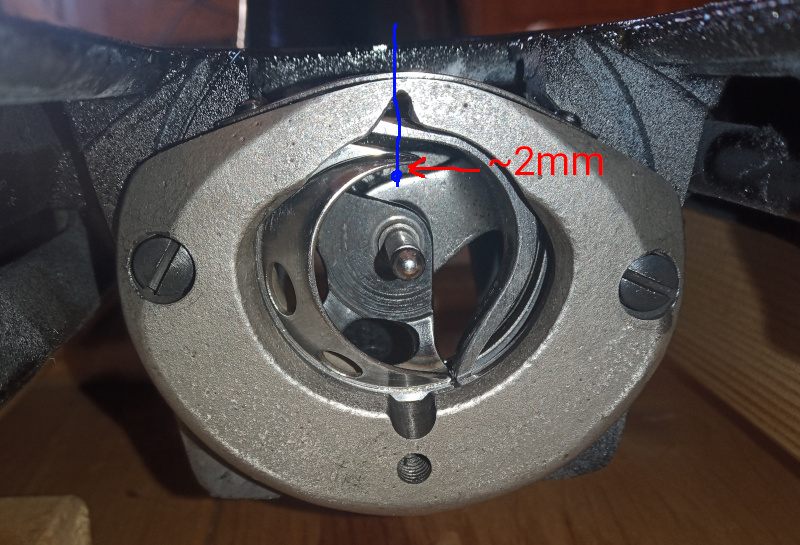 |
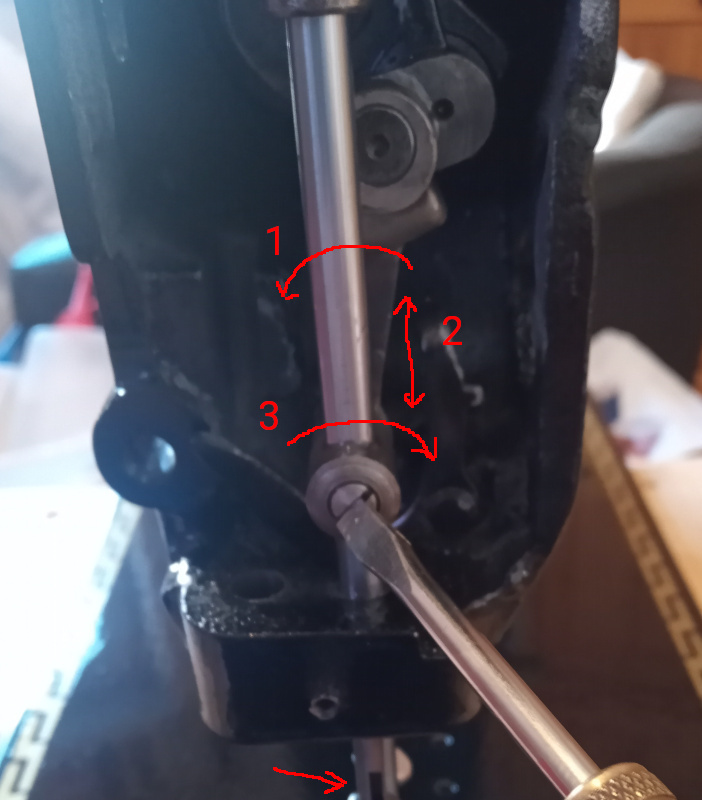
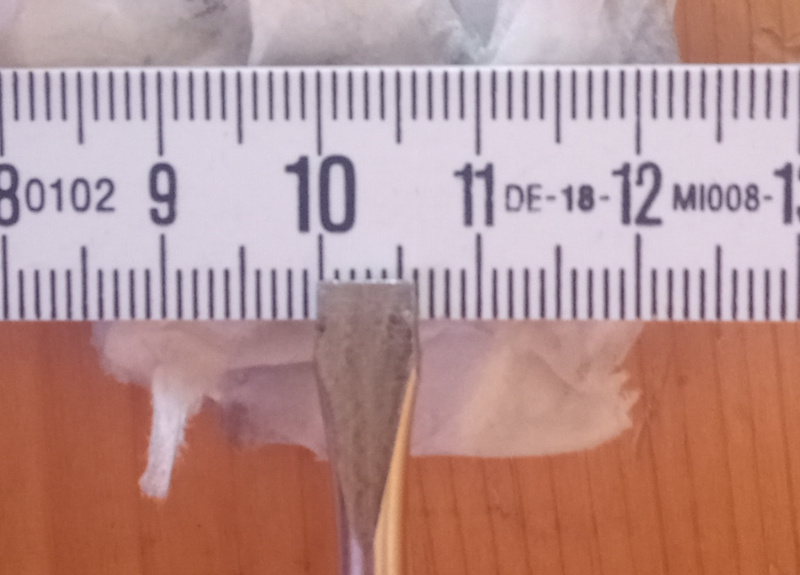
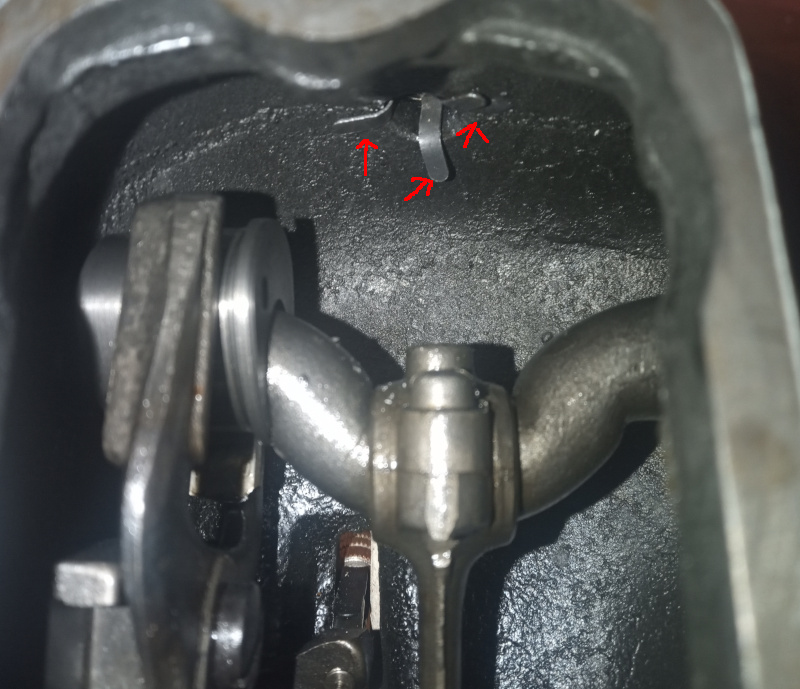
- Turn the balance wheel so that the point of the shuttle just crosses the needle.
- Loosen the needle bar set screw (marked 1 in the picture.)
- Move the needle bar up or down until the point of the hook is about 2 millimeters above the top edge of the hole in the needle (2 in the picture.)
- Tighten the setscrew (3 in the picture.)
That should be fairly close. When you get the machine all back together, try it out. If it skips stitches or other wise does strange things then you may need to adjust the needle height again.
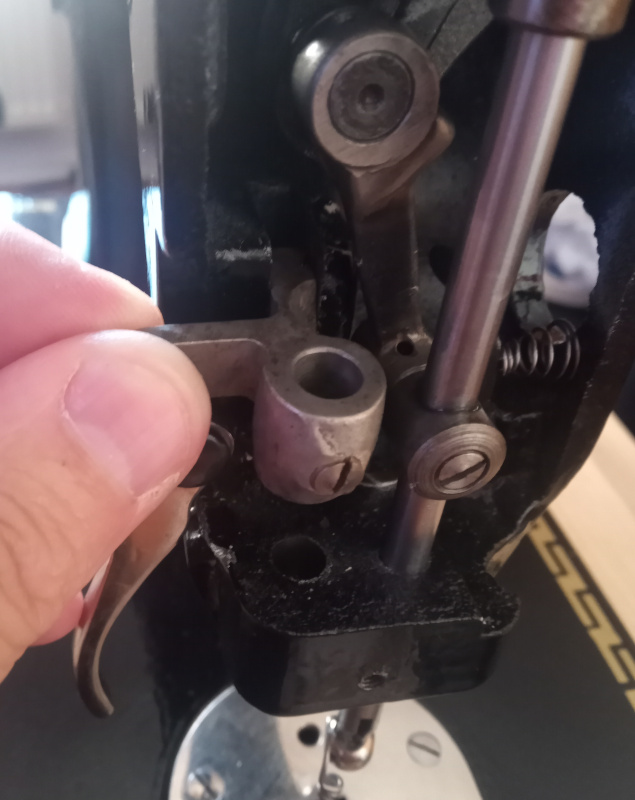
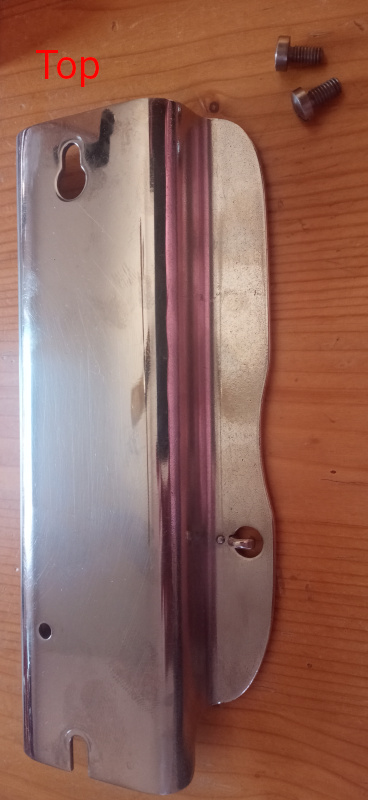
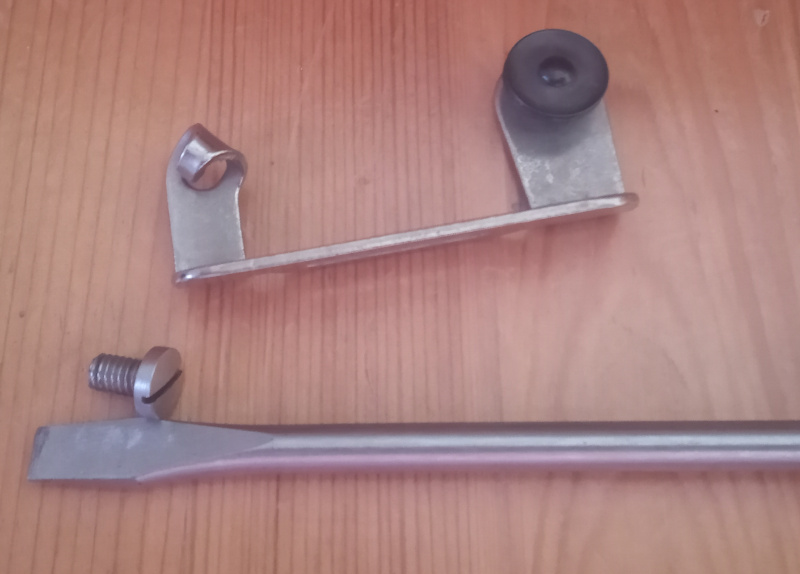
| Reinstall the transport |
|---|
 |
 |
Again, there’s nothing complicated here.
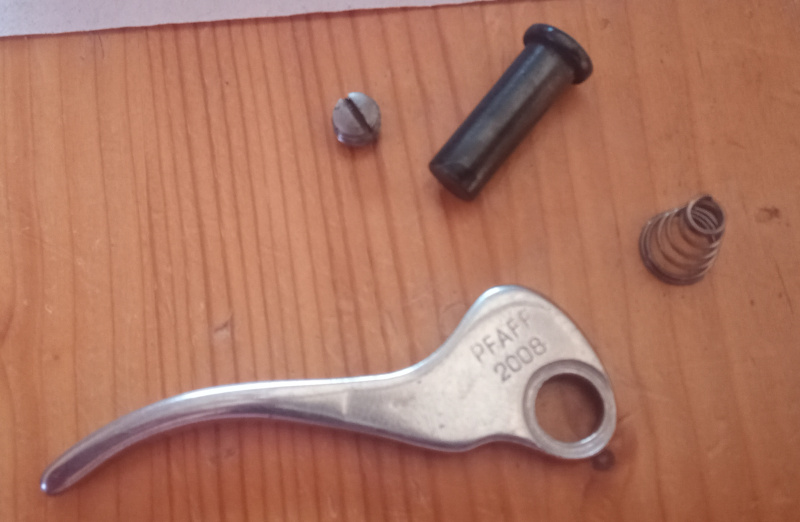
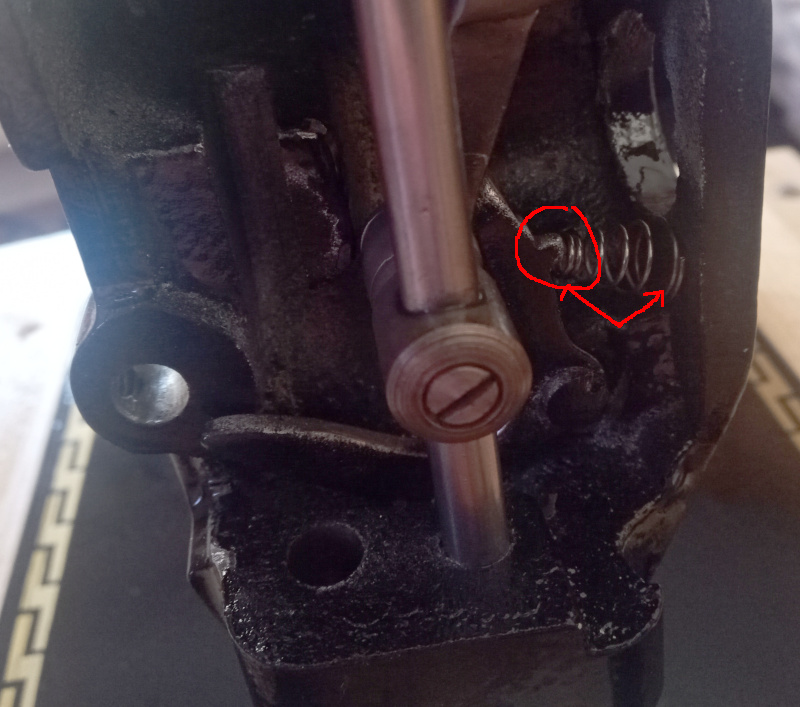
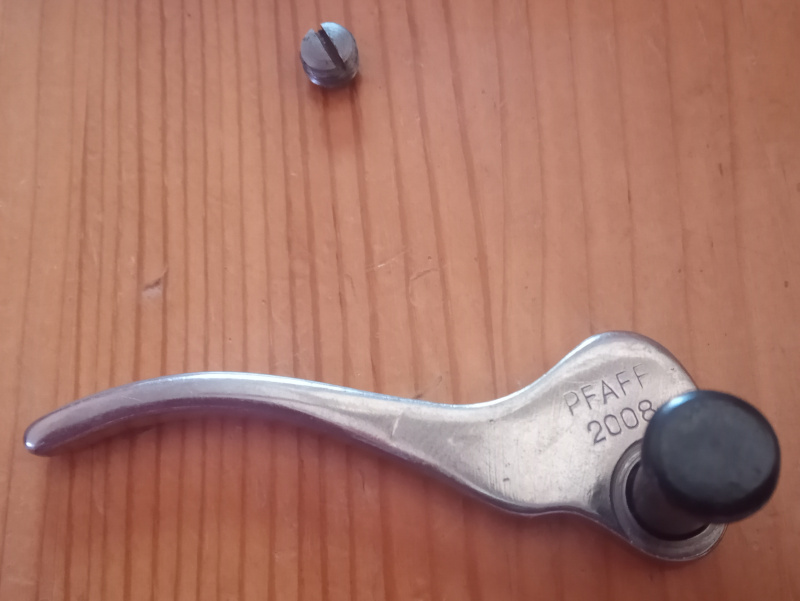
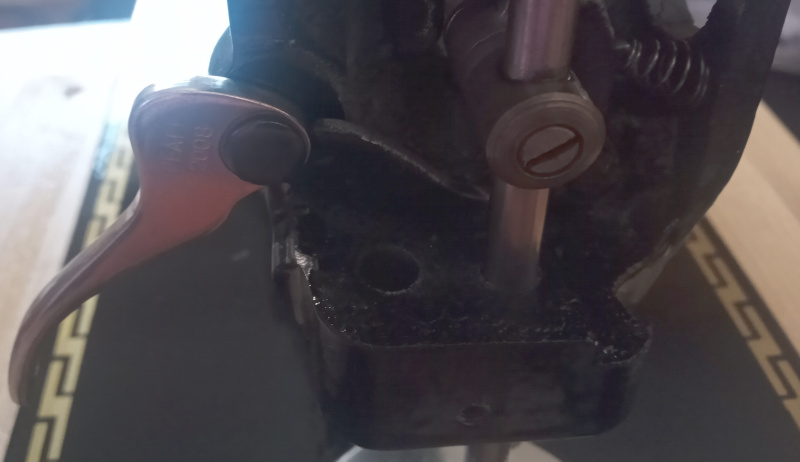
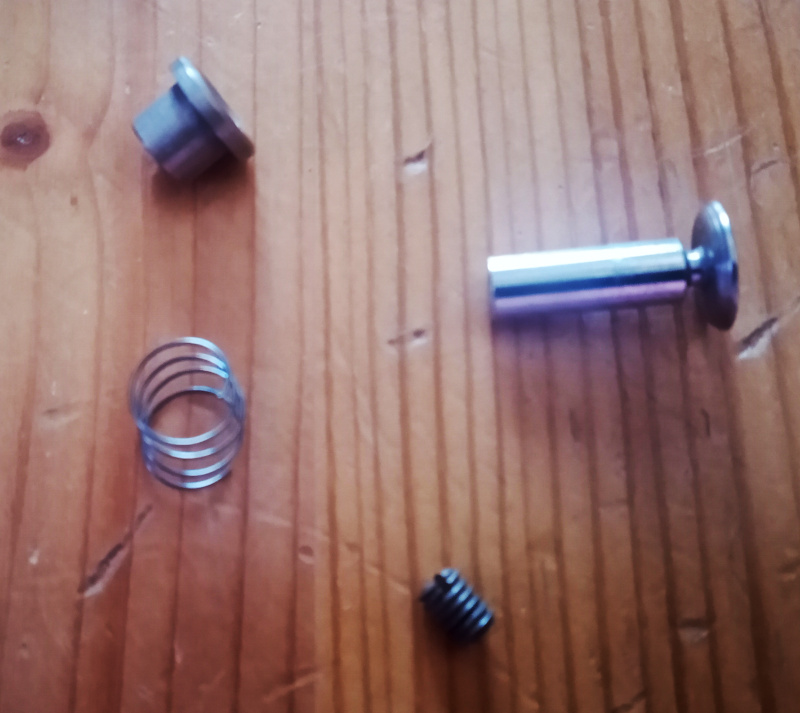
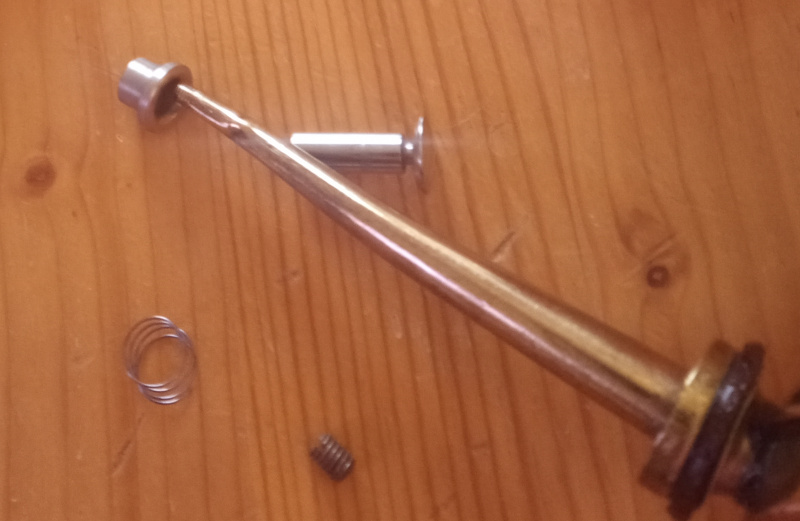
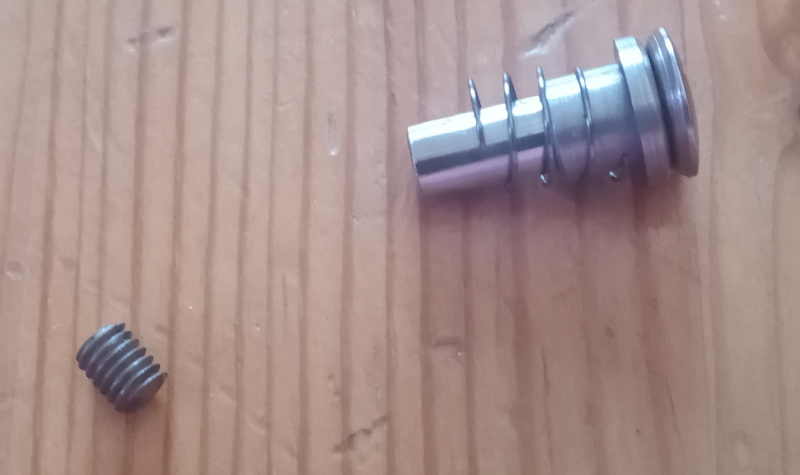
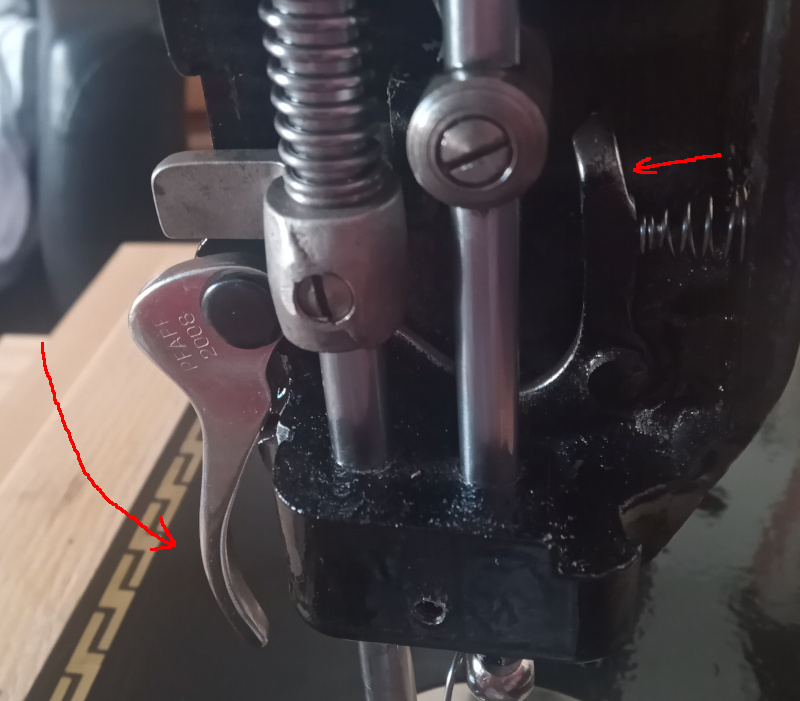
| Presser foot lifter |
|---|
 |
 |
 |
 |
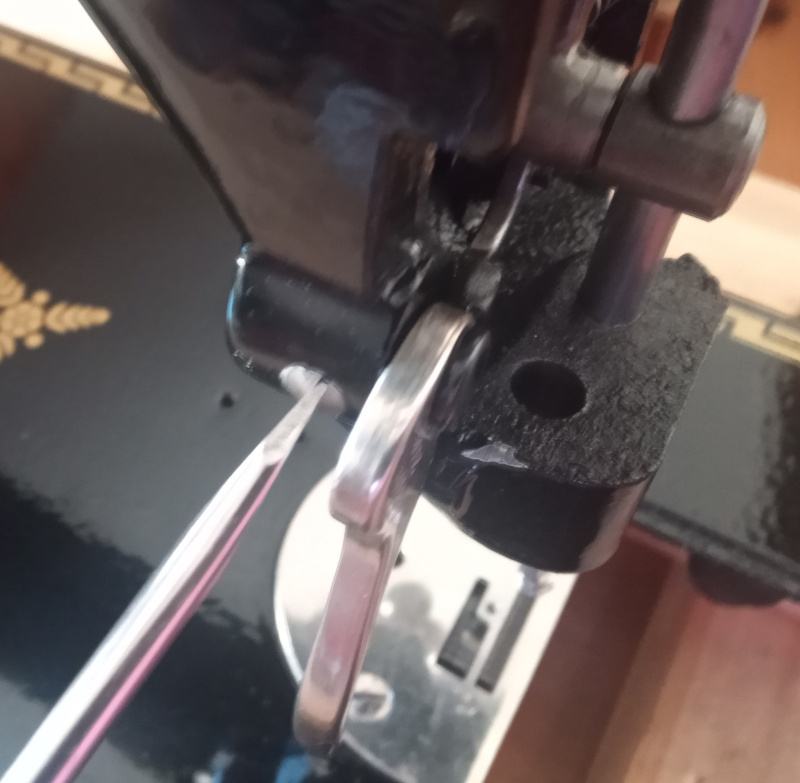 |
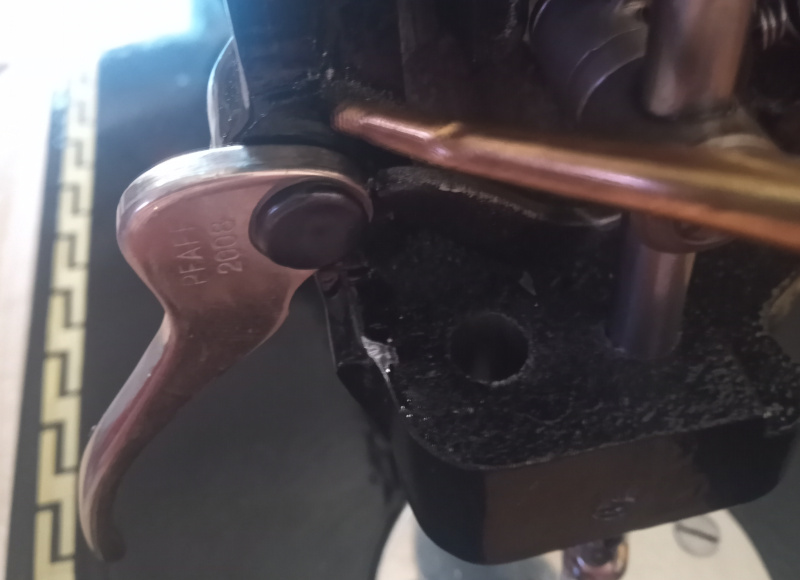 |
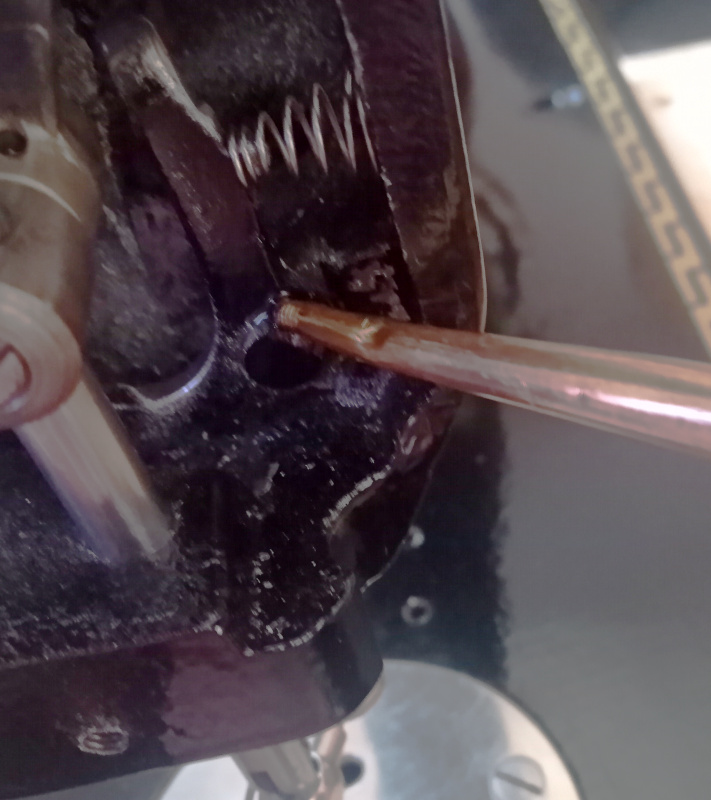 |
There’s a sort of depression in the wall of the machine where the spring sits. Set the spring in the depression and lift the lever so that its nub fits in the small end of the spring.
When you install the chromed lift lever, raise the other lever inside the machine so that it will ride surface of the chromed lever. Make sure the spring stays in place and that the spring stays on the nub.
Oil the pivots on both levers.
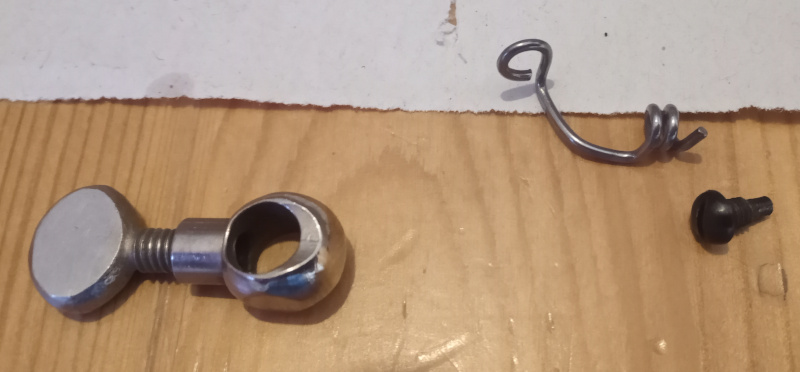
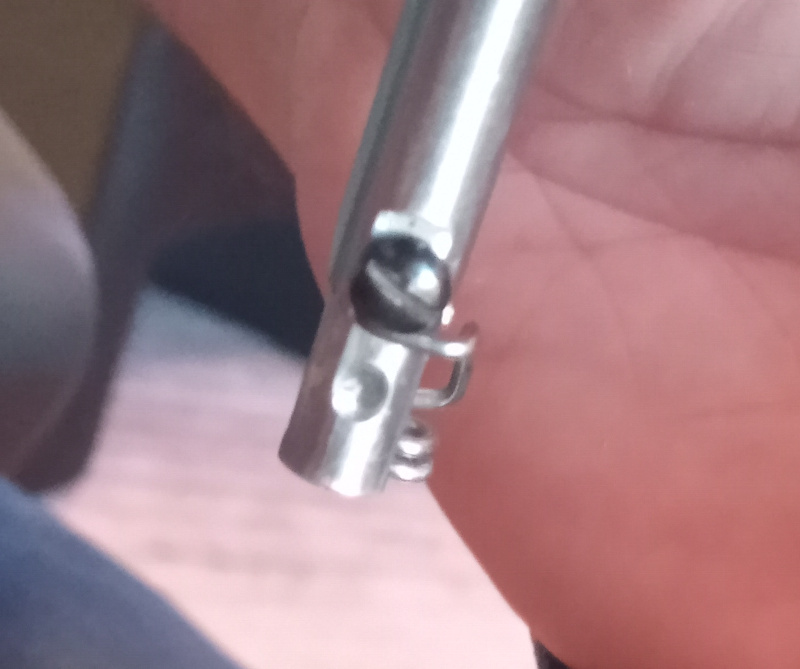
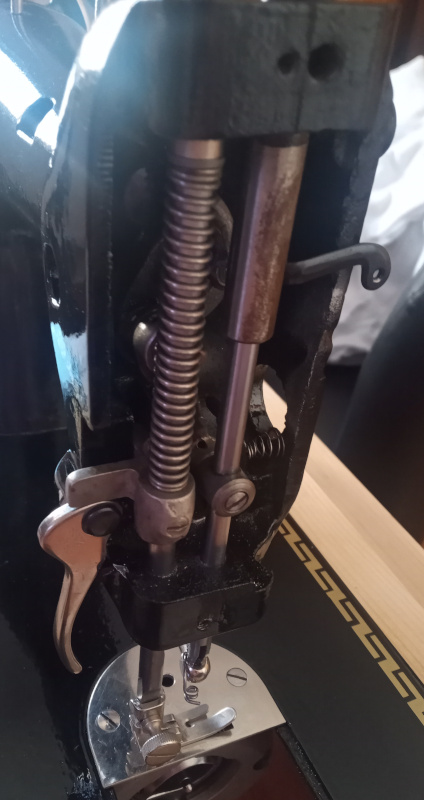
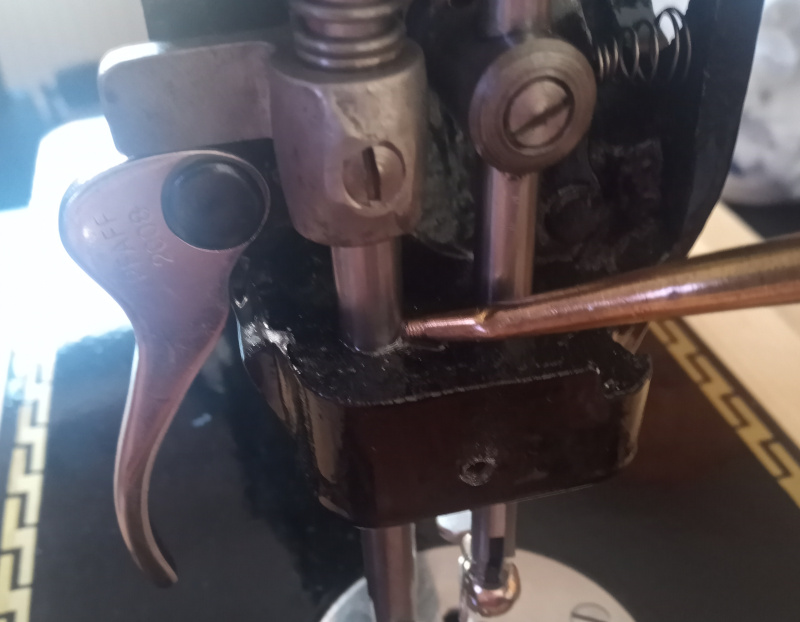
| Presser bar and presser foot |
|---|
 |
 |
 |
 |
 |
 |
 |
 |
 |
 |
 |
 |
 |
I made about a bazillion photos, and still managed to miss one. I forgot to make a picture of the parts involved in this step. The first five pictures in the group above show them all separately as they go in:
- Presser bar lifter
- Presser bar
- Presser bar pressure spring
- Washer
- Presser bar adjustment knob
I put it all together like this:
- Place the presser bar lifter.
- Insert the presser bar.
- Put a presser foot on the presser bar.
- Put in the pressure spring and the washer.
- Put a needle in the needle clamp.
- Make sure the presser foot lever is down.
- Align the presser foot so that the needle passes through the hole in the presser foot with dragging.
- Install the presser bar adjustment knob and tighten it until only a couple of millimeters of thread show above the top of the hole.
- Put a drop of oil in all the indicated places.
With it all assembled, you need to adjust the presser foot height.
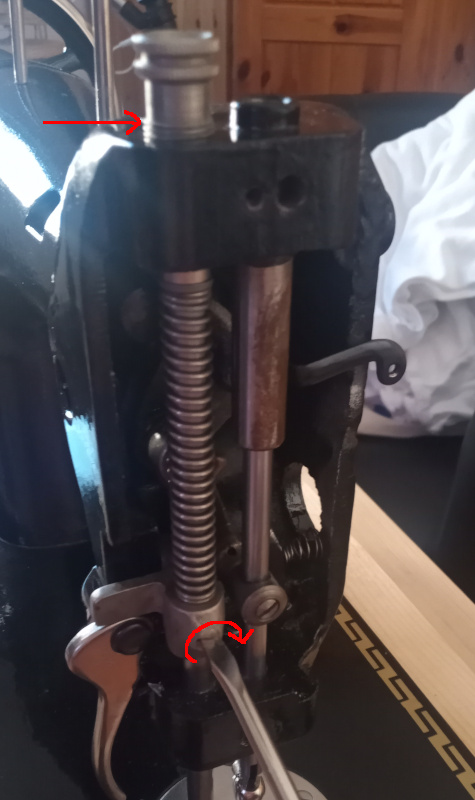
| Adjust the presser foot height |
|---|
 |
 |
- Lift the presser foot.
- Loosen the presser bar set screw.
- Raise the presser foot about 6 millimeters above the needle plate (I used the approximately 6mm wide blade of a screwdriver to hold the foot in place.)
- Check the needle and presser foot hole alignment.
- Tighten the set screw.
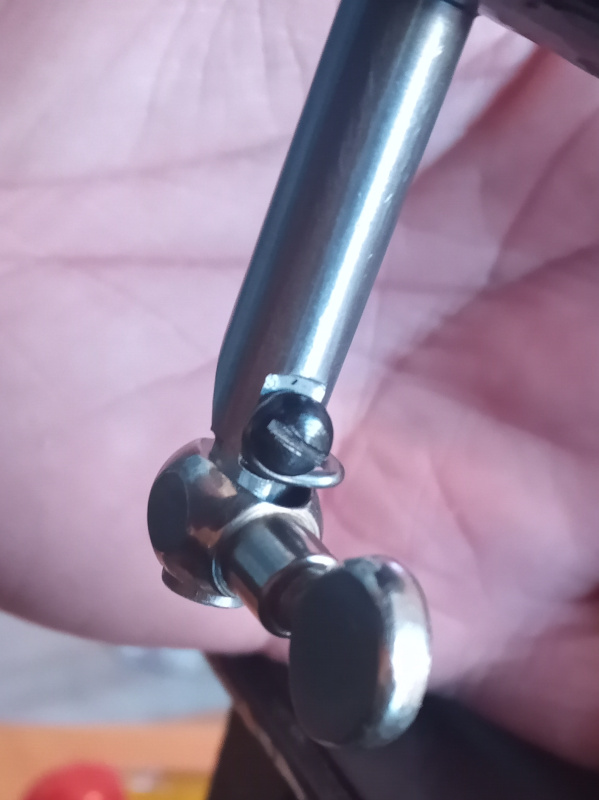
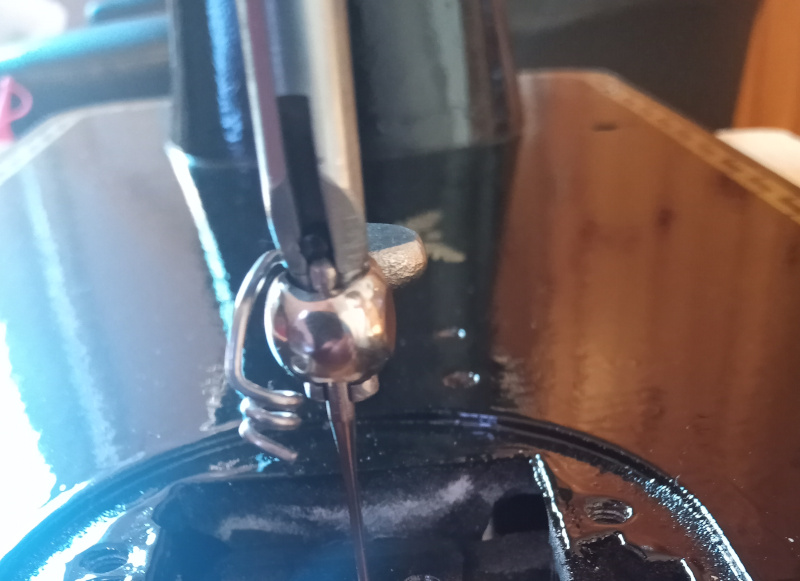
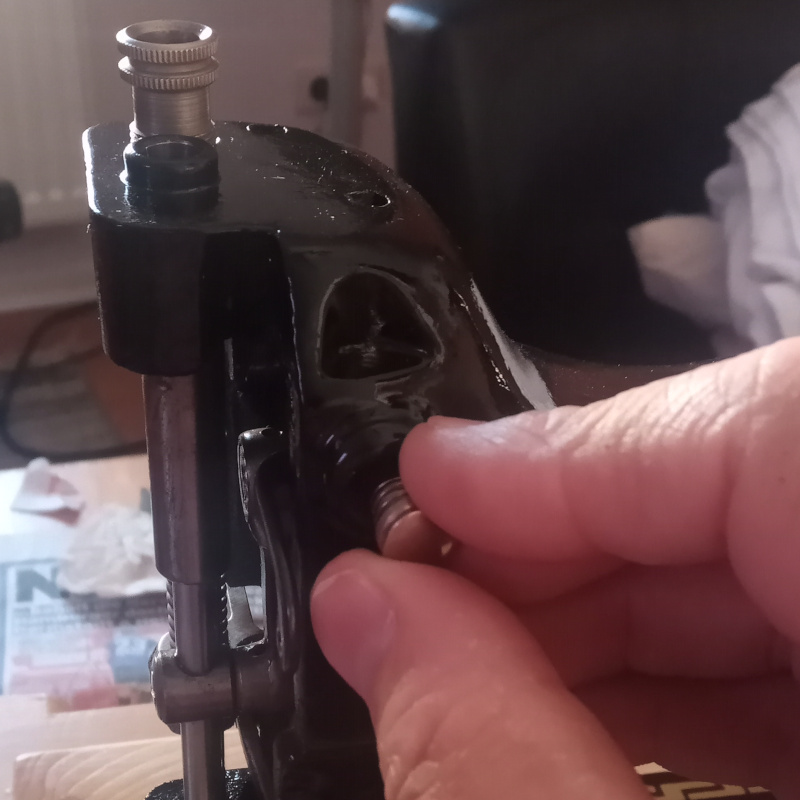
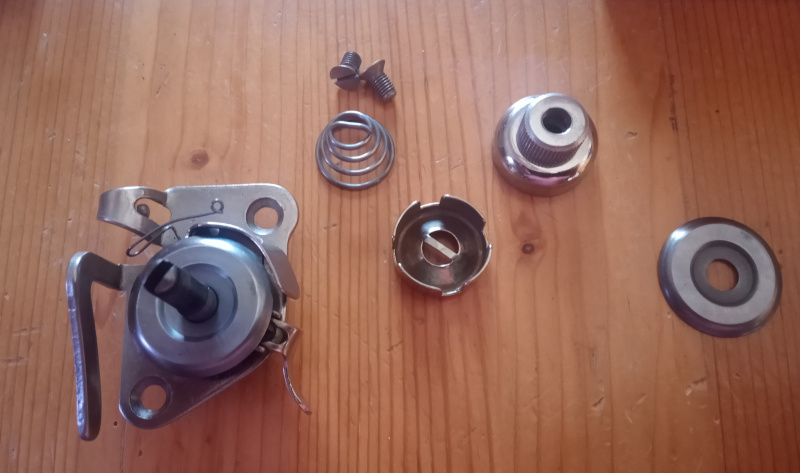
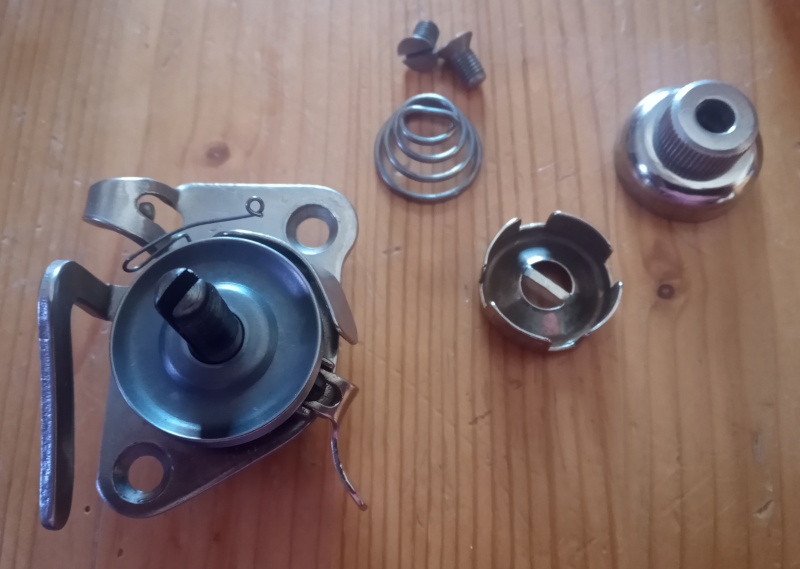
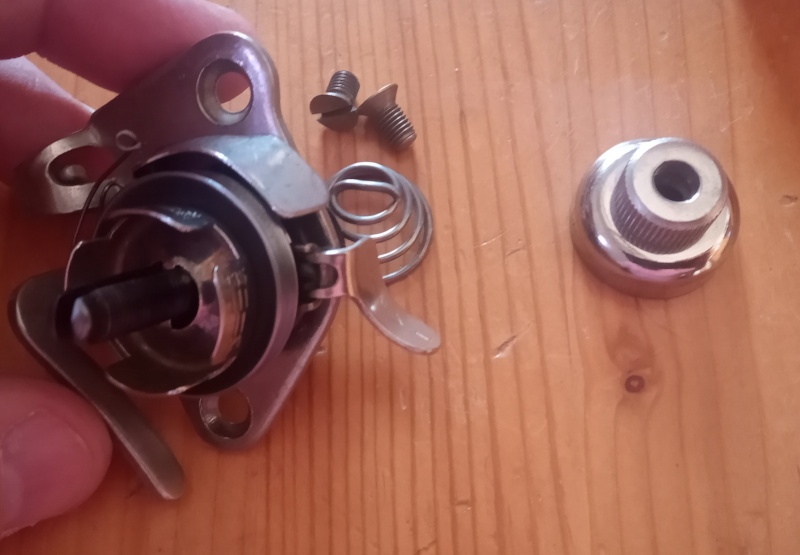
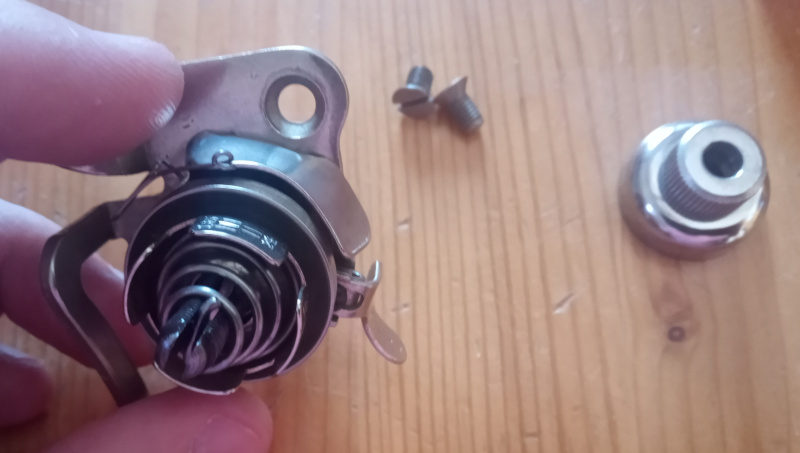
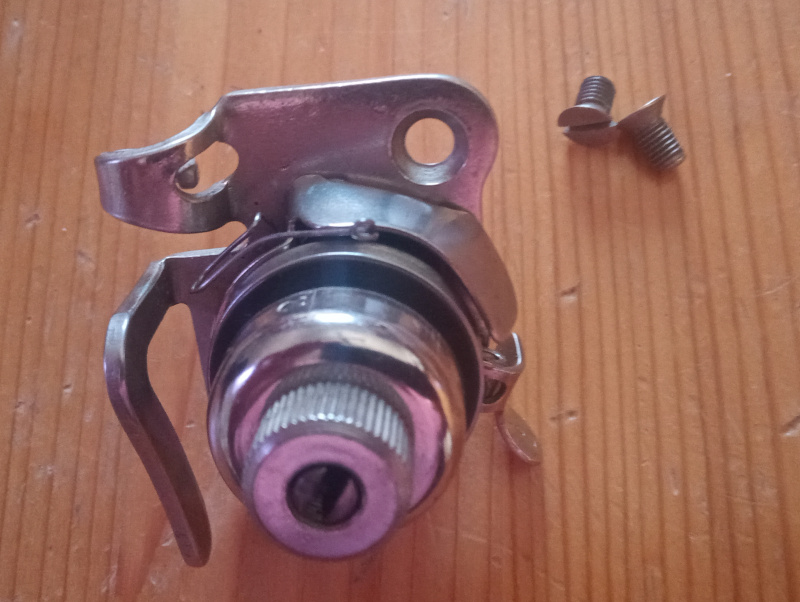
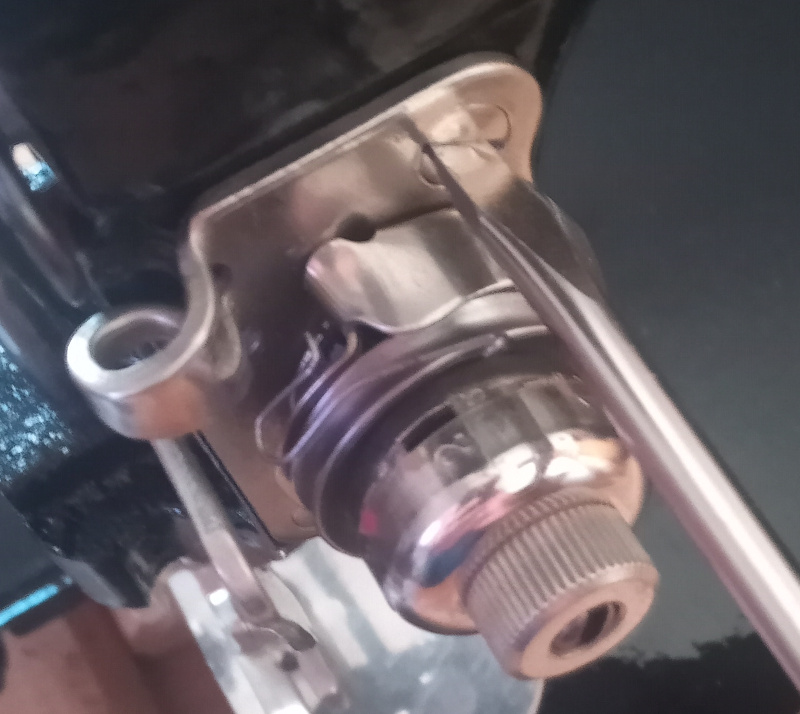
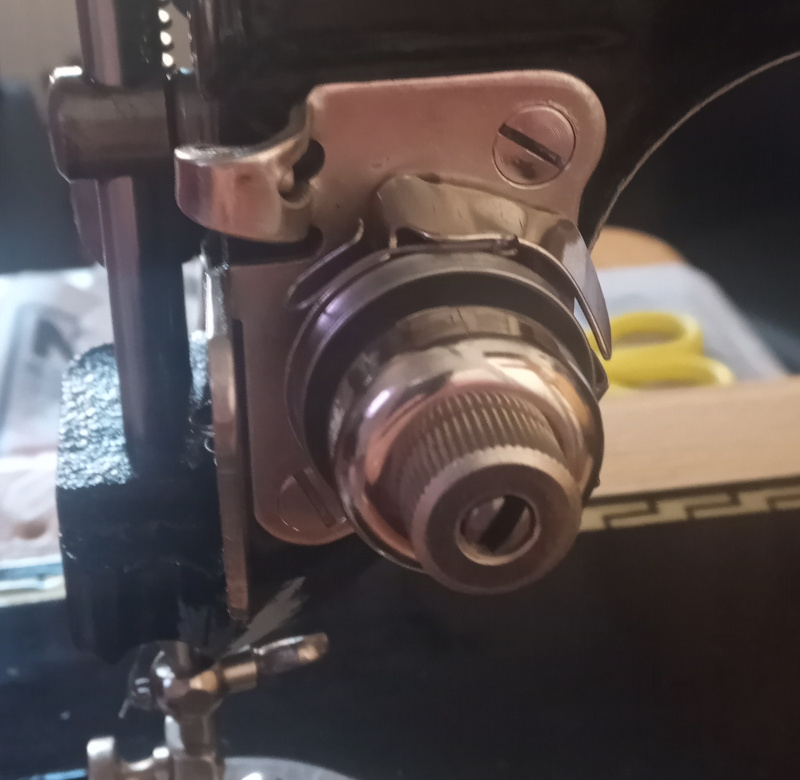
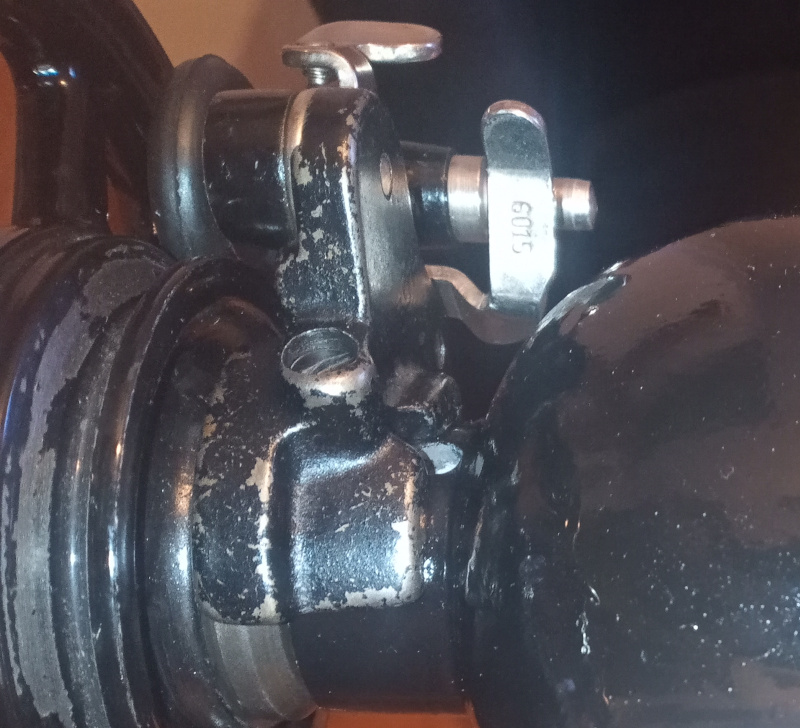
The pretensioner is pretty simple, but do make sure you have the correct set screw.
| Pretensioner |
|---|
 |
 |
 |
 |
 |
 |
With it installed as shown, the tension should be correct - unless the spring has been stretched or broken.
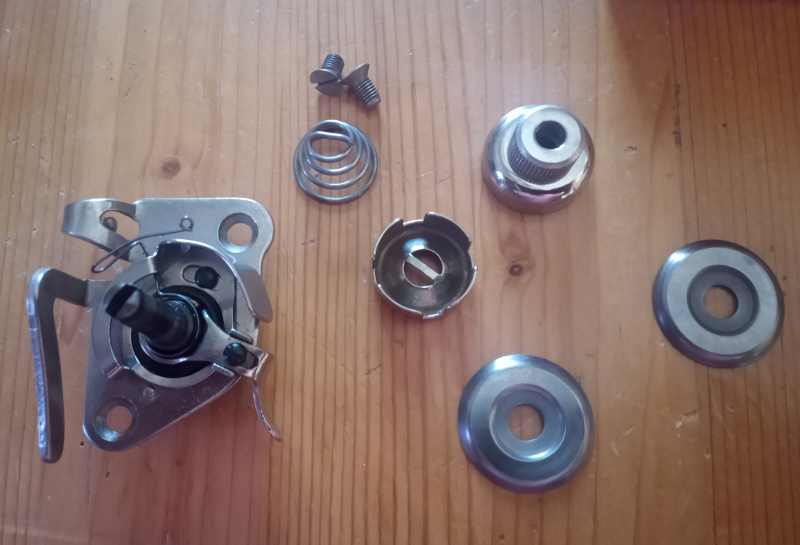
I didn’t completely disassemble the main tensioner. I took it apart far enough to clean it.
It goes back together like this:
| Main tensioner |
|---|
 |
 |
 |
 |
 |
 |
 |
 |
 |
 |
 |
Adjust the tension using this guide.
The nose plate is pretty simple to put back on.
| Nose plate |
|---|
 |
Put both screws in the holes of the machine, but only a couple of millimeters. Put the plate on and tighten the screws.
I didn’t disassemble or repaint the bobbin winder. I cleaned it and put a new tire on it, but that was all. It goes on pretty easily:
| Bobbin winder |
|---|
 |
 |
The thread guide for the bobbin winder has a slight trick to make it work right.
| Bobbin winder thread guide |
|---|
 |
 |
You want the thread to go straight up from the tensioner on the thread guide to the middle of the axle in the bobbin. That will make sure that the thread is evenly distributed on the bobbin and not bunched up on one side.
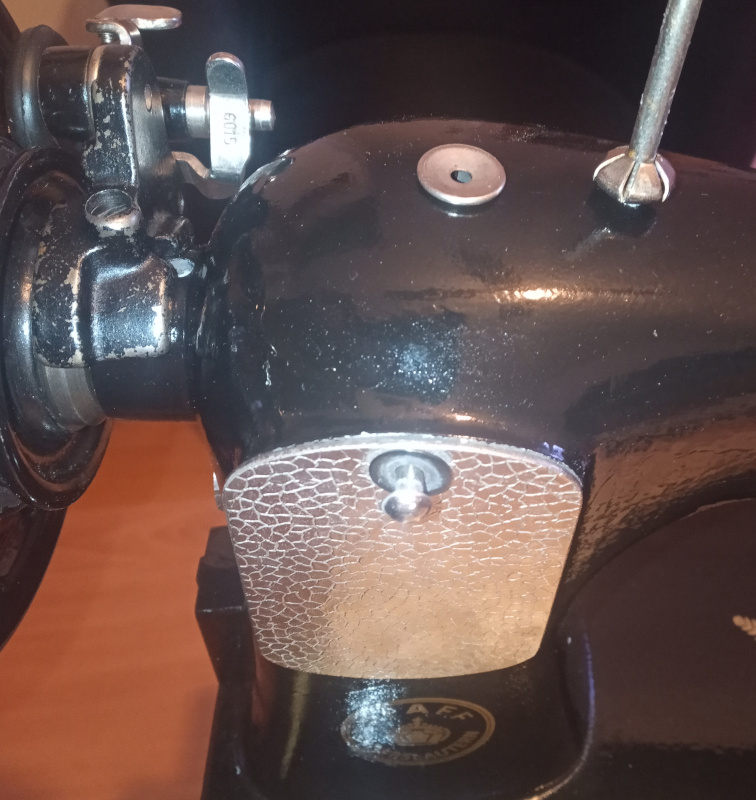
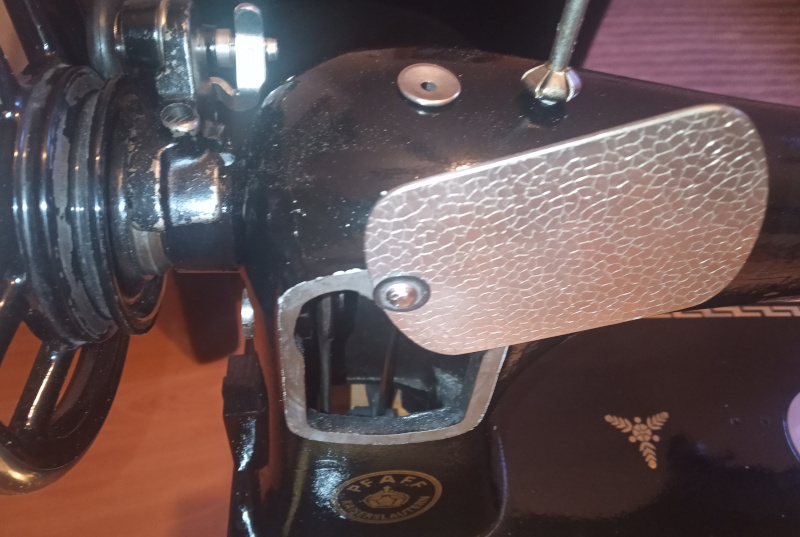
This machine had a snazzy little escutcheon around the oil hole on top.
| Escutcheon |
|---|
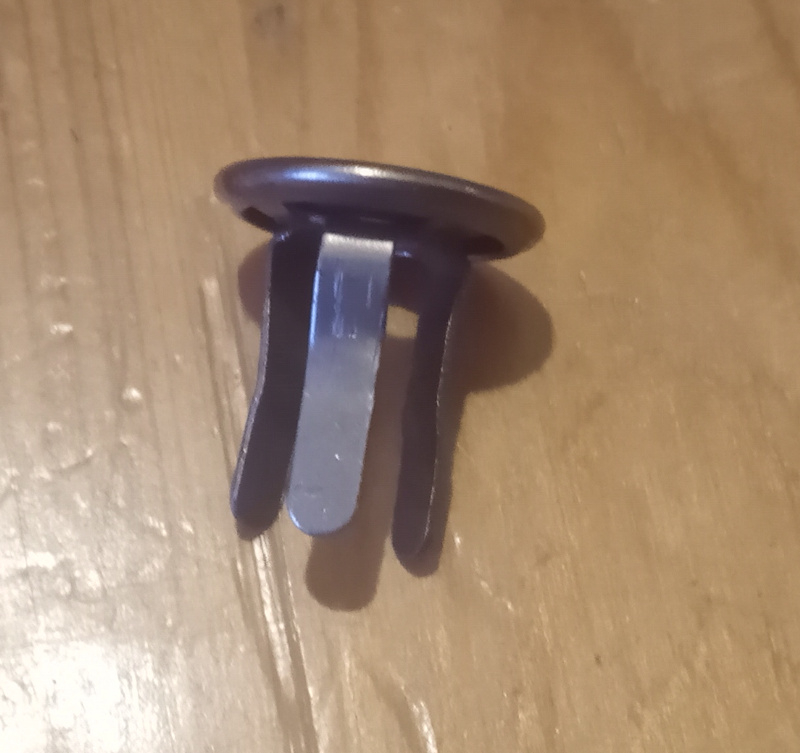 |
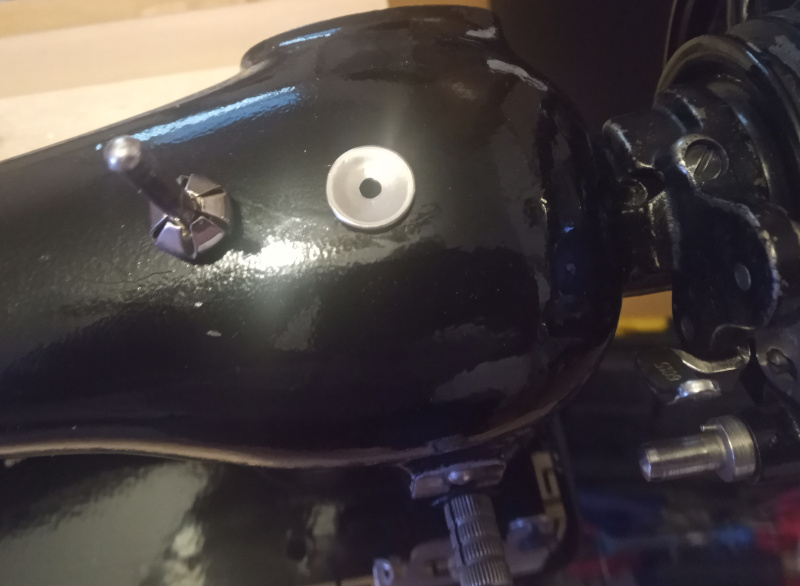 |
 |
Straighten the legs, then drop the escutcheon in its hole. Use a long screwdriver to bend the legs over from the maintenance opening in the back of the machine.
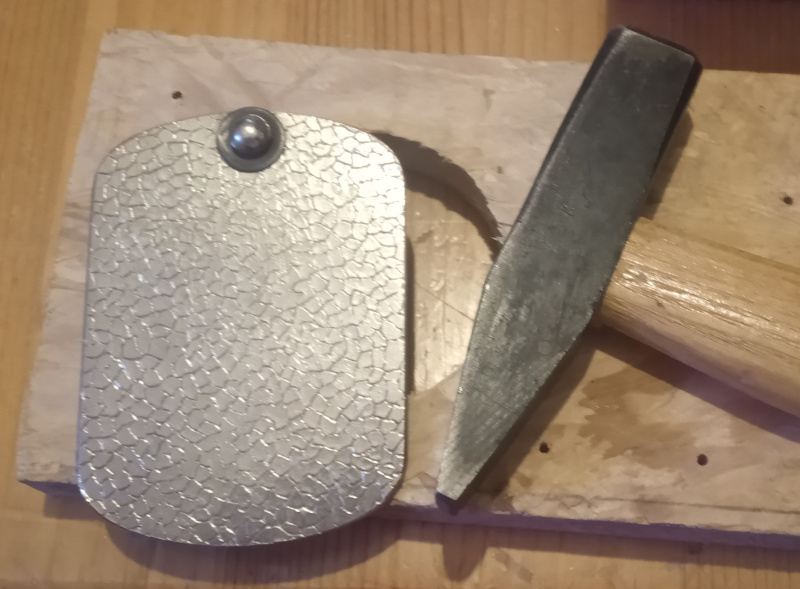
The maintenance opening cover is simple to install. Just use a block of wood to protect the machine from the hammer blows.
| Maintenance hatch |
|---|
 |
 |
 |
Hold the block of wood on the head of the pin, then tap the wood with the hammer. Drive the pin in until the cover is tight, but still loose enough to push open by hand. I got the cover on this machine just tight enough - you can push it open and it’ll stay in place until you push it shut again.
| All done |
|---|
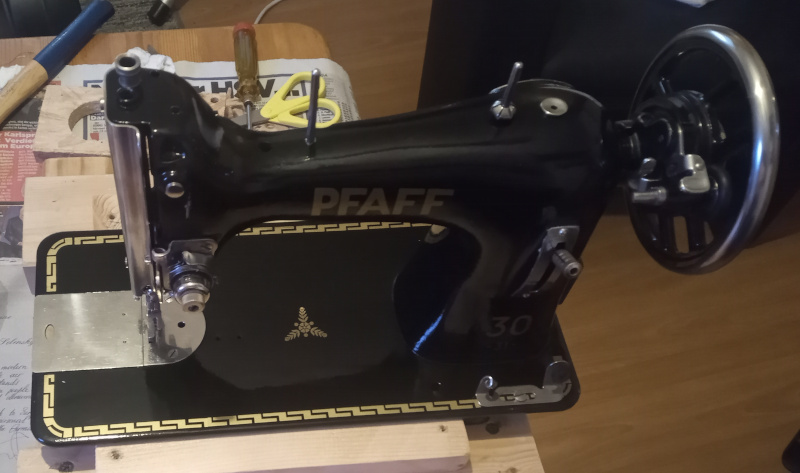 |