A parking cradle for vintage sewing machines
Keeping the oil off the workbench and the grit out of the machines.
It seems like old sewing machines are taking over my free time.
It all started with the Adler class 8 that my kids gave me, then there was the Pfaff 31 that I cleaned up for my daughter, followed by the Pfaff 30 that I cleaned up for a church group.
I currently have a Pfaff K on my workbench, with another Pfaff 30 waiting to be picked up.
All the sewing machines (even the ones for which I have/had cabinets) have to spend some time on my workbench for cleaning and adjusting - and sometimes refinishing. You can’t just put them down on the worksurface - the bottom sides are oily and leave a mess. They’d also pick up dust and grit from the workbench and get it in the mechanisms - not good.
To avoid that, I’ve always parked the machines in a sort of wooden cradle. It was originally the frame my Adler class 8 was attached to; it only really fits the Adler. The others sort of sat cock-eyed on it. It was better than having them leave oil spots all over the place, but just barely.
With two machines coming up (and probably more in the future,) I thought it was time to put together a sort of “universal sewing machine stand.” It won’t do for actually sewing, but it will let me try the machines out and have easy access to the bottoms while working on them.
| Cradle comparison |
|---|
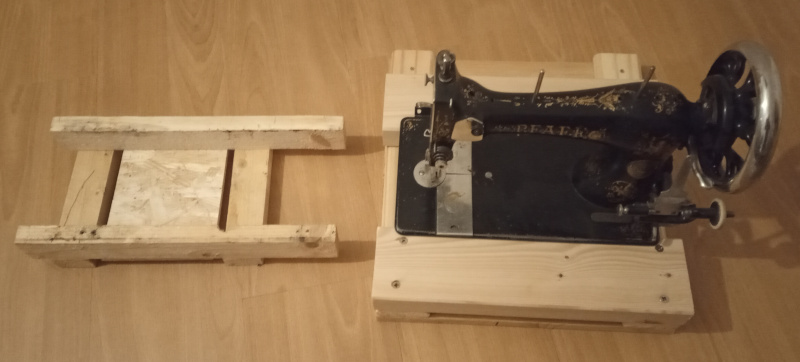 |
The thing I’ve been using is on the left, there. The cradle I built today is holding up the Pfaff K.
The new stand is built from bits and pieces I had in the garage. A left-over piece of a 2x4, some pieces of old bed slats, a piece of pine sheet, and whatever screws I could find that were long enough to hold things together.
| Materials |
|---|
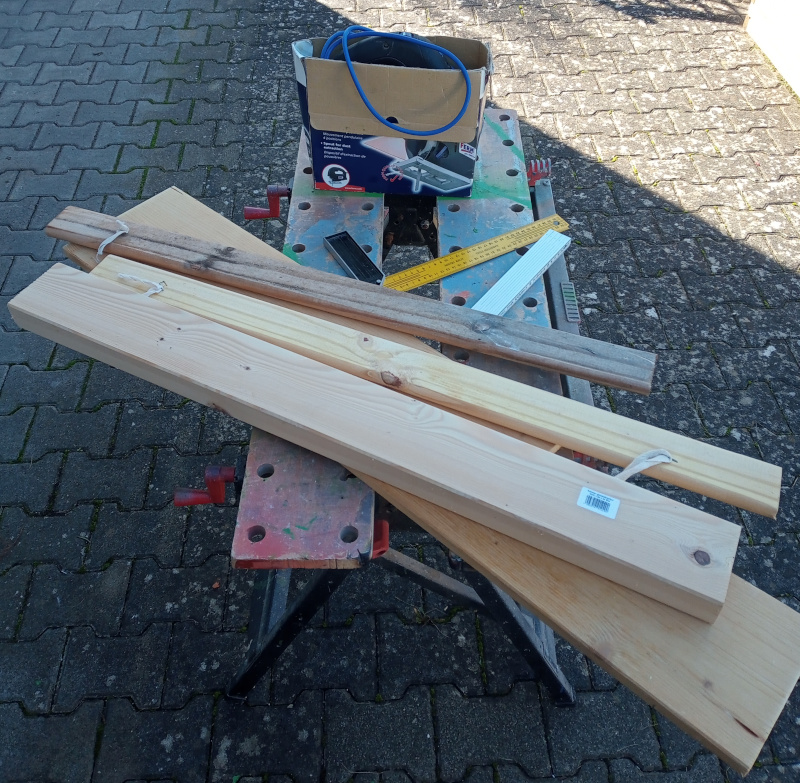 |
The idea is to have the stand adapt to machines of various widths. One 2x4 is fixed while the other slides on some rails made from bed slats.
| Preview |
|---|
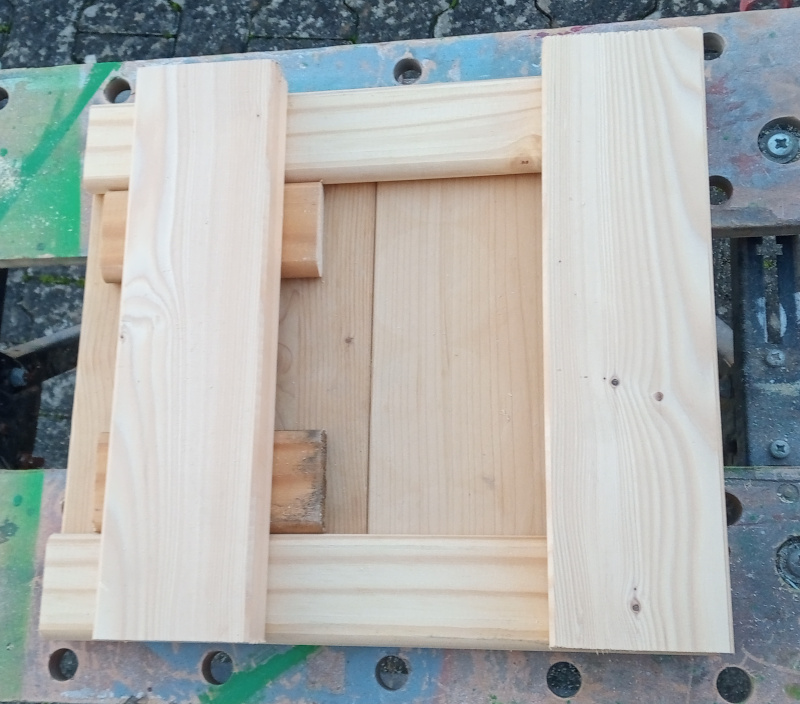 |
I decided the dimensions mostly based on what would fit the scraps. The base plate and the 2x4 pieces are about 36 centimeters long - that’s all there was for the piece I made the base out of. That’s longer than the Pfaff K but shorter than the other machines I’ve used.
| Assembly |
|---|
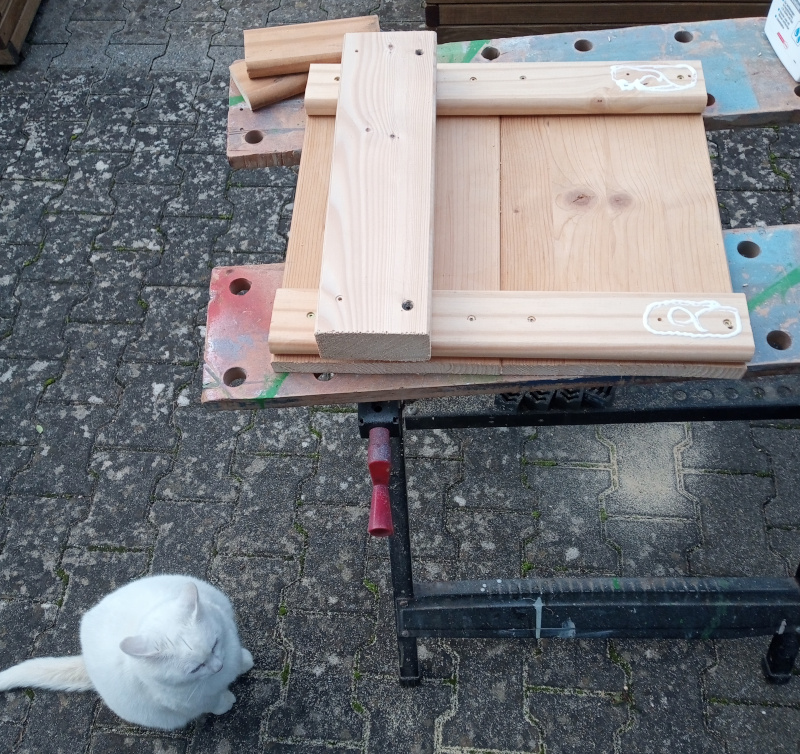 |
Our cat Snow stopped by to watch while I was screwing and gluing the base together.
It looks like this with all its pieces together:
| Assembled |
|---|
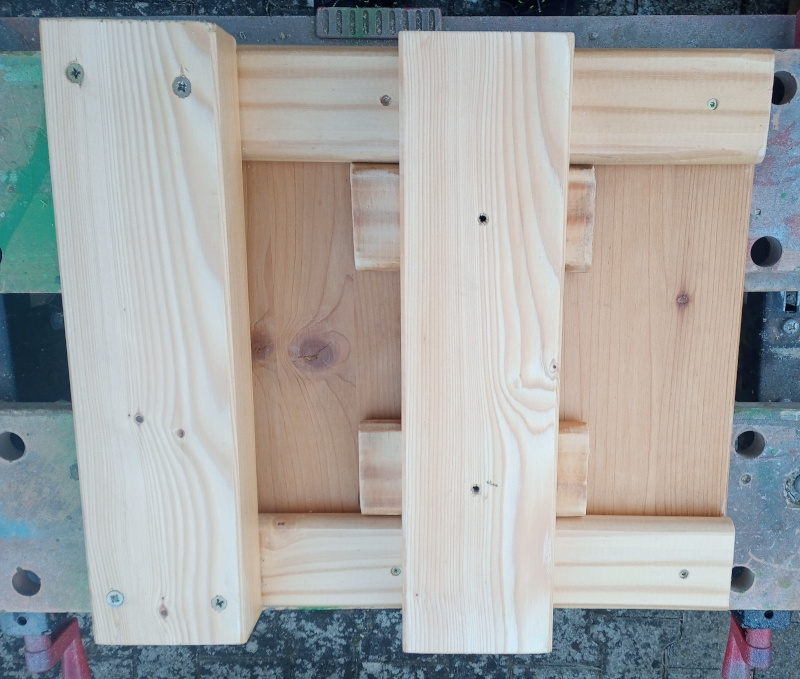 |
You can see how one of the 2x4s can slide in and out to adapt to the width of the machines.
I slathered the whole thing in that hardwood floor sealant that I often use.
| Sealing |
|---|
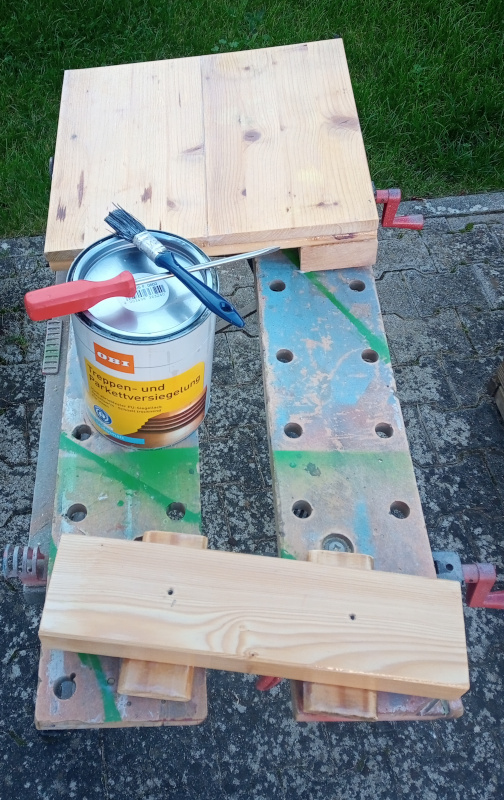 |
This thing doesn’t need to be pretty, and the random pieces of wood will never look good, anyway. No need to use shellac on it like I do for the finished bases and cabinets.
It looks like this in use:
| Supporting a Pfaff K |
|---|
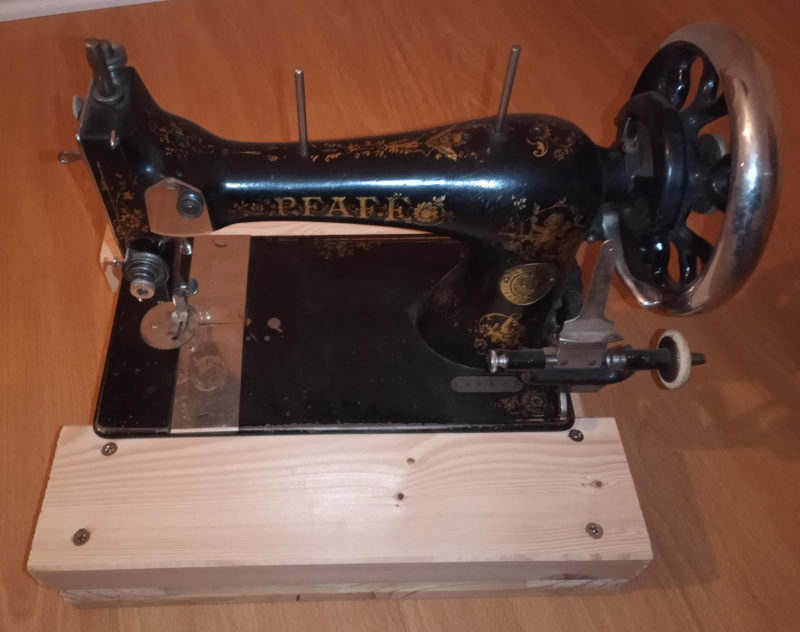 |
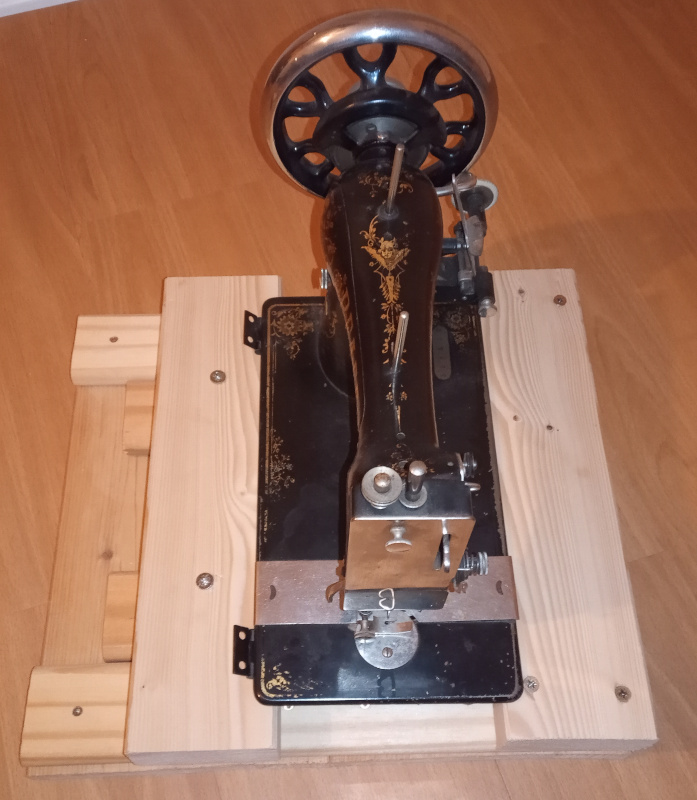 |
Now that I’ve got the Pfaff in a working position (and I’ve finally received the bobbins I ordered for it,) I’ll get to see how well it works - tomorrow. Enough for today.