HowTo: Solder by hand - Using a solder sucker
Making good use of a cheap tool.
HowTo: Solder by hand - Table of Contents
Check this handy chart to find the temperature you need for this task.
I mentioned in my last post that I prefer a really simple and cheap tool for removing solder from through holes, and that I had one on order since mine disappeared.
It showed up earlier than expected, so I get to write up how to use a solder sucker today instead of next week.
| My new solder sucker |
|---|
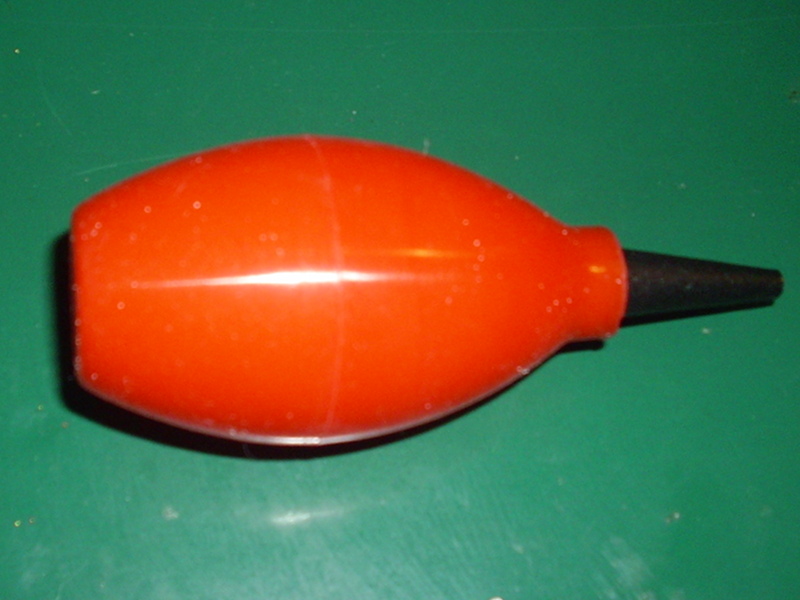 |
I ordered one with a white teflon tip. What I got was one with a black nylon tip. It works, but I’d really have rather gotten the teflon tipped one that I ordered. Nylon melts if you don’t work quickly, and flux sticks to it something awful.
If you buy or order one, insist on getting one with a white teflon tip. They don’t melt, and flux is easier to remove.
Before you can use it, though, it needs a slight modification. Solder suckers work by sucking air through the hole in the printed circuit board (PCB.) For that to work properly, you need to make sure that all the air goes through the hole, and not around the tip of your soldering iron.
You’ll have the soldering iron tip and the solder sucker tip on the hole at the same time. For it to work properly, you need a notch in the lip of the solder sucker tip.
Like this:
| Notched solder sucker tip |
|---|
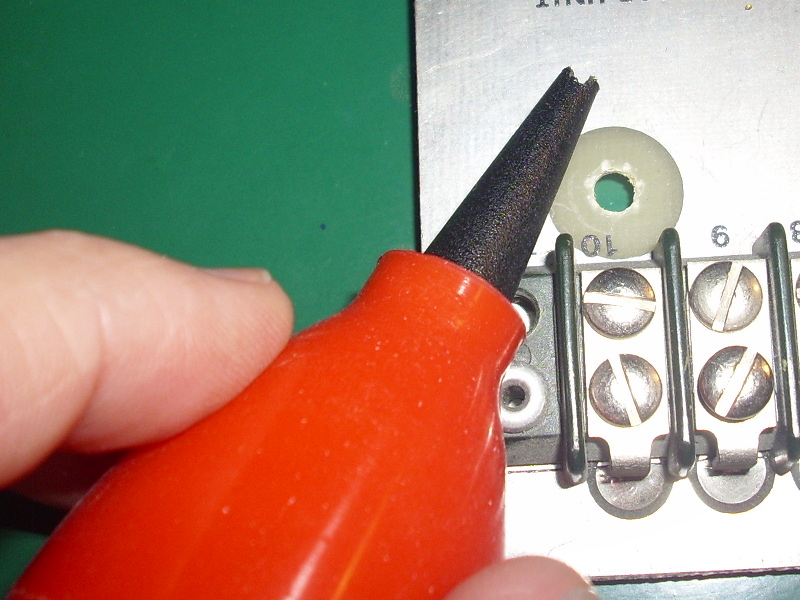 |
Note that the notch is only in one edge of the tip. The notch fits over the very tip of the soldering iron tip.
I used my pocket knife to cut small triangular notch in the edge, then scraped it sort of round. My nylon one would have melted into a rounded shape anyway, but teflon isn’t so easily impressed.
With the solder sucker ready, you need to get it a couple of friends - solder will get stuck in the tip, and flux will get stuck to the tip, so you need a quick way to clean it up. Believe me, you will be cleaning it often. Like, after every hole often. You need to be able to clean it out quickly.
I made a tool to poke the solder crumbs out of the tip, and I keep my knife handy to scrape flux off of the solder sucker tip.
Here they are all together:
| Solder sucker and friends |
|---|
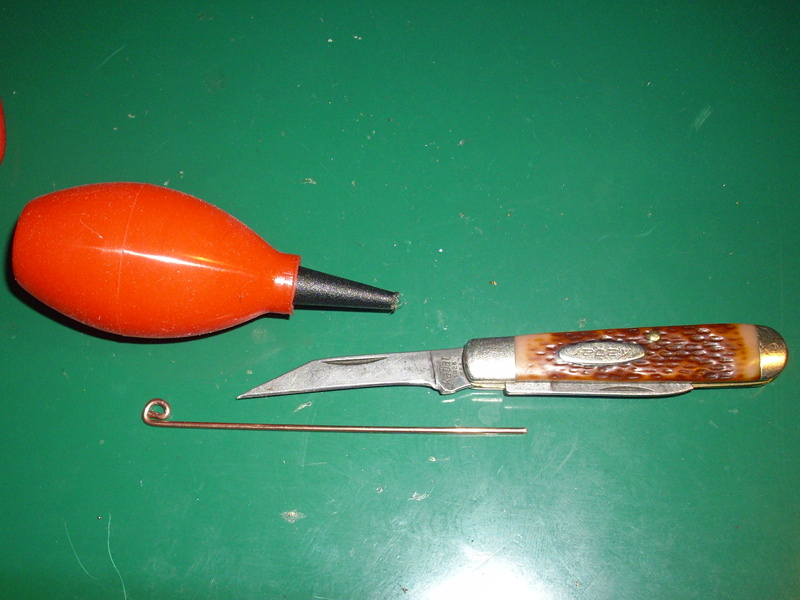 |
The poker is not made of copper wire. That’s a piece of copper plated steel TIG welding rod. I don’t own a TIG welder, but the rods are useful for making things. I have a couple of packs of them around the house.
How to use a solder sucker
Now let’s get down to it.
- Review the things you should always do while handling your soldering iron. (Yes, seriously. I’m going to keep telling you this until I’m blue in the face.)
- Get a bit of solder on the tip of the iron.
| Get ready |
|---|
 |
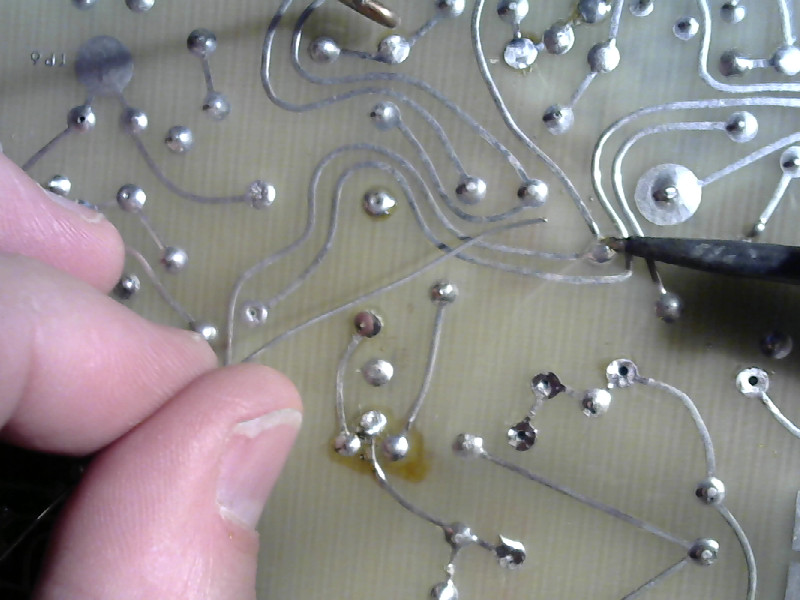
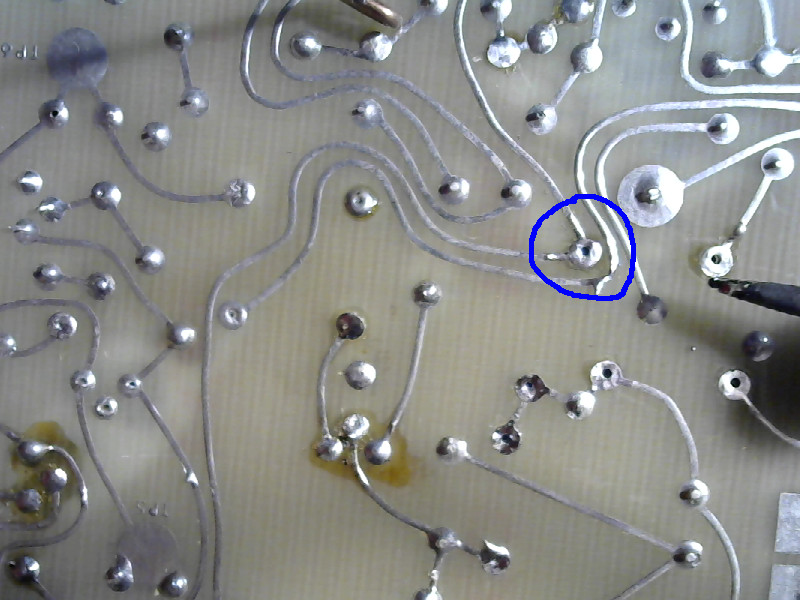
- Make sure of what you are working on.
| This is the hole I’m going to clear |
|---|
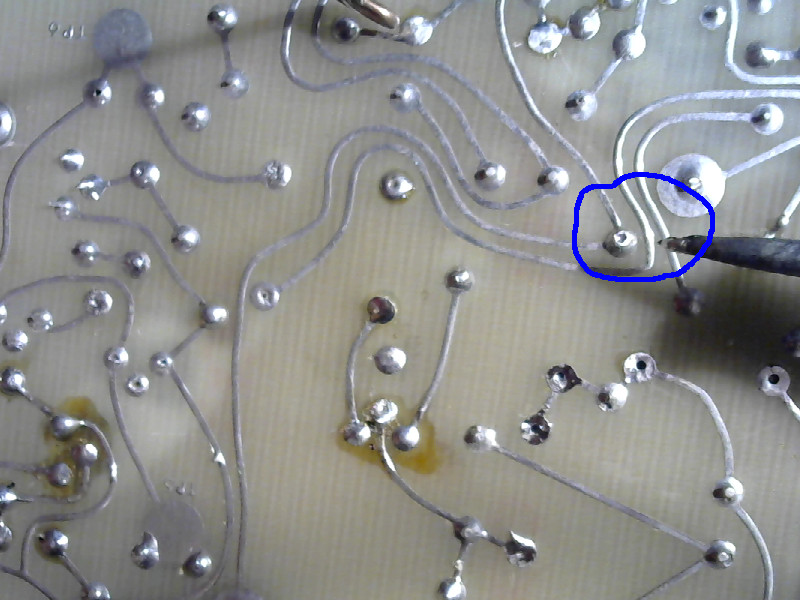 |
That’s the one circled in blue.
- Add some solder to the hole you want to clean up.
| Add solder to the hole |
|---|
 |
It’s counter-intuitive. I’m going to remove solder from this hole, but I start by adding more solder to it. That extra solder does a couple of things for you:
- It cleans the old oxidized solder. Oxidized solder doesn’t flow well. The flux in the fresh solder gets rid of the oxidation and makes the solder easier to suck out.
- The extra solder holds heat while you are working - it helps you get the through hole plating and the traces hot enough to work on.
- Squeeze the solder sucker and hold it.
| Squeeze the solder sucker |
|---|
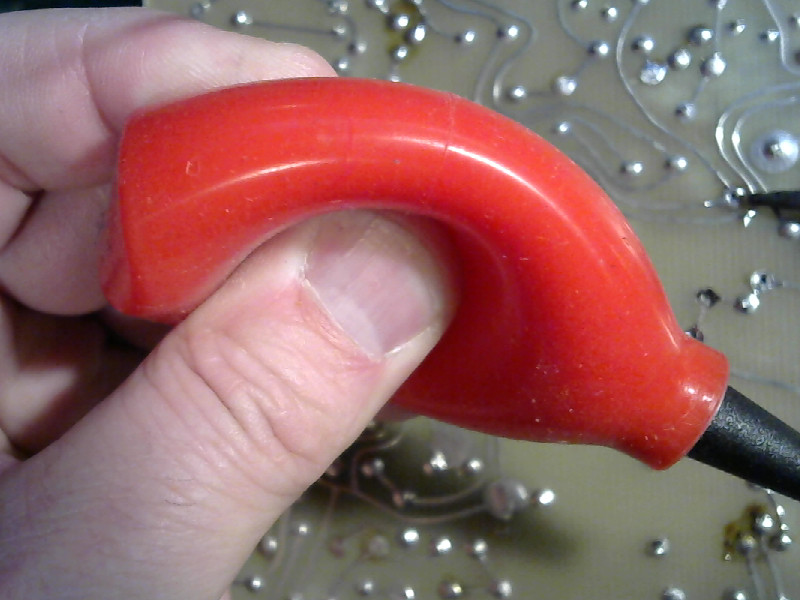 |
Keep it squeezed until it is time to suck out the solder.
- Remove the solder.
| Melt the solder and suck it out |
|---|
 |
This is the tricky bit. Hold the tip of the soldering iron on the hole so that the point is right at the edge of the opening. Place the notch of the solder sucker over the tip so that the tip of the solder sucker covers the entire pad around the hole. Let the bulb of the solder sucker pop back out.
If you do all of that quickly, it’ll suck the hole clean. If it doesn’t work the first time, then you must clean the tip of the solder sucker (remove any flux) and poke the crumbs out of tip of the solder sucker. Apply more fresh solder (and maybe turn up the heat a little) and try it again.
- Cleaned hole.
This is what it should look like when you are done:
| Clean hole |
|---|
 |
- Slow motion rerun.
I had to make the photos quickly, so I couldn’t capture all the bits of that last step live. I turned off the soldering iron, and staged those steps with a cold iron so you can see how it all works.
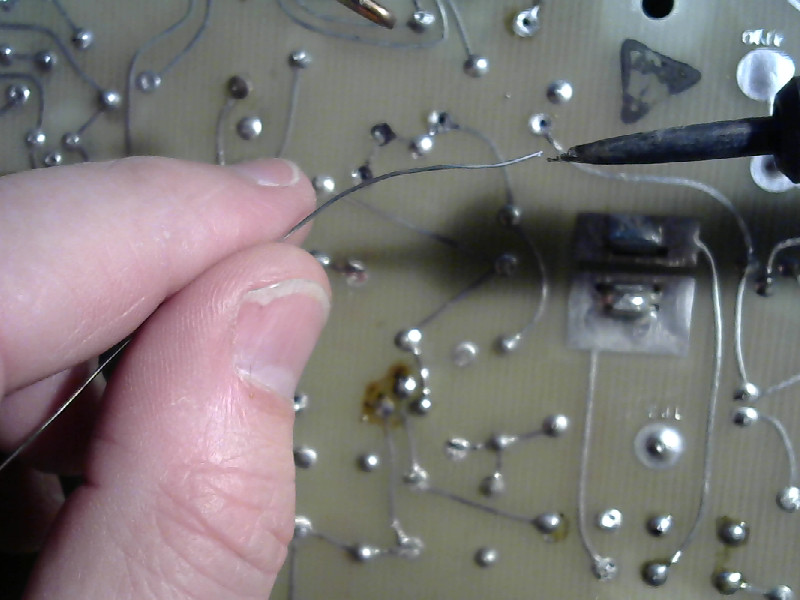
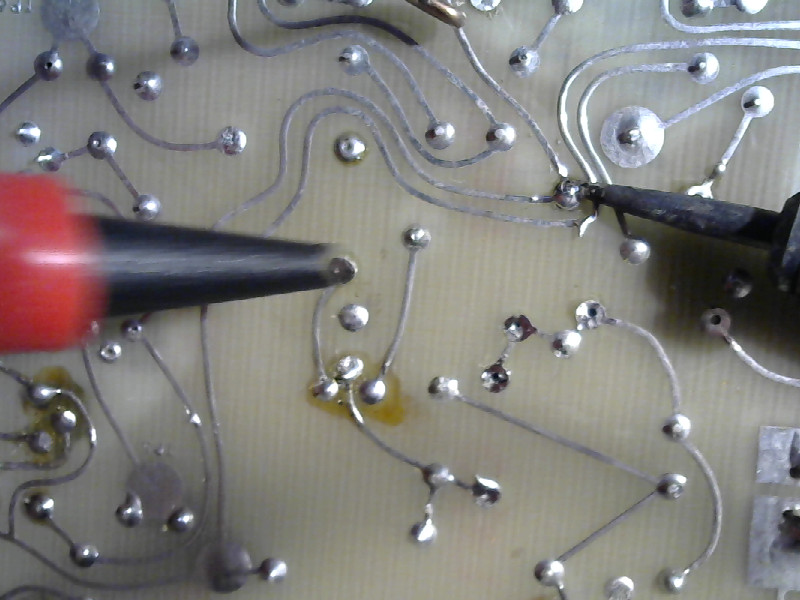
| Heat the hole |
|---|
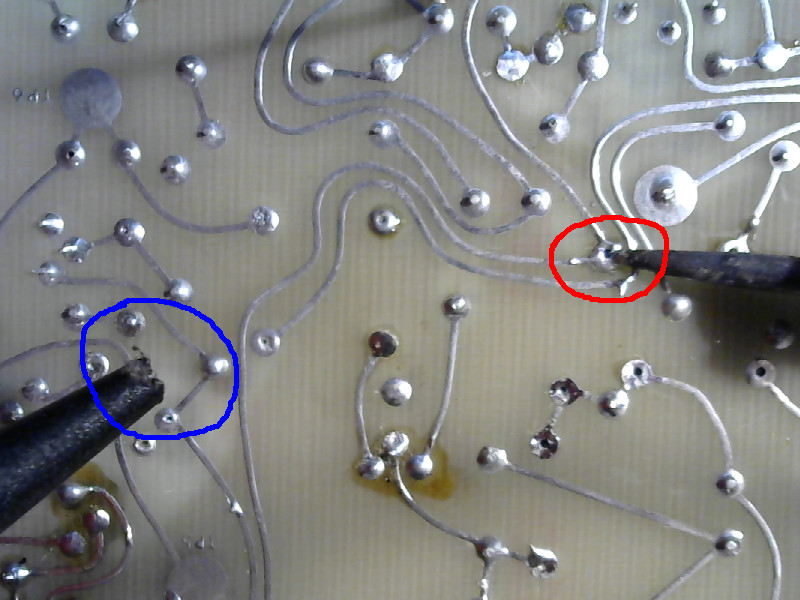 |
I made this picture after the hole was already clear so that you can see how to place the tip.
The very point of the soldering iron tip is just at the edge of the hole. When you do this, you’ll have to do it by “feel.” You want the tip as far in as possible so that it has as much contact as possible with the pad around the hole. At the same time, you don’t want the tip blocking the hole.
Notice that I’m already moving the solder sucker into position even as I’ve just started heating the pad. You want the pad and the solder good and hot when the solder sucker touches down, but you don’t want to burn the pad off the board.
Also note that the notch in the tip of the solder sucker is placed so that it’ll go over the tip of the soldering iron when I move it into position.
Now put the solder sucker on the tip of the iron:
| Solder sucker over the tip |
|---|
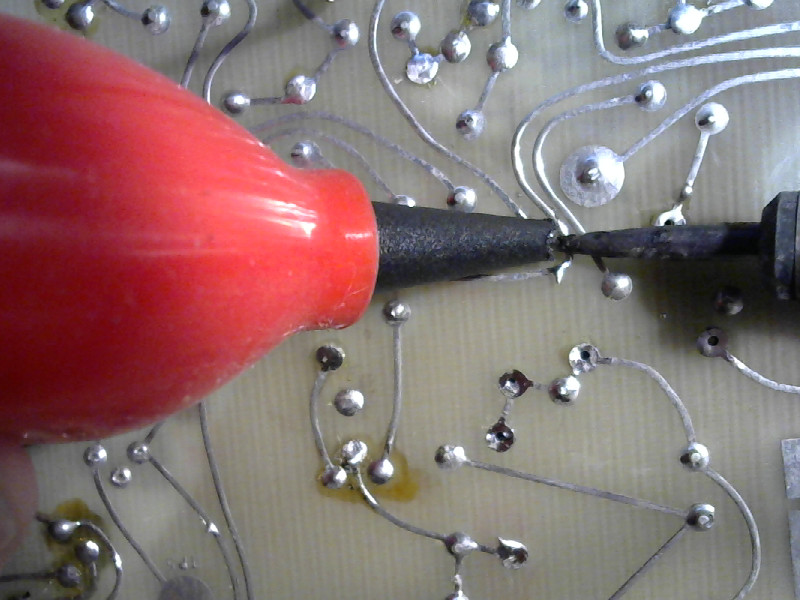 |
Again, notice how the notch in the tip of the solder sucker goes over the tip of the soldering iron.
Now raise the solder sucker up so that it seals the tip over the hole:
| Solder sucker sealed |
|---|
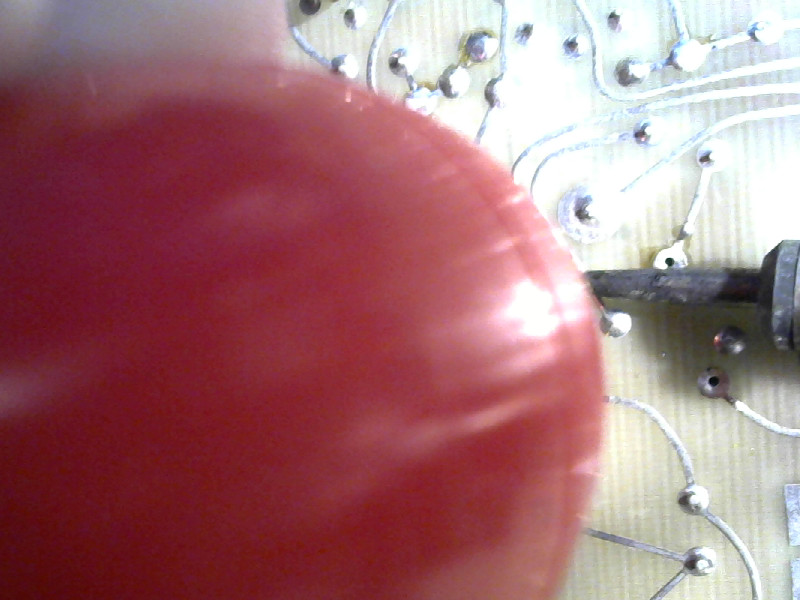 |
When you raise the solder sucker upright, press it down on the board. The tip of the soldering iron stays right where it is - you want it heating the pad while you are sucking the solder out of the hole.
When you have everything in place, let the bulb of the solder sucker pop back into shape. It’ll make a slurping sound, and then you can pull the solder sucker up from the board. At the same time, raise up the soldering iron tip. Do not slide the soldering iron tip to move it away from the pad - that’ll destroy the pad for sure. Pick up the solder sucker and the soldering iron and separate them in the air above the board.
Now you can clean out your solder sucker and remove any flux from the tip.
Pull the tip out of the bulb of the solder sucker and dump out the crumbs.
It takes a little practice, but I’ve found that to be the best method.
I suggest you get a scrap PCB with through hole parts on it, and practice salvaging parts as I described in my last post. You can then practice clearing the holes where you salvaged the parts.
Next time around we’ll do something easy. I’m going to show you how to solder surface mount devices (SMDs.) I find that much easier than mucking about with through hole parts.