HowTo: Solder by hand - Solder through hole parts
Some of the most common things you’ll solder.
HowTo: Solder by hand - Table of Contents
Check this handy chart to find the temperature you need for this task.
The plan
I’m going to solder a few typical things to a couple of printed circuit boards (PCB) just to show how it is done.
Here’s the stuff I’m going to be playing with:
| Random bits and pieces |
|---|
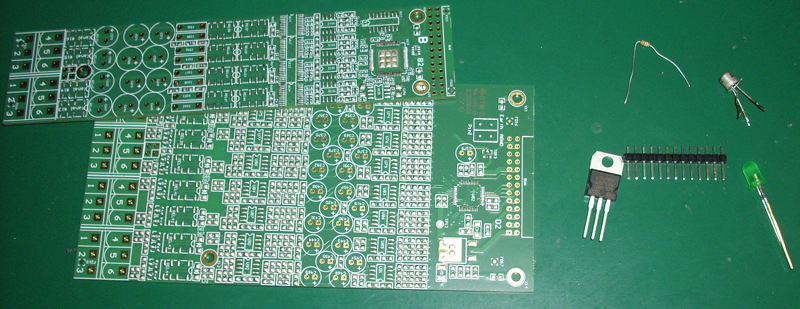 |
The PCBs are some scrap I got somewhere. They aren’t good for anything, so I might as well use them for soldering practice.
The other items are bits and pieces that I found laying around the workbench.
These are the tasks I’m going to tackle:
- Solder a pin header to a PCB
- Solder a transistor to a perfboard
- Solder a wire to the perfboard
- Join two items on a perfboard
Before we get started, review the get started page and the first steps - brace yourself properly, and keep the tip clean and protected.
Solder a pin header to a PCB
This is a common task for hobbyists. The pin header I’m using is a leftover from a knock-off of the Arduino Nano. Mine were delivered with the pin headers not attached. I didn’t need them, so I had a couple of them laying around.
Pin headers need to sit straight because they are often used to connect boards together (think Arduino and shield.) If the headers aren’t straight, they won’t fit properly.
| Pin header and PCB |
|---|
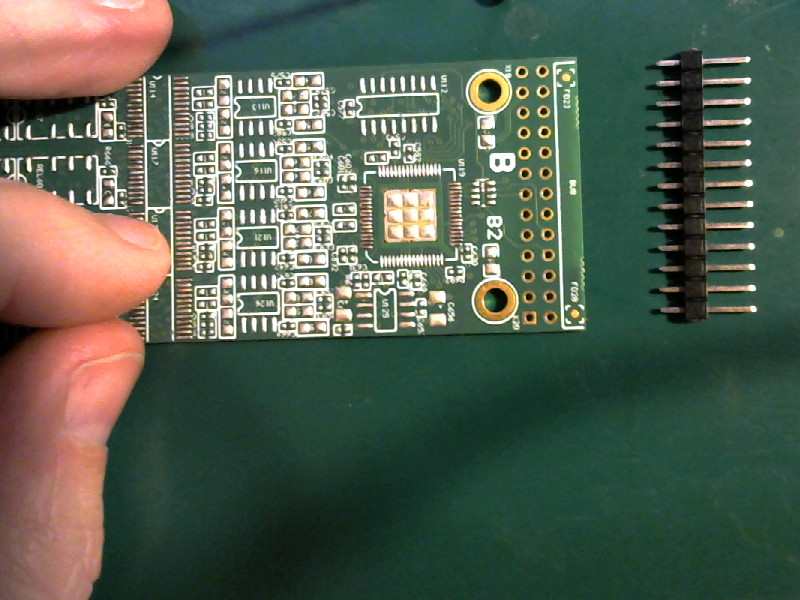 |
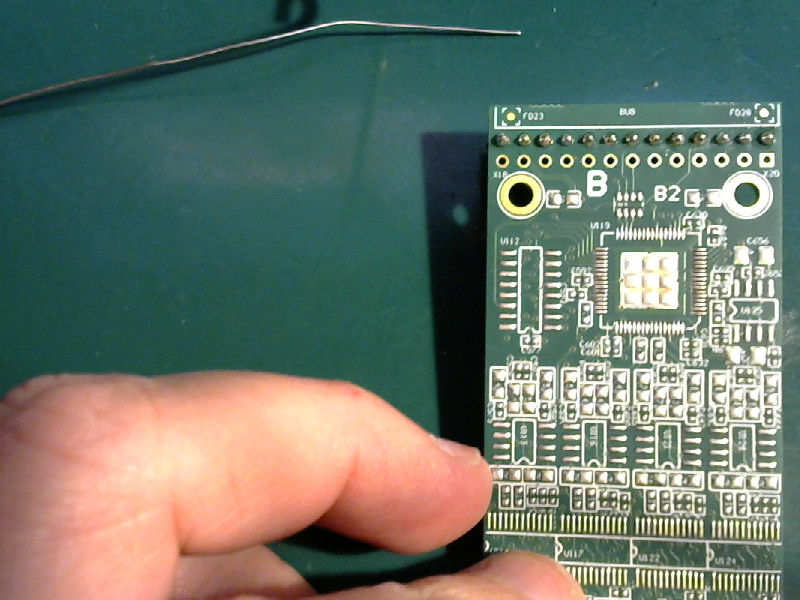
Insert the header in the holes on the PCB:
| Pin header on PCB |
|---|
 |
If it wobbles, no problem. Put the PCB down on the workbench with the pins up. That’ll keep the pins from falling out while we’re working. Put a bit of solder on the tip of the iron - we’ll need it in a second.
| Pin header ready to solder |
|---|
 |
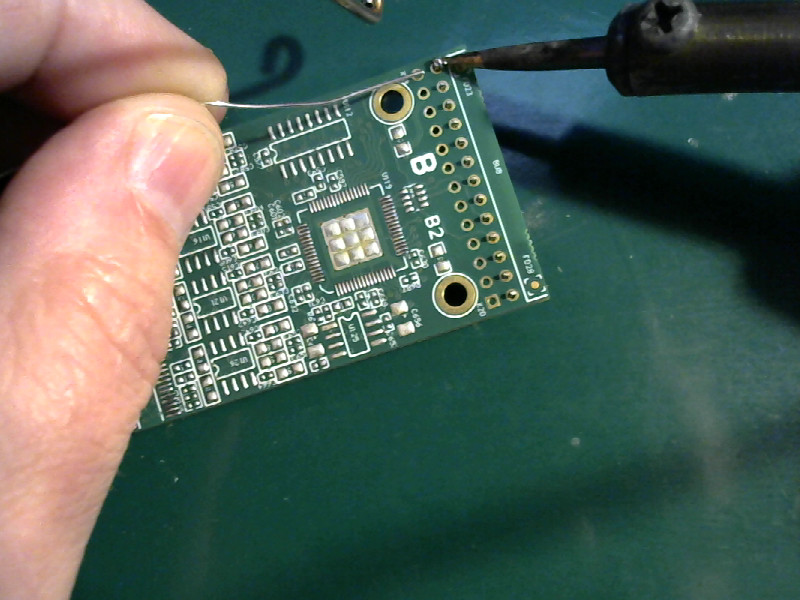
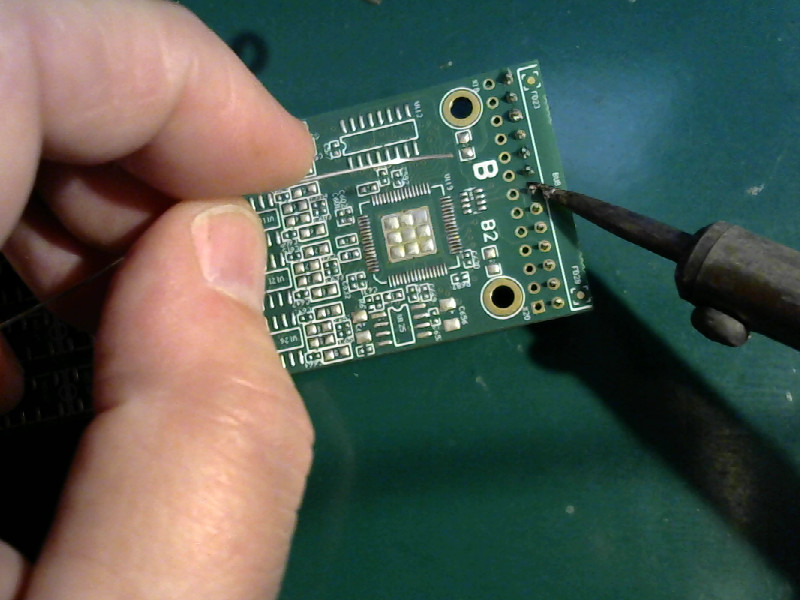
Place the tip of the soldering iron so that the little blob of solder you put on it makes contact with the first pin and the ring around it on the PCB. The idea is to heat both of them at the same time. The blob of solder isn’t there to make the joint. It’s just there to help conduct heat from the iron to the parts.
Notice that I’m not using the point of the soldering iron tip. I’m working with the side of the tip. This is why I can use a fine tip for everything - I use the side of the tip to get the needed amount of contact area on larger joints.
| Heat the first pin |
|---|
 |
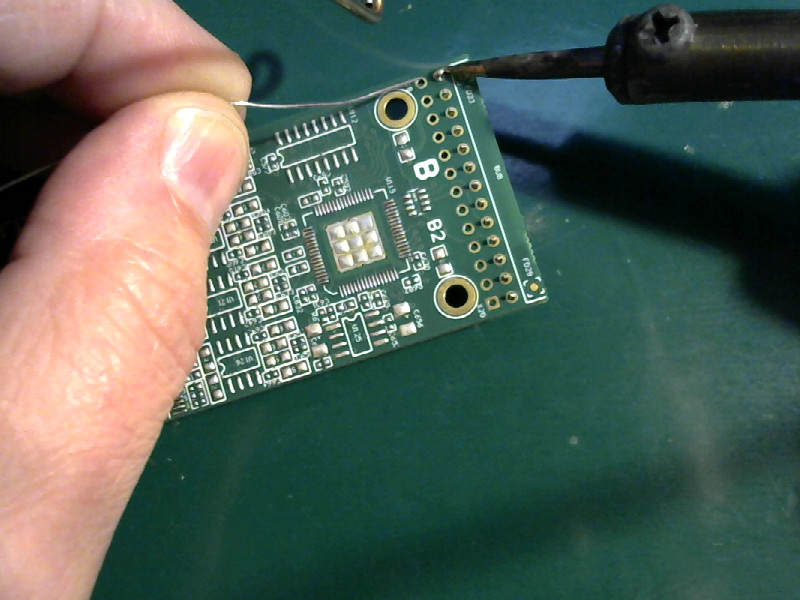
Now that the pin and the ring are both hot, apply some solder to both the pin and the ring.
There should be a spot where the soldering iron tip, the pin, and the ring all nearly touch. Apply the solder to that point.
When the solder melts and flows, move the solder wire around to melt more solder on the pin and the ring.
Remove the solder and the soldering iron tip from the joint. Let the joint cool without moving things.
| Make the joint |
|---|
 |
Now pick it up and look at it. Is the header straight? No? No problem.
| Crooked |
|---|
 |
Apply the tip of the iron to the soldered pin and melt the solder. Straighten the pin header and hold it in place. Remove the soldering iron tip from the joint. Let the pin cool and let go.
Check again. If it isn’t straight, do it again.
You must have the pin header straight before you go on to do the rest of the pins.
This one soldered pin will hold things straight until you get the rest of the pins done.
| Straighten the header |
|---|
 |
Solder the rest of the pins just like the first one:
- Heat the pin and ring
- Apply solder to the pin and ring
- Remove the soldering iron tip and the solder wire from the joint
- Move on to the next.
Once you get them all soldered, go back and resolder the first pin. We reheated it to straighten it, and it is probably not a proper joint because it was moved. With all the other pins holding things together, you can resolder that first one and it won’t move. Make it nice and clean just like the other joints.
| Solder all the pins |
|---|
 |
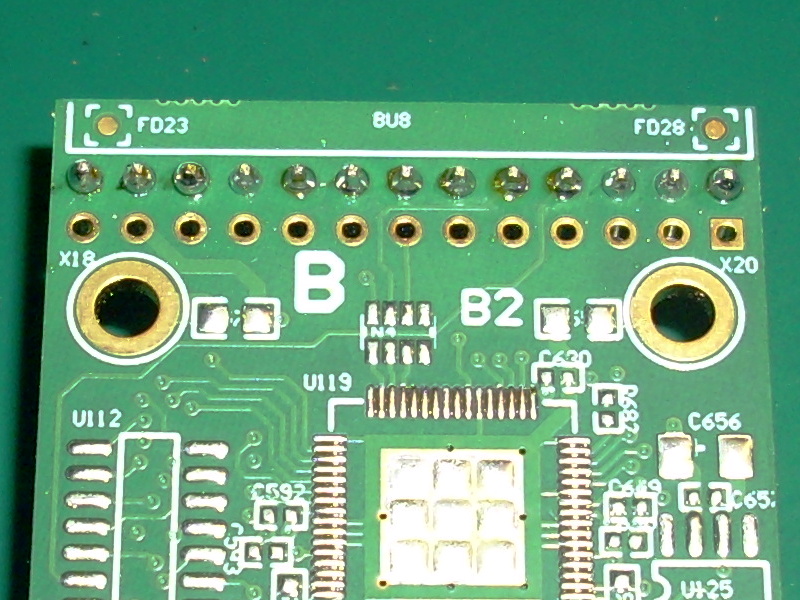
After you get them all done, put down the iron and take a good close look at all the pins.
- Did you get them all?
- Are they all shiny and clean?
Fix anything that doesn’t look good. A missed pin or a bad joint can cause you problems later on. You may be lucky for a while, but then you need your Nano to do something that depends on that pin you missed. You’ll pull your hair out trying to find it later. Do a good job now and avoid trouble later on.
| Check your work |
|---|
 |
All the pins are connected, all are nice and shiny. No over large blobs of solder on the joints.
| Completed pin header |
|---|
 |
Solder a transistor to a perfboard
Most hobbyists use a perfboard at some time. A perfboard is a PCB that has holes in rows and columns. Each hole has a ring you can solder to.
The usual problem people have is that the rings come unstuck from the board. The rings are bonded to the perfboard just like on any other PCB, but they seem to come unstuck easier than on regular PCBs.
I’m going to solder a transistor to a piece of perfboard to show how it is done without damaging anything.
I’m not going to use my third hand for this. Sometimes you don’t have one, so it helps to know how to do tricky things with just two hands.
These are the things I’ll be using:
| Perfboard and transistor |
|---|
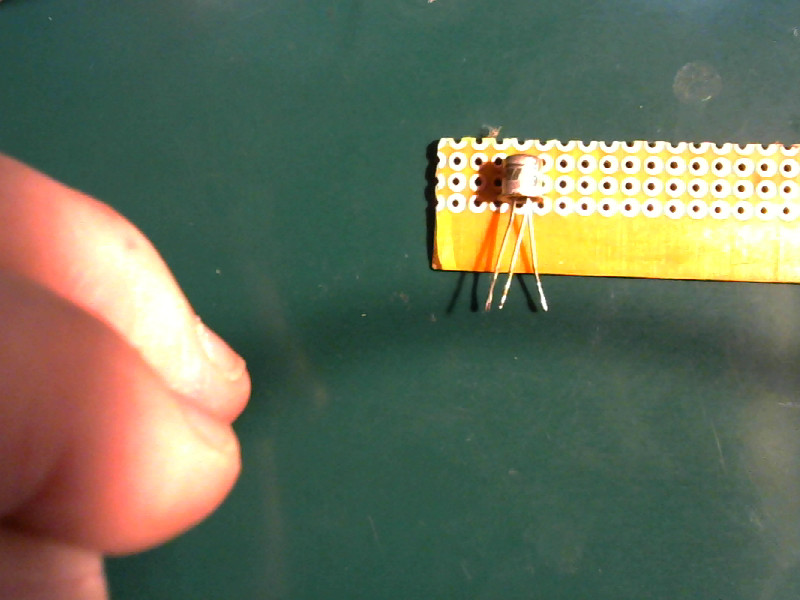 |
Insert the transistor pins in the perfboard holes. If you were building something, you’d try to put the pins in so that you can easily connect the other components. This is just practice, though, so I’ll poke it in any which a way. Bend the legs outwards a little so the transistor stays in place.
| Transistor on perfboard |
|---|
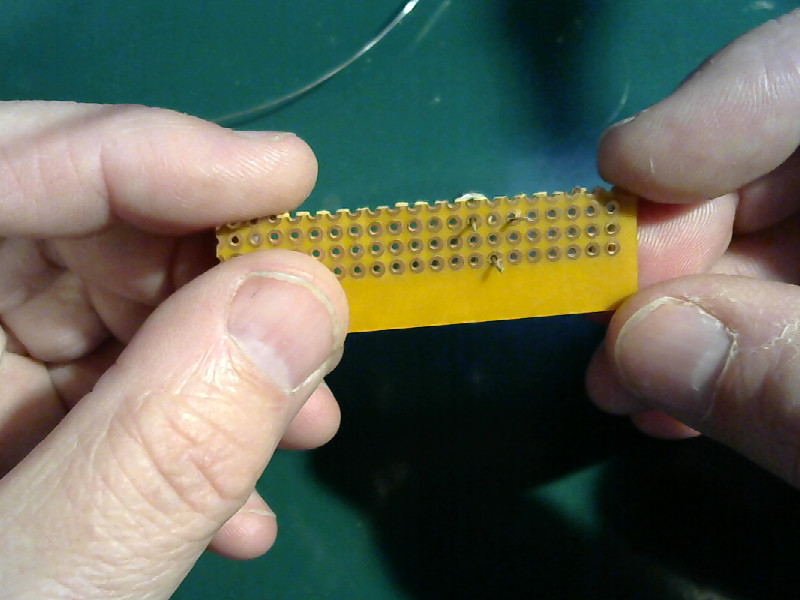 |
Now get a bit of solder on the tip of the iron and use it to heat one pin of the transistor and the ring around it. Just like you did with the pin header. Use the side of the tip to get good contact on both the pin and the ring.
| Heat the joint |
|---|
 |
Apply solder to the ring and the pin and let the solder flow to join them.
| Apply solder |
|---|
 |
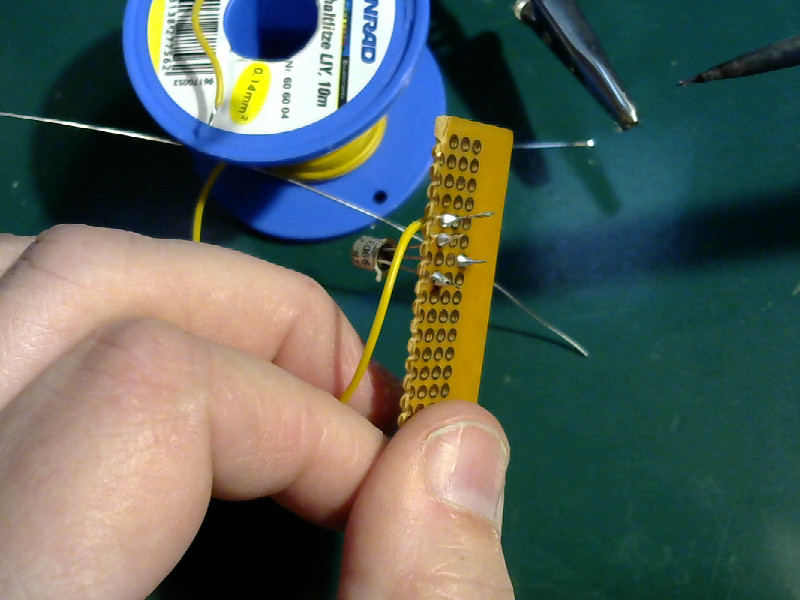
Do the other two pins just like the first. Check that they are all neat, clean, and shiny. Resolder (heat the joint and apply solder) any joint that is incomplete, jagged, or dull.
| All pins done |
|---|
 |
Solder a wire to the perfboard
You’ll often need to connect a wire to a perfboard or PCB.
Here’s how it goes:
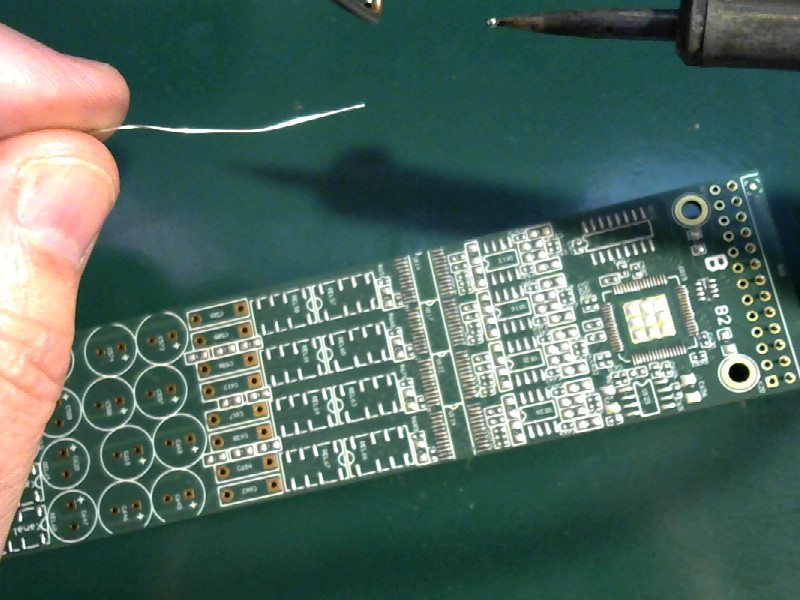
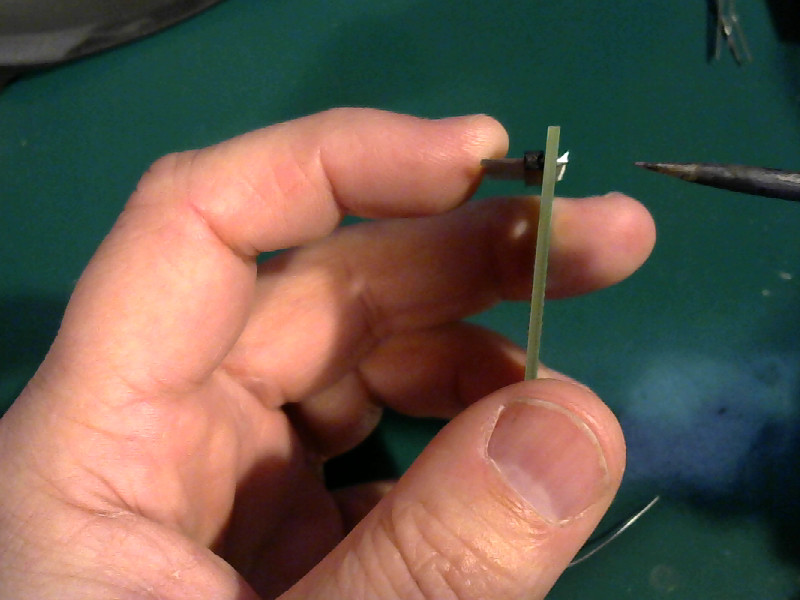
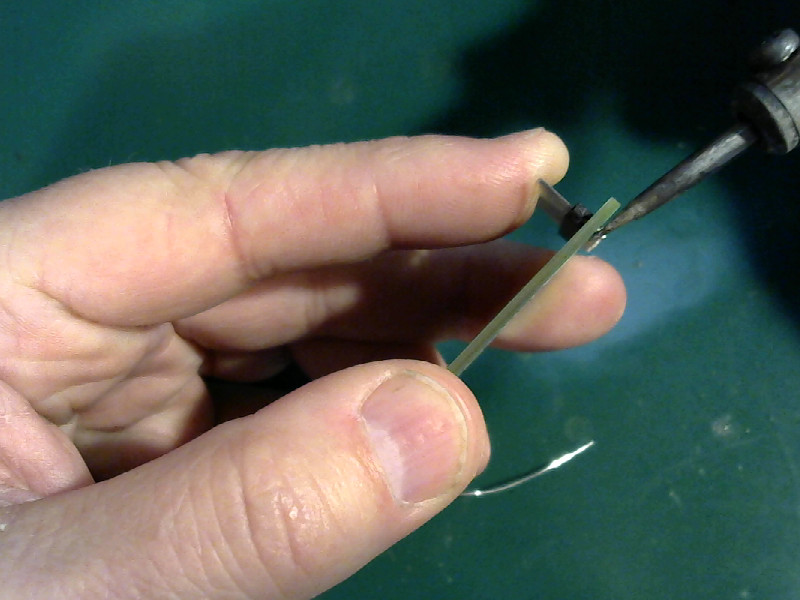
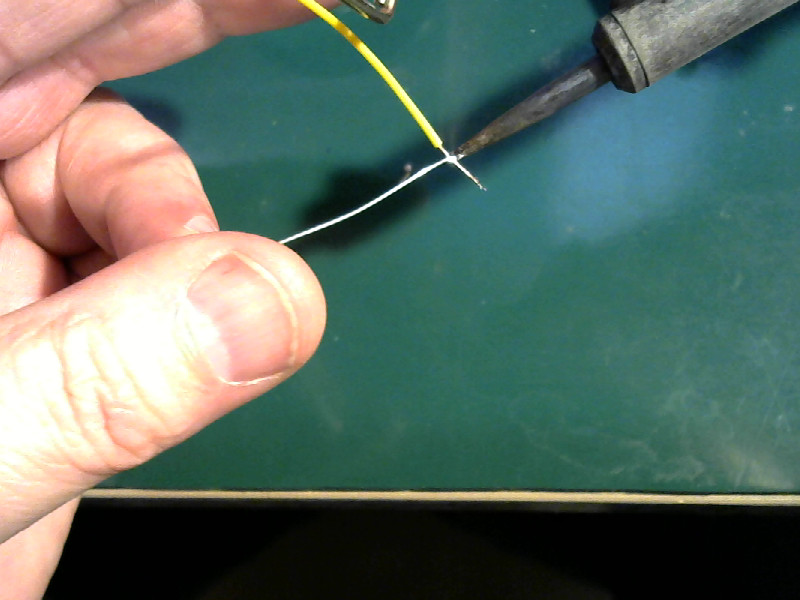
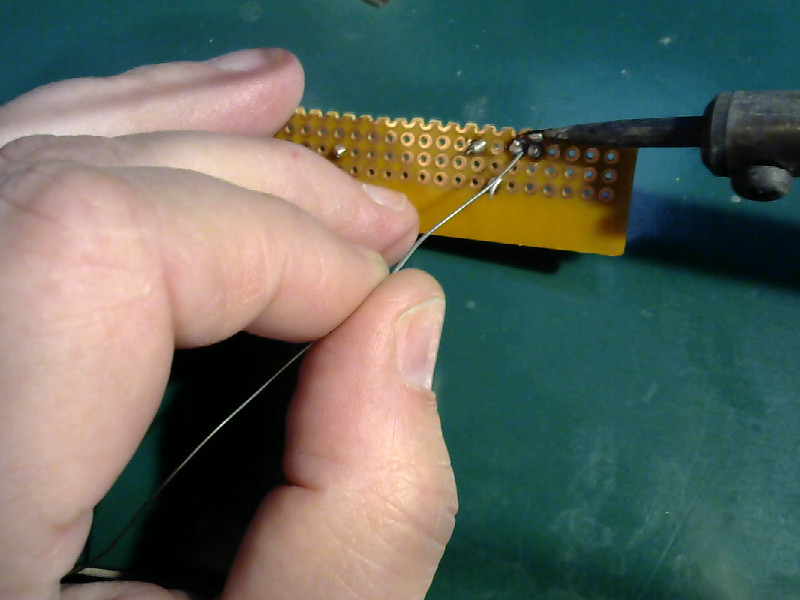
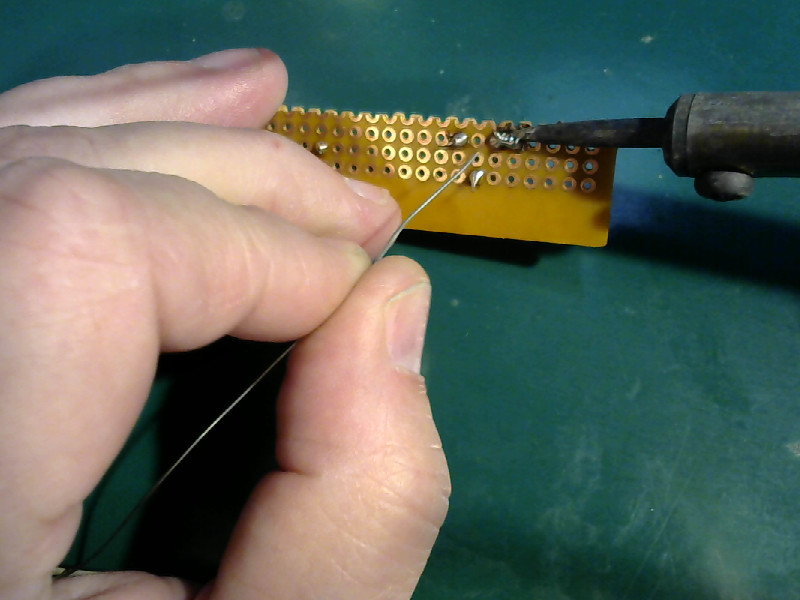
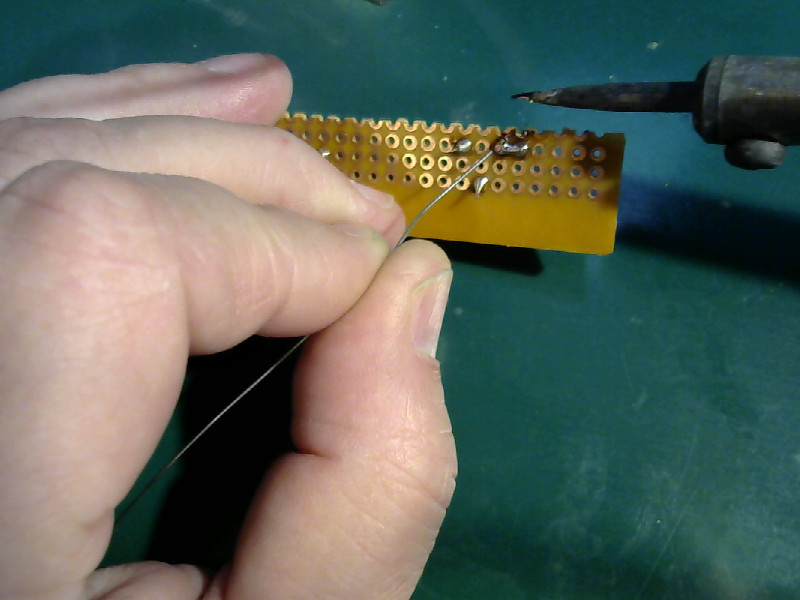
Tin the wire. I covered this in a previous post. You’ll have to strip the wire and twist the strands first.
Here I’m tinning the wire without using my third hand. I’m holding the wire between my index and middle finger, and using my thumb and ring finger to hold the solder. What I actually do is hold the iron and the solder in place, and pull the wire through between them.
| Tin the wire |
|---|
 |
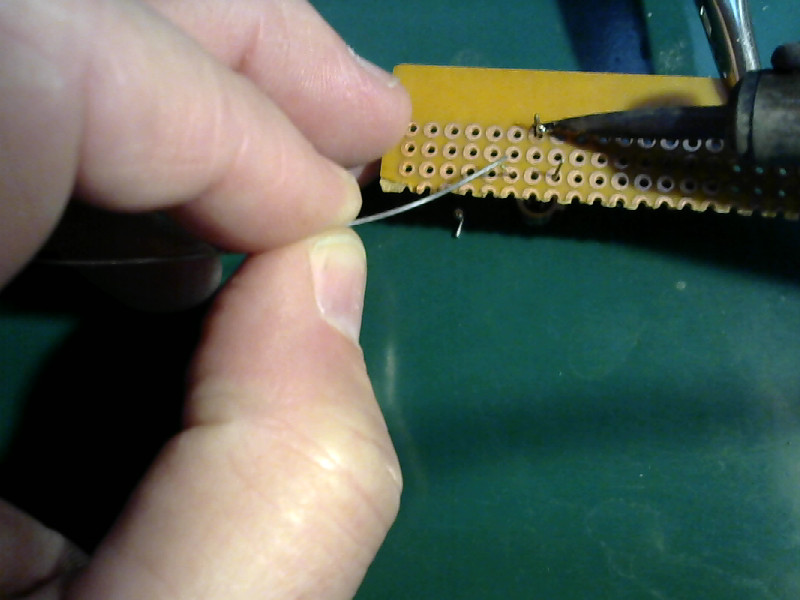
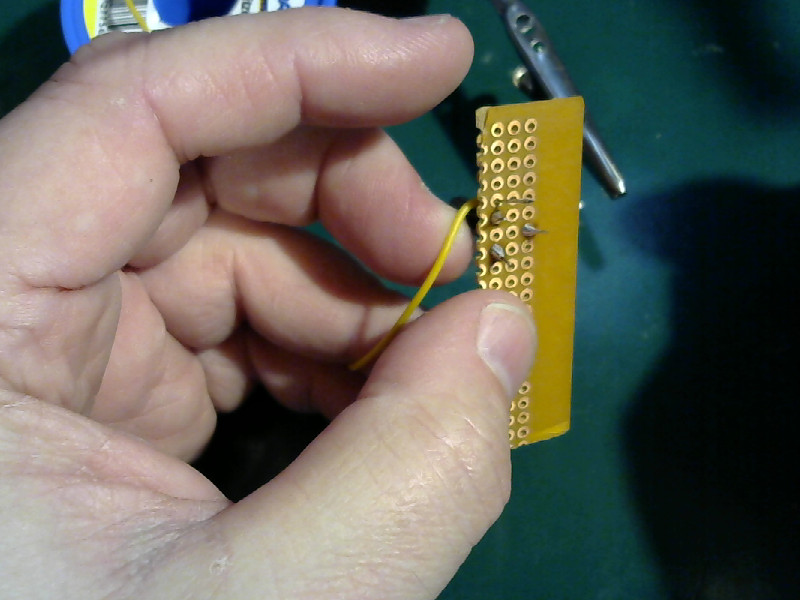
Poke the wire through one of the holes, and bend it over so it stays put. I’ve put it close to one of the transistor pins because I intend to connect the wire to the transistor later on.
| Wire through the hole |
|---|
 |
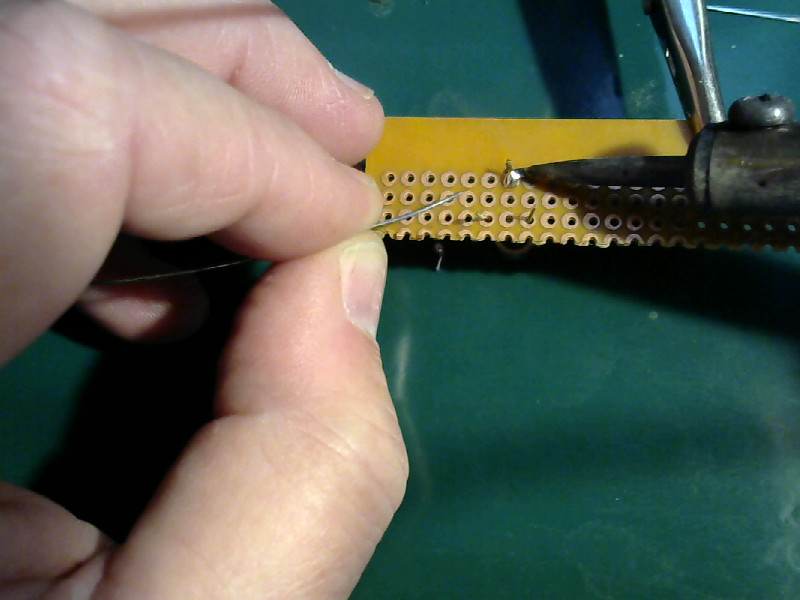
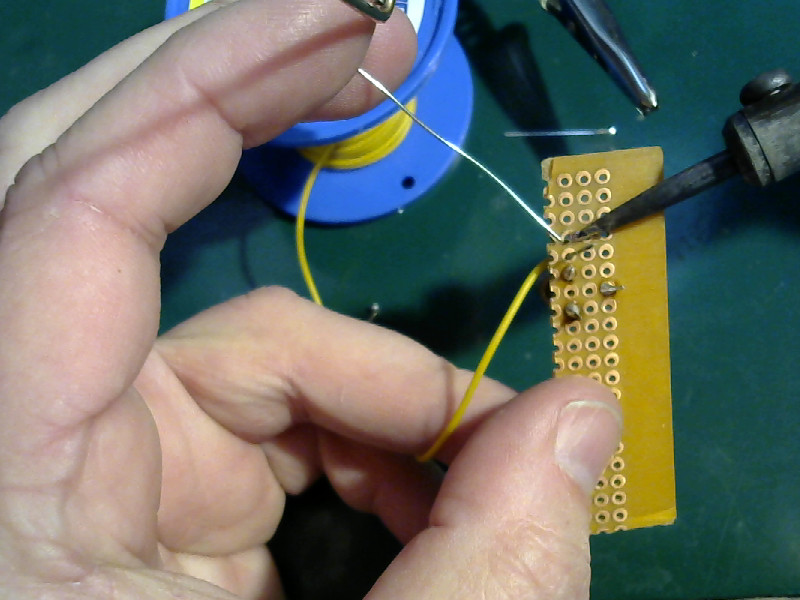
Solder the wire to the board just like you did the transistor pins. Heat the ring and the wire with the tip of the iron at the same time, and apply solder to the wire and ring.
Here I’m using my thumb and ring finger to hold the board and keep the wire in place. I’m using my index finger and middle finger to handle the solder.
| Solder the wire |
|---|
 |
All finished. The joint is clean and shiny and covers the ring on the board.
| Done |
|---|
 |
Join two items on a perfboard
Often times, you will need to connect two things on a piece of perfboard. You can use a length of wire or a piece of clipped off pin from a component.
Another thing you can do is to make a solder bridge between two adjacent pads. That’s why I soldered the wire in next to one of the transistor pins.
This a little tricky. Solder prefers to stick to metal, and will usually ball up and flow away from non-metallic surfaces. It can be done, though. It takes more solder than a normal joint, and it takes practice to make it work.
It goes like this:
Put a blob of solder on the side of the tip of the iron.
| Prepare for solder bridge |
|---|
 |
Touch the blob to both pins that you want to join. It must touch them both at the same time. Both existing joints will melt and start to flow. Apply solder to the tip of the iron between the two existing joints.
| Make the solder bridge |
|---|
 |
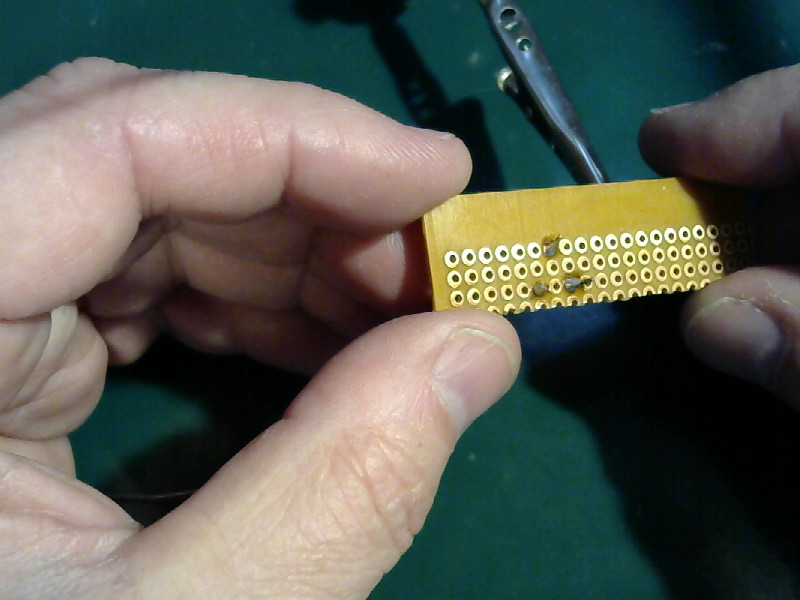
Pull the iron away from the joint (up in the picture)and pull the solder away from the joint at the same time (down in the picture.) The solder will try to pull away to both pins, but if you have enough solder inbetween then it won’t be able to ball up completely. It’ll leave a bridge between the two rings.
| Done |
|---|
 |
It’s tricky, and doesn’t work every time. Try it out, though. It takes practice, but is a useful skill.
(You could also do it the easy way and bend the tips of the wire and the pin together and solder them. It doesn’t look as neat, though.)