HowTo: Solder by hand - Remove SMD ICs
They ain’t pokemons - you can’t get ‘em all.
HowTo: Solder by hand - Table of Contents
Check this handy chart to find the temperature you need for this task.
Much like with through hole parts, you will find that there are surface mount device (SMD) ICs that you can solder with a regular soldering iron but that you can’t remove with a regular soldering iron.
When you solder the parts down, you can work pin by pin and get it done. To remove them, though, you have to melt the solder on all of the pins or pads simultaneously. You can only manage that to a small extent with a regular soldering iron.
About the largest SMD IC you can remove by hand with a regular soldering iron is SOIC24 (12 pins on two sides, the chip is about one centimeter long.)
Anything larger than that or with pins on more than two sides will require a hot air gun or a hot air SMD rework station.
While it isn’t difficult to solder large pin count ICs or ICs with pins on all four sides, it can be difficult or impossible to remove them without more advanced tools than a soldering iron.
Keep that in mind when you design and build your projects. Try to avoid parts you can’t remove and replace, and if you have to use one then be really sure that you’ve got your parts properly oriented (pin one in the right place) and positioned (all pins properly on the pads) before you solder them in permanently.
With that out of the way, I’ll get down to how you can remove (some) SMD ICs from a PCB.
Steps
Here are all things it’s going to take to show you how to remove SMD ICs:
Tools
You really only need your soldering iron and some solder to remove an IC from a PCB. You’ll probably want to clean up the part and the PCB afterwards though, so you’ll need a couple of more things.
At most, you will need the following things:
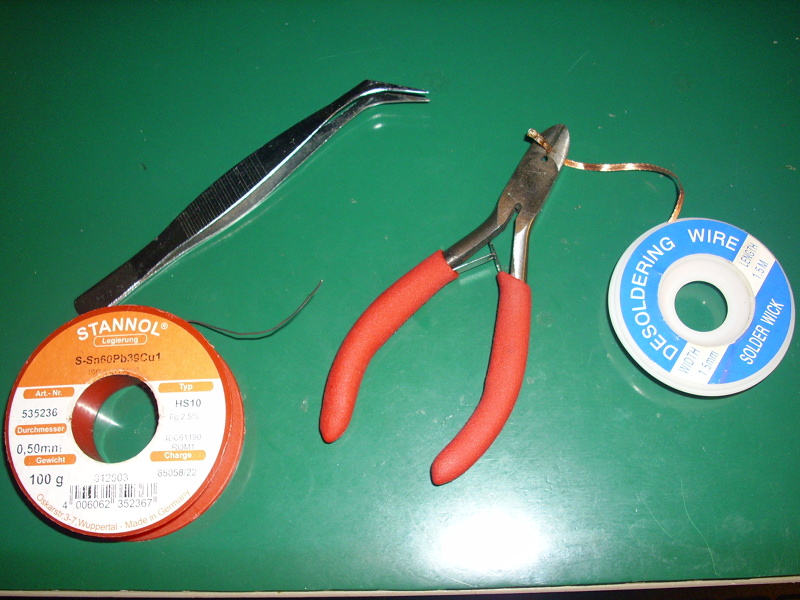
- a pair of tweezers
- 0.5 millimeter solder
- solder wick for cleaning up pads
- a pair of wire cutters for clipping the solder wick when the end of it fills up
You’ll probably recognize this picture if you’ve been reading all of my soldering posts, but here’s the photo of all the tools I normally use when removing SMD ICs from PCBs:
| Tools to remove SMD ICs |
|---|
 |
Positioning yourself
Position isn’t as critical when removing parts as when soldering them in. You really only have to get the soldering iron lined up with the pins you are going to heat.
You’ll want to brace yourself on your workbench.
You also want the tip of your soldering iron to run parallel to the IC you are going to remove. You want to be able to reach all the pins on one side all at once.
Like this:
| Soldering iron parallel to IC pin rows |
|---|
 |
As always, you’ll be moving just your fingers when actually doing the work. You should not need to move the board or your hand while removing the part. You just stay braced on the edge of the workbench and move the iron with your fingers.
The task
For this example, I’m going to remove the SOIC8 IC that I soldered in the last post.
That’s the IC shown in the picture above about how to position the board and the iron. It’s pretty much as easy to install as it is to remove. The same technique I’m going to show you here will also work on larger ICs (SOIC 16 or SOIC 24) and smaller stuff. Smaller is in fact easier.
Do it to it
Step zero: Review the things you are supposed to do everytime you pick up your iron.
- Line things up and get a spot of solder on the tip of your iron.
| Getting ready |
|---|
 |
I’ve already got some solder on the tip of the iron, and I have everything lined up in this photo.
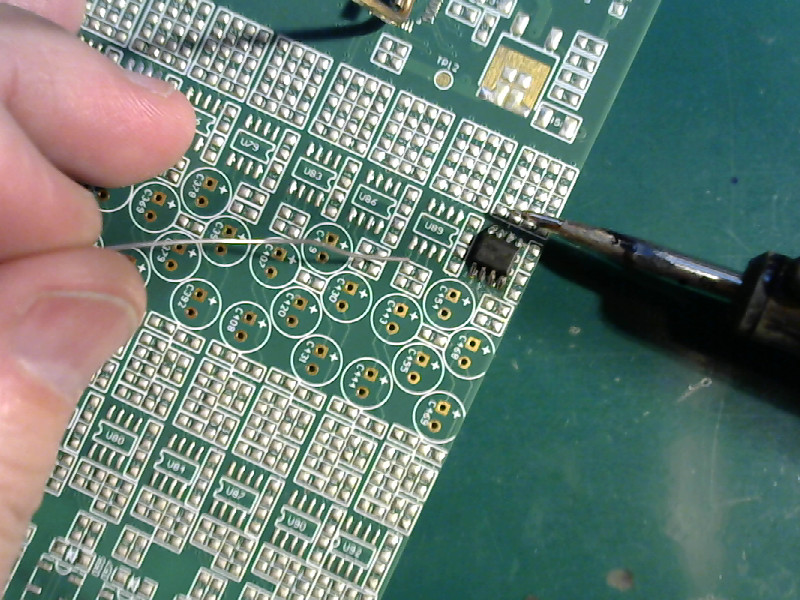
- Flood the first row of pins with solder.
The trick to removing SMD ICs is to be able to get the solder on all the pins melted at once. The amount of solder in a normal joint doesn’t stay hot very long - the heat will be “sucked” away by the traces and the part very quickly. You get around that by literally flooding the pins in excess solder. Yes, again, the way to remove a part is to start by adding solder.
I just lay the tip of the iron down along one side of the chip and melt solder on the tip and spread it to the pins.
Like this:
| First row |
|---|
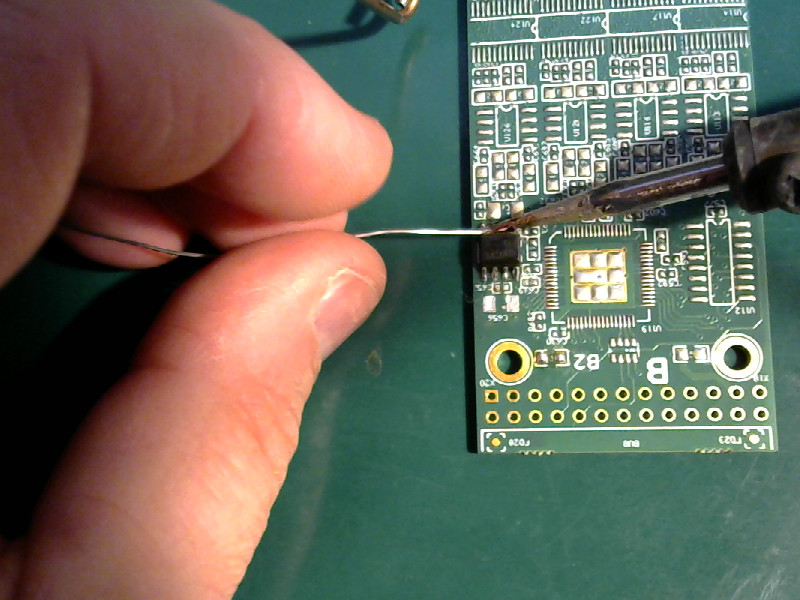 |
You want to fill all the spaces between the pins with a good volume of solder.
Here I’ve done one row and have moved the soldering iron and solder to the second row. Notice how the first row is completely flooded. All of the pins are connected together and there’s just oodles of solder on everything.
| First row flooded |
|---|
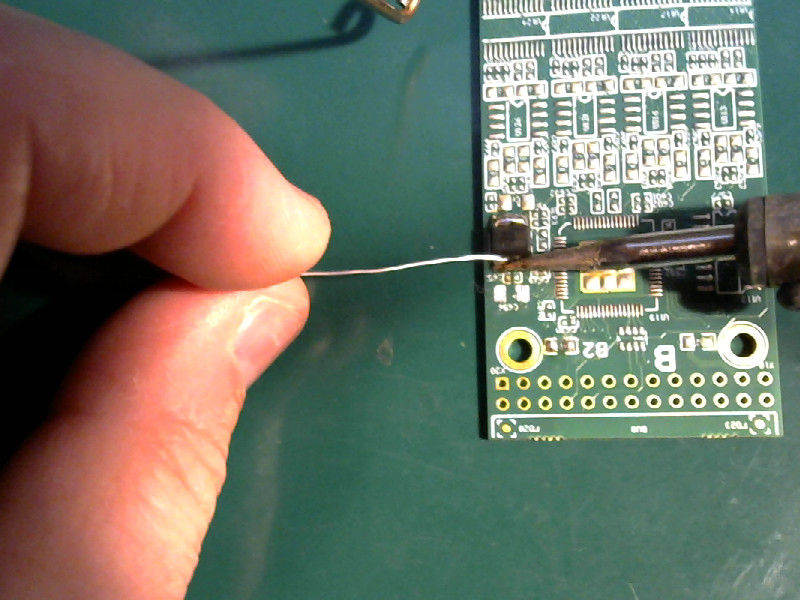 |
- Flood the second row with solder.
Now flood the second row of pins just like you did the first row.
| Second row |
|---|
 |
 |
The board moved in that second photo because I had to combine two sets of photos. I sometimes miss a shot or otherwise mangle a photo while doing this, and have to make multiple sets of photos to get everything I want to show.
You should not need to move the board while doing this. I only moved mine because the photos were done on different days.
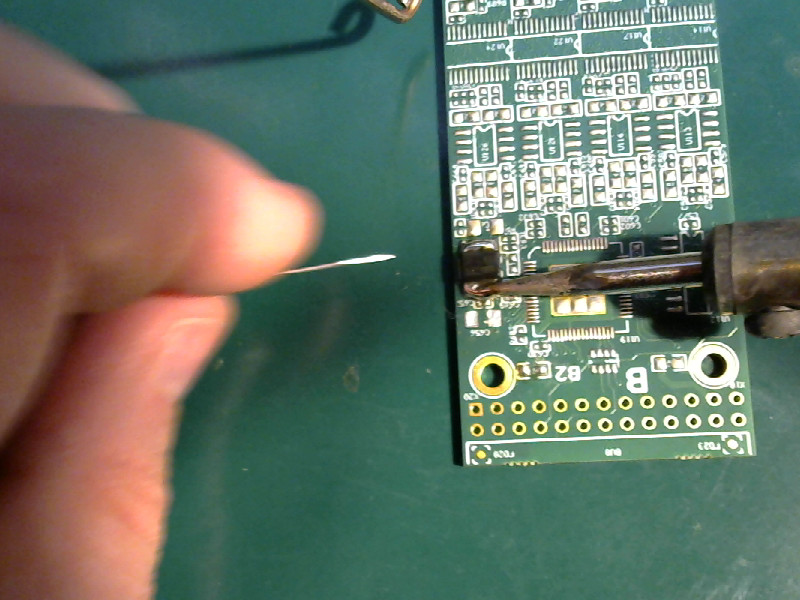
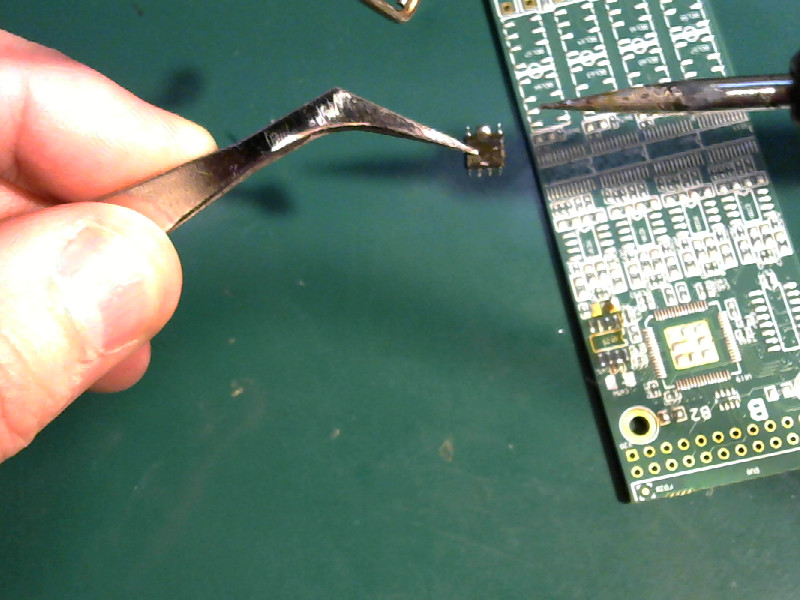
- Remove the chip.
Now comes the real heart of this trick. Once you have both rows of pins flooded with solder, you simply keep moving the soldering iron from one row of pins to the other.
Heat each row and make the solder melt, then move to the other row.
As you heat each row, push sideways on the chip with the tip of the iron.
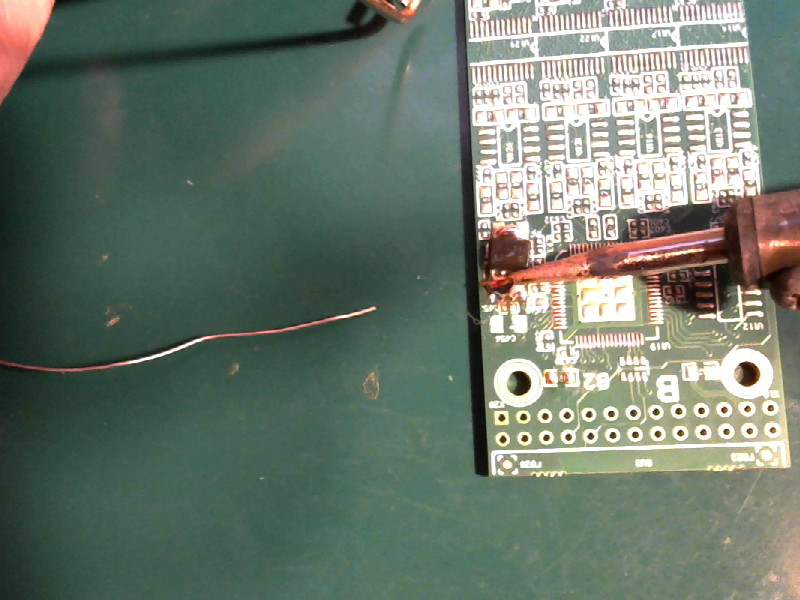
At some point, the solder on both rows will stay liquid and you can push the IC off of its pads. You can usually pick up the iron when the IC moves and the IC will stick to the tip and be raised up off of the board.
If both rows of solder won’t stay liquid, then you are either moving too slowly, or your iron isn’t hot enough. You probably want to have the iron 10 or 20 degrees C (20 to 40 degrees F) hotter than when soldering.
Like this:
| Remove the chip |
|---|
 |
 |
 |
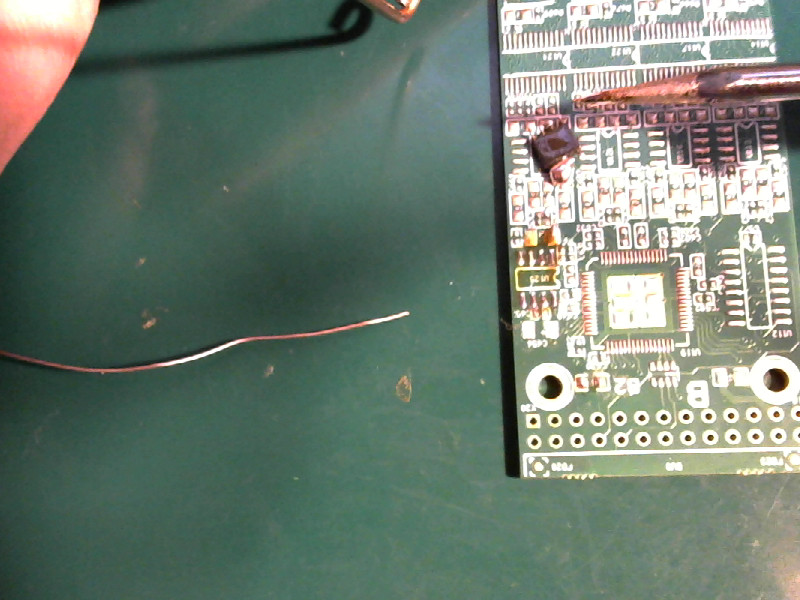
I sort of flubbed it, and dropped the IC on the board. It happens. Just use your tweezers to pluck it off (or off of the tip of the iron if you didn’t drop the chip.)
Again, the photos are from different sets. You shouldn’t need to move the board to remove the chip.
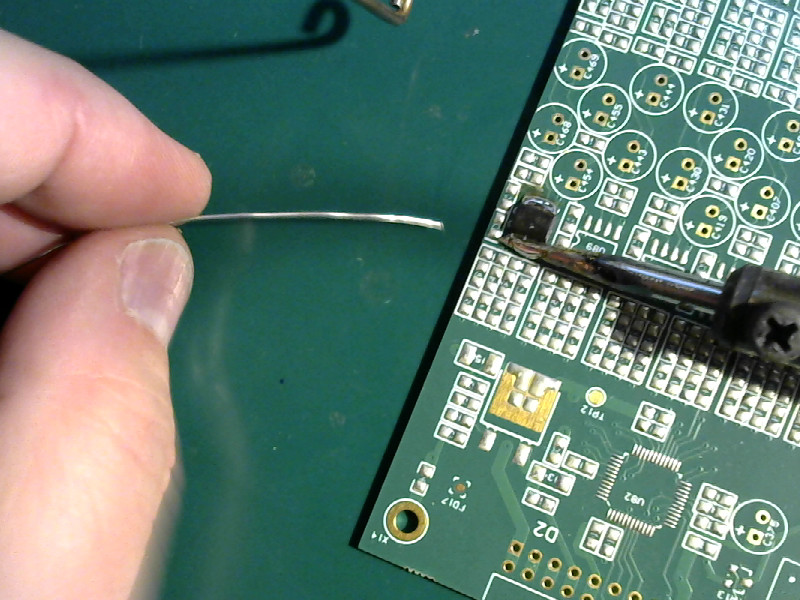
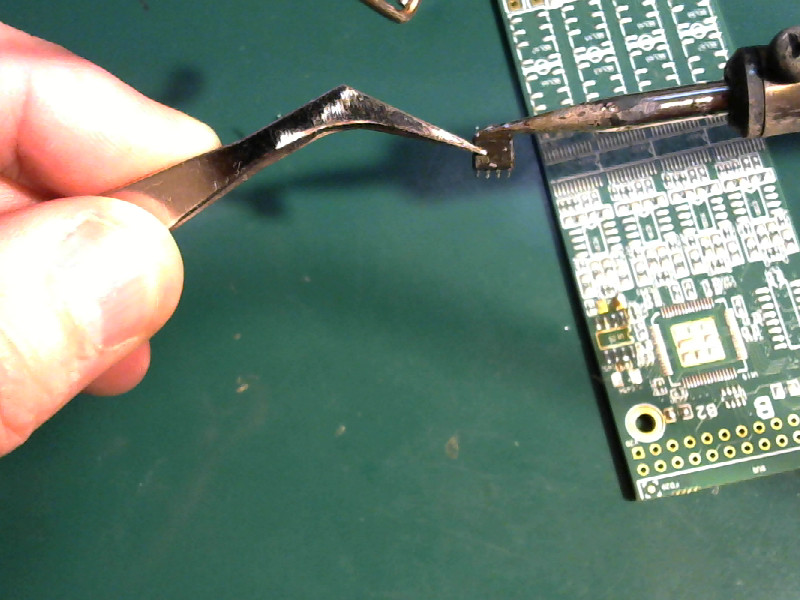
- Clean up the IC.
If you want to reuse the IC, then you will need to clean it up.
It takes just a few seconds to get the excess solder off of the pins of the IC:
- Wipe the tip of your iron clean on the sponge.
- Pick up the part in your tweezers.
- Melt the solder on the pins.
- Wipe the excess solder off of the chip with the tip of the iron.
- Wipe the excess solder off of the tip of the iron on the sponge.
- Repeat until all the pins are clean.
Here’s a couple of photos of the process:
| Clean the chip |
|---|
 |
 |
If you need to clean the pads the IC was soldered on, then review the cleanup section at the beginning of the how to solder SMD ICs page.
That’s it. Like with most of this stuff, you’ll find it is actually easier to do than it is to read about. It’ll probably take you a few minutes to read and reread all of the text, but when you go to do it you’ll actually have the part out in just a few seconds.